

How to Make Your Portraits Look Like Fine Art
How to Make Your Portraits Look Like Fine Art. At Kelly Tareski Photography, we believe that portrait photography can transcend mere documentation to become true fine art. This blog post will guide you through the techniques that elevate portraits to gallery-worthy pieces.
We’ll explore composition, lighting, and post-processing methods that transform ordinary shots into extraordinary works. Our photography education aims to help you develop your unique artistic vision and create portraits that captivate viewers.
Composing Fine Art Portraits
The Power of Thirds
The rule of thirds transforms ordinary portraits into extraordinary works of art. Imagine your frame divided into a 3×3 grid. Place your subject’s eyes along the top horizontal line to create a more engaging portrait.
Framing Within the Frame
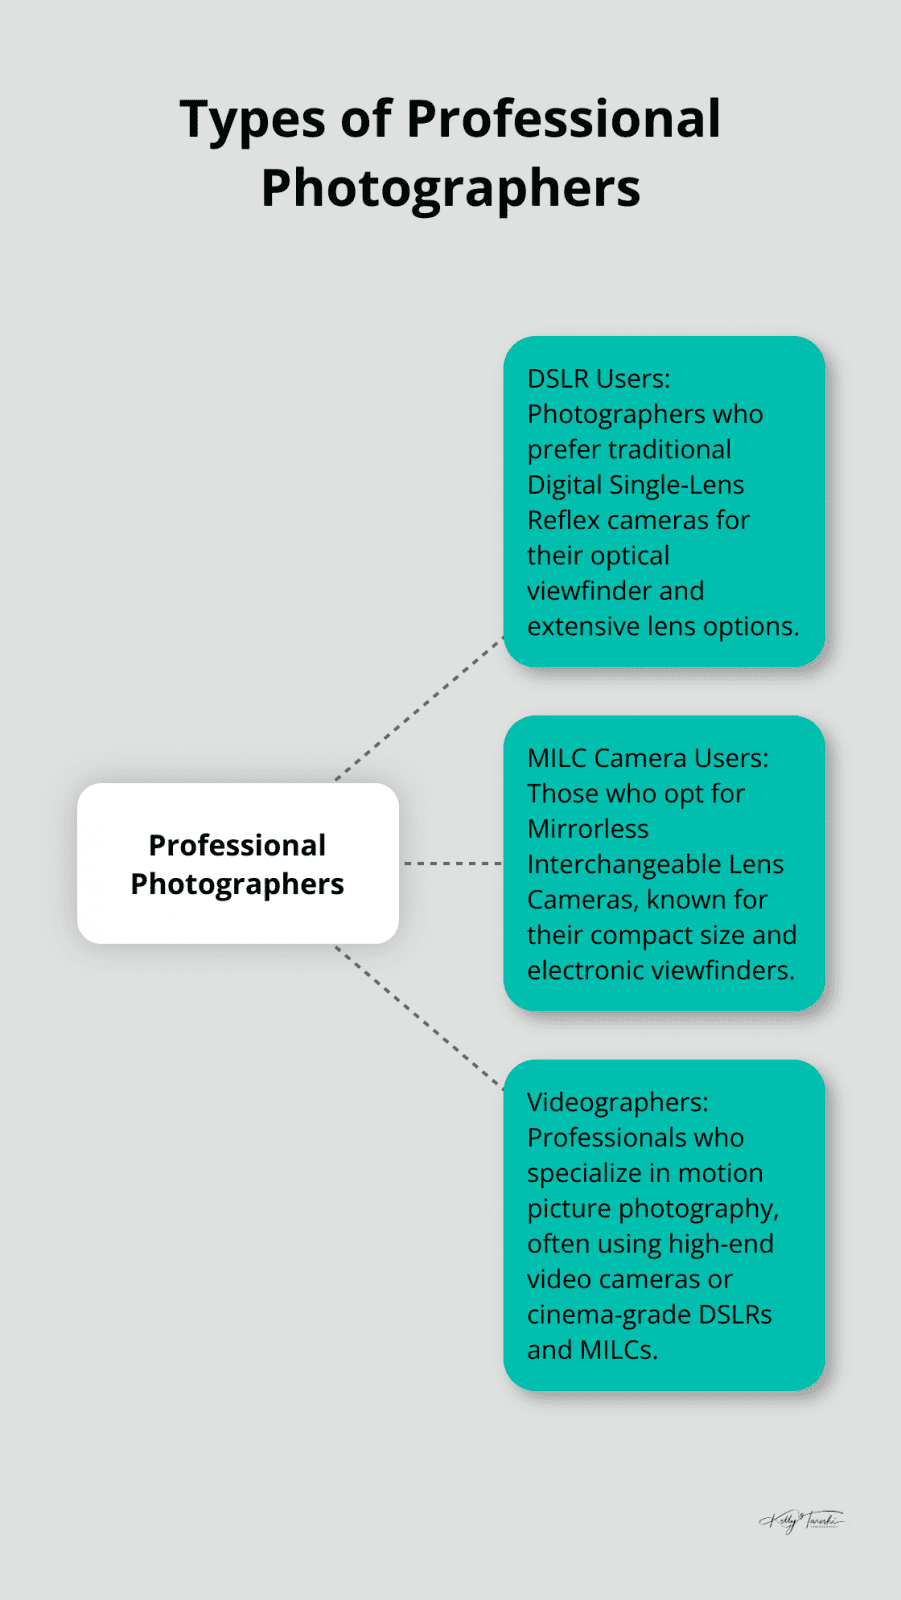
Sub-framing adds depth and context to your portraits. Use natural elements (like tree branches) or architectural features (such as doorways) to frame your subject. Professional photographers who use DSLR or MILC cameras or are videographers have reported positive feedback on sub-framing techniques.
The Art of Negative Space
Negative space (the area surrounding your subject) plays a crucial role in fine art portraiture. It can evoke feelings of isolation, contemplation, or freedom. Consider the balance between your subject and the surrounding space. A portrait of a person in a vast, empty field can convey solitude or insignificance. A tightly framed face with minimal background creates an intimate, intense atmosphere.
Leading Lines
Leading lines guide the viewer’s eye through the image. Use natural or man-made lines (roads, fences, or even the subject’s gaze) to direct attention to the focal point. This technique adds depth and interest to your portraits.
Symmetry and Asymmetry
Experiment with symmetry and asymmetry in your compositions. Symmetrical compositions (where both sides of the frame mirror each other) create a sense of balance and harmony. Asymmetrical compositions, on the other hand, can add tension and visual interest to your portraits.
As we move from composition to lighting, remember that these elements work hand in hand. The way you compose your shot will significantly impact how light interacts with your subject, setting the stage for the mood and atmosphere of your fine art portrait.
Painting with Light: The Essence of Fine Art Portraits
Light forms the foundation of every photograph, and mastering its use is essential for creating fine art portraits. This chapter explores how to harness the power of light to elevate your portraits from ordinary to extraordinary.
The Magic of Natural Light
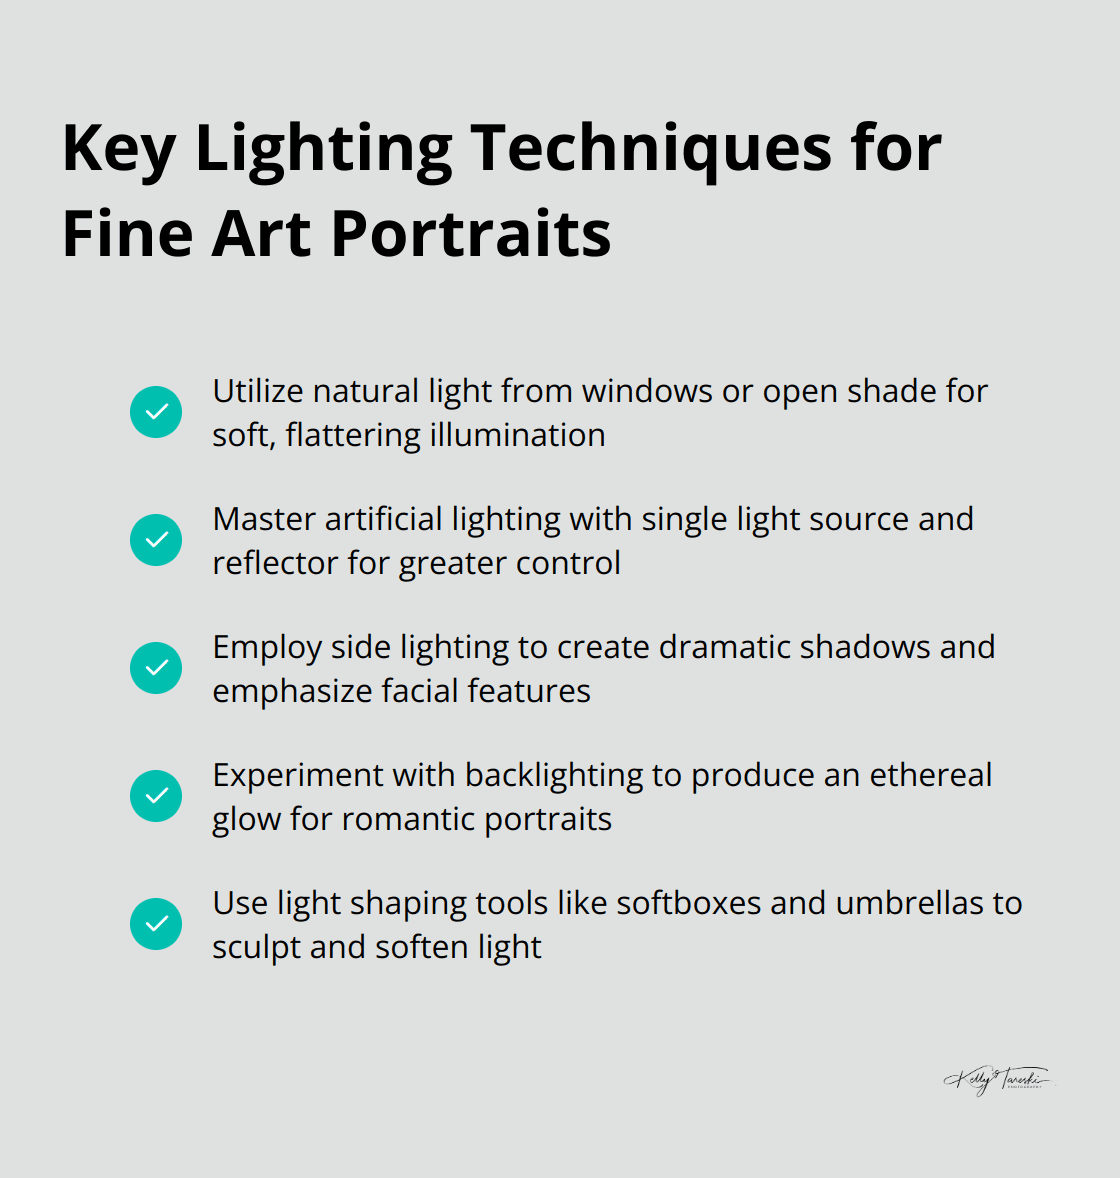
Natural light often provides the most flattering illumination for portraits. The soft light of the setting sun will produce a beautiful golden glow, and you can often use careful side lighting or backlighting to create a gorgeous result. To avoid harsh shadows, position your subject near a large window or in open shade. Overcast days provide excellent diffused light, perfect for even illumination.
Mastering Artificial Light
While natural light is beautiful, it’s not always available or sufficient. Artificial lighting allows for greater control and creativity. Start with a single light source and a reflector to fill in shadows. As your skills improve, experiment with multiple lights to create depth and dimension.
Continuous LED lights have gained popularity for portrait photography. They allow you to see the effect of your lighting in real-time, making adjustments easier.
Creating Mood and Emotion
The direction and quality of light significantly impact the mood of your portrait. Side lighting can create dramatic shadows, emphasizing facial features and adding a sense of mystery. Backlighting produces an ethereal glow, perfect for romantic or dreamy portraits.
Try different ratios between your main light and fill light. A high contrast ratio creates a moody, low-key portrait, while a lower ratio results in a brighter, more evenly lit image.
The Art of Light Shaping
Light shaping tools (such as softboxes, umbrellas, and reflectors) can transform the quality of light in your portraits. These tools can sculpt a person’s face shape while being more flattering and filling in some smaller lines and wrinkles.
Balancing Ambient and Artificial Light
In many situations, you’ll need to balance ambient light with your artificial light sources. This technique allows you to create portraits that look natural yet polished. Use a light meter to measure the ambient light, then adjust your artificial lights to complement or overpower it (depending on your desired effect).
As you master these lighting techniques, you’ll find yourself creating portraits that truly deserve the title of fine art. The next chapter will explore how post-processing can further enhance your images, turning good portraits into masterpieces.
Enhancing Your Fine Art Portraits
The Power of Color Grading
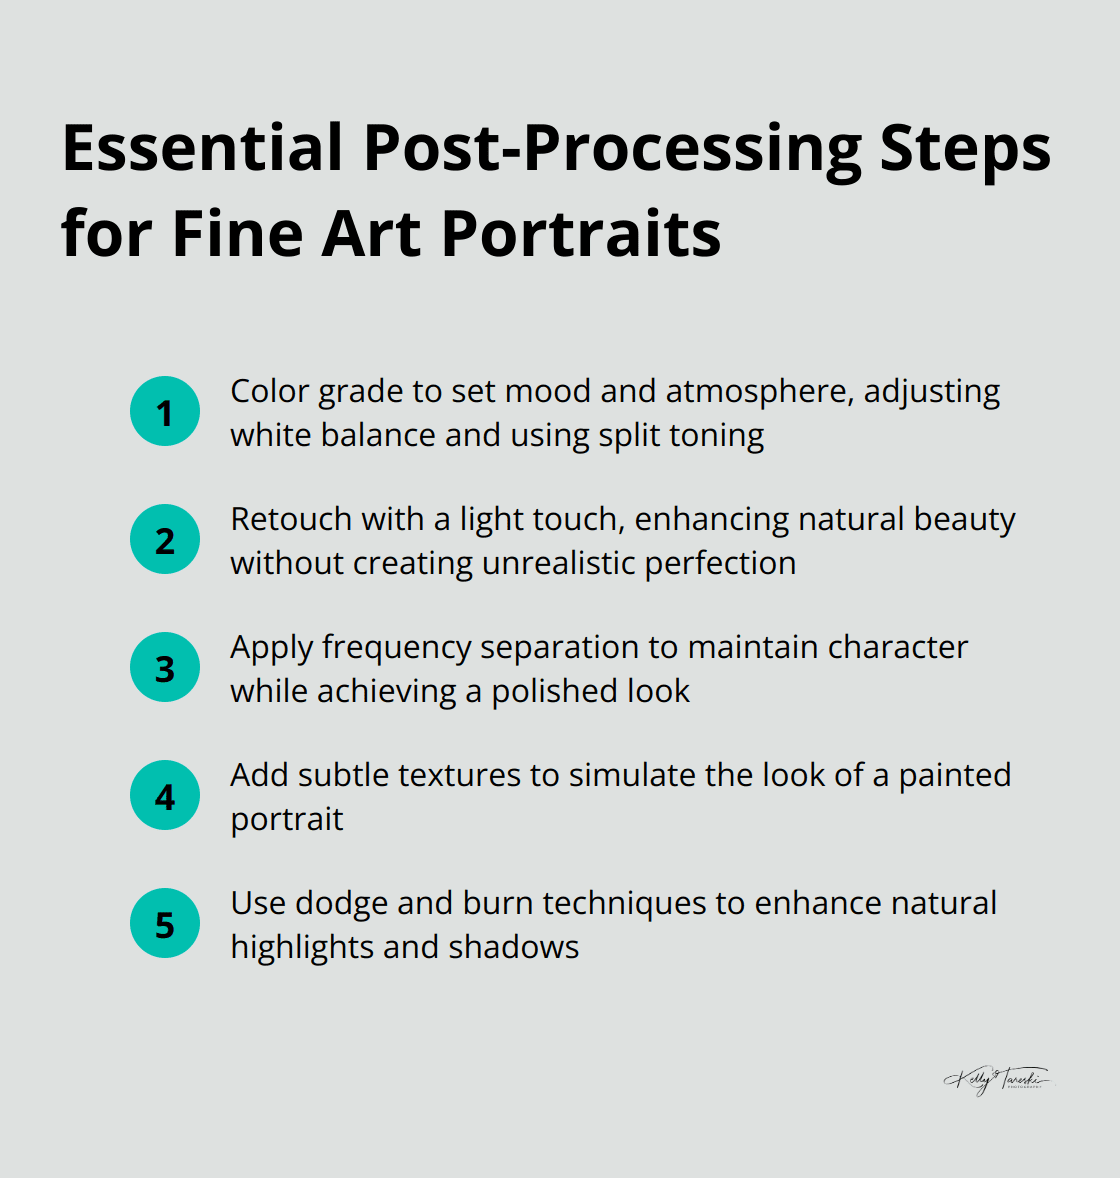
Color grading sets the mood and atmosphere of your portrait. Adjust the white balance to achieve the desired overall tone. Use split toning to add subtle color to the highlights and shadows. For a classic fine art look, cool the shadows and warm the highlights. This technique creates a painterly effect reminiscent of old master portraits.
Experiment with different color palettes to evoke specific emotions. Muted, desaturated tones create a somber or nostalgic feel, while rich, vibrant colors convey energy and passion. Maintain consistency across your image series to develop a signature style.
Retouching with a Painterly Touch
When retouching for fine art portraits, less often equals more. Focus on enhancing your subject’s natural beauty rather than creating unrealistic perfection. Use the frequency separation technique to separate color information from other details of an image. This method maintains the subject’s character while achieving a polished look.
For a truly painterly effect, use a digital brush tool to selectively soften certain areas of the image. This mimics the brushstrokes of an oil painting, adding an artistic flair to your digital photograph. Pay special attention to the eyes (often the focal point of a portrait). Enhance their clarity and depth to draw the viewer in.
Adding Depth and Texture
To give your digital portraits the depth and richness of fine art, add subtle textures. Overlay canvas or paper textures at low opacity to simulate the look of a painted portrait. This technique works particularly well for images that will be printed on textured fine art paper.
Dodge and burn techniques add dimension to your portraits by enhancing natural highlights and shadows. This not only adds depth but also helps direct the viewer’s eye to the most important elements of the image.
Try a subtle vignette. A slight darkening of the edges focuses attention on your subject and adds a classic fine art feel. However, use this technique sparingly to avoid an overly processed look.
Balancing Artistry and Reality
The goal of post-processing in fine art portraiture is to enhance the image while maintaining its authenticity. It’s a delicate balance between artistry and reality, one that requires practice and a keen eye for detail. As you develop your skills, you’ll find your unique style emerging, setting your work apart in the world of fine art portraiture.
Final Thoughts
Fine art portraiture transforms ordinary photographs into captivating works of art. We explored composition techniques, lighting mastery, and post-processing methods to create stunning portraits. These tools help develop your unique style through practice, experimentation, and boundary-pushing.
Our photography education encourages you to test different techniques, lighting setups, and post-processing approaches. Combine elements in new ways or focus on perfecting one aspect of your craft at a time. The more you practice, the more intuitive these skills become, allowing your creativity to flourish.
Kelly Tareski Photography believes in continuous learning and growth. Our team captures timeless, elegant portraits that tell your unique story (with over two decades of experience). We ensure a stress-free experience and stunning results for senior portraits, family photography, or commercial shots.
Education Most Searched Articles
- Kelly Tareski Photography Homepage
- How to Choose Background Colors to Complement Skin Tones
- Choosing the Best Lens for Stunning Senior Portraits
- 5 Tips Using the Nikon Z7ii Camera for Portrait Photography
- Exploring Spokane Through a Lens: Must-Visit Photo Locations
- How to Choose the Best Lenses for Senior Portraits
- When to Use a Neutral Background in Photography
- Top Posing Ideas for Solo Portraits: Looking Confident and Natural
- The Economy and Photography
- How the Economy Impacts Photography
- How to Weather Economic Slumps as a Photographer
- Finding Creative Ways to Promote Your Photography on a Budget
- Free and Low-Cost Resources for Photographers