

10 Tips for Shooting Better Portrait Photography
What Makes a Better Portrait Photograph?
Better portrait photography comes from making deliberate choices about light, focus, camera position, background, communication, lens use, exposure, and editing. There is no single setting or pose that works for every person. The strongest approach is to decide what you want the portrait to communicate, then use the camera and the environment to support that goal.
These ten portrait photography tips focus specifically on photographing people. If you are still learning broader camera fundamentals such as exposure, composition, and basic lighting, start with my photography tips for beginners and then come back to these portrait-specific techniques.
1. Choose Light That Fits the Portrait
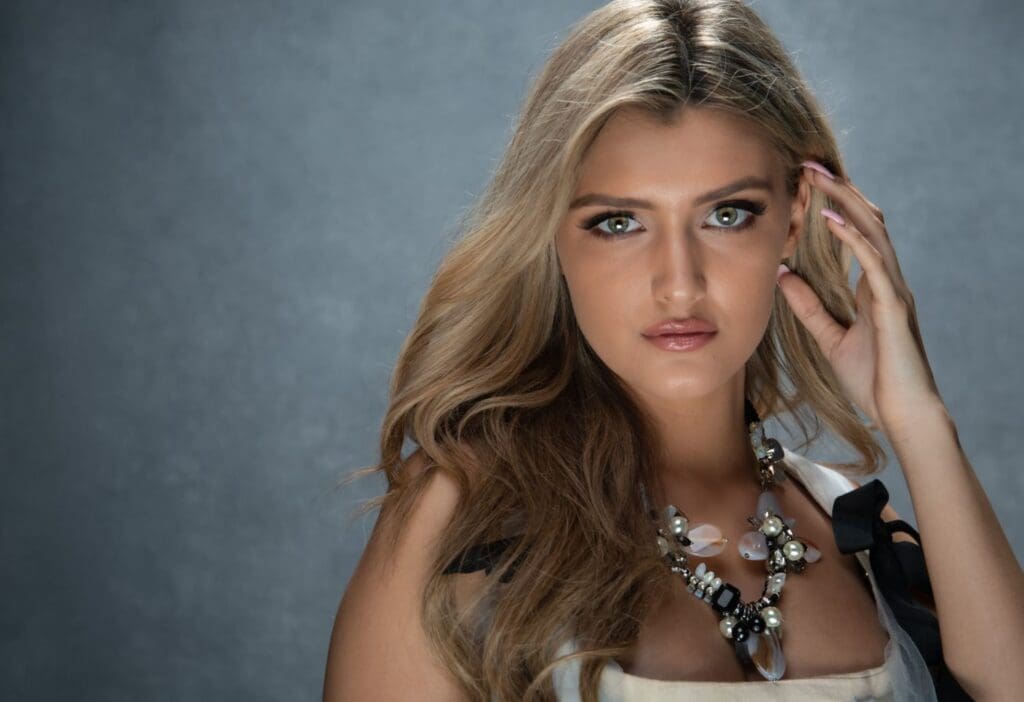
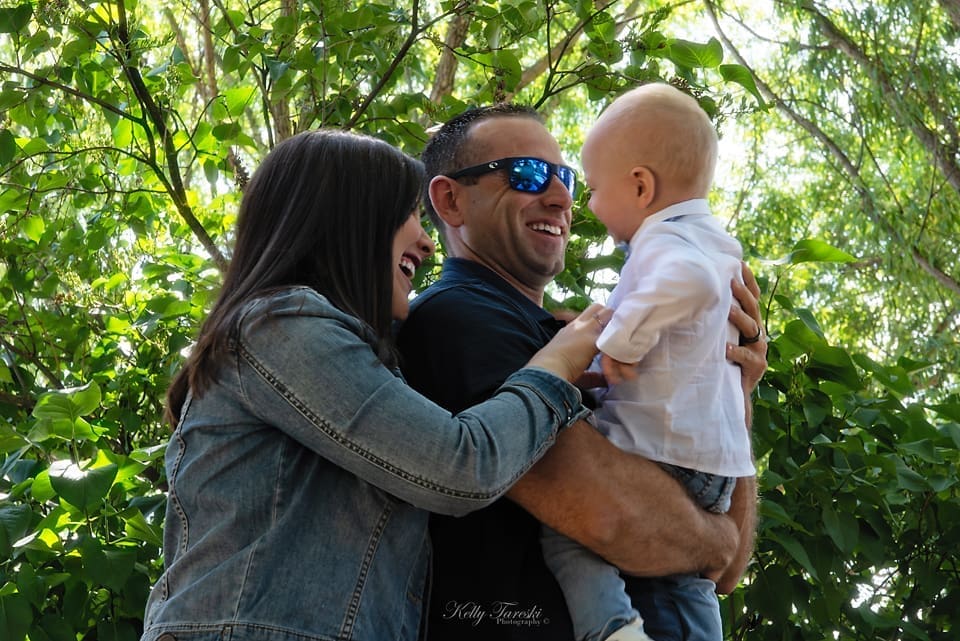
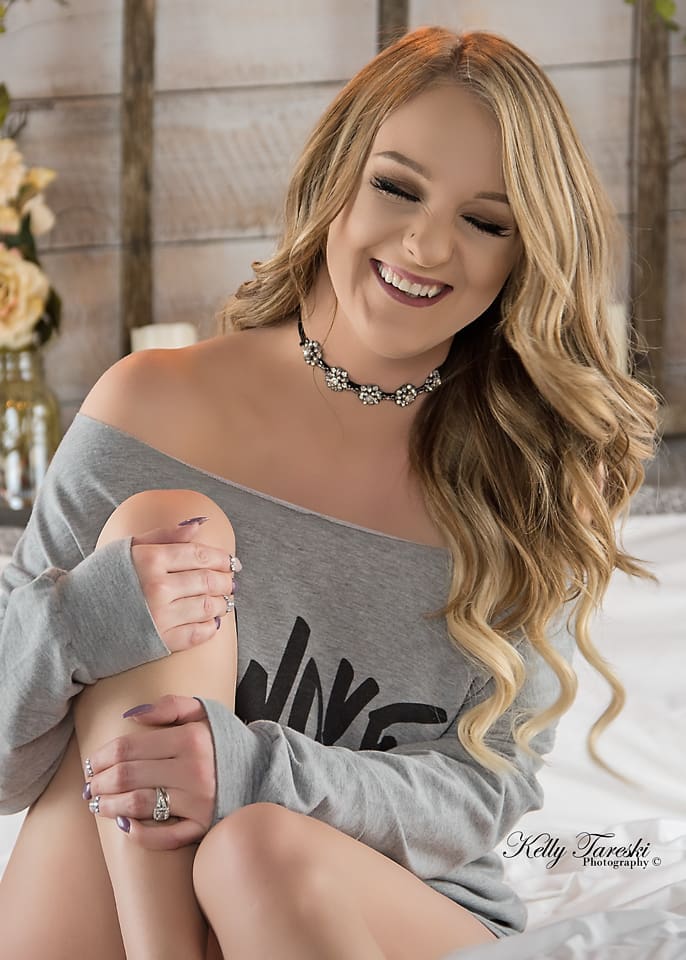
Soft, diffused light can reduce contrast and make transitions between highlights and shadows more gradual, which is one reason it is popular for portraits. Window light, open shade, diffusion, and larger light sources can all help create that look.
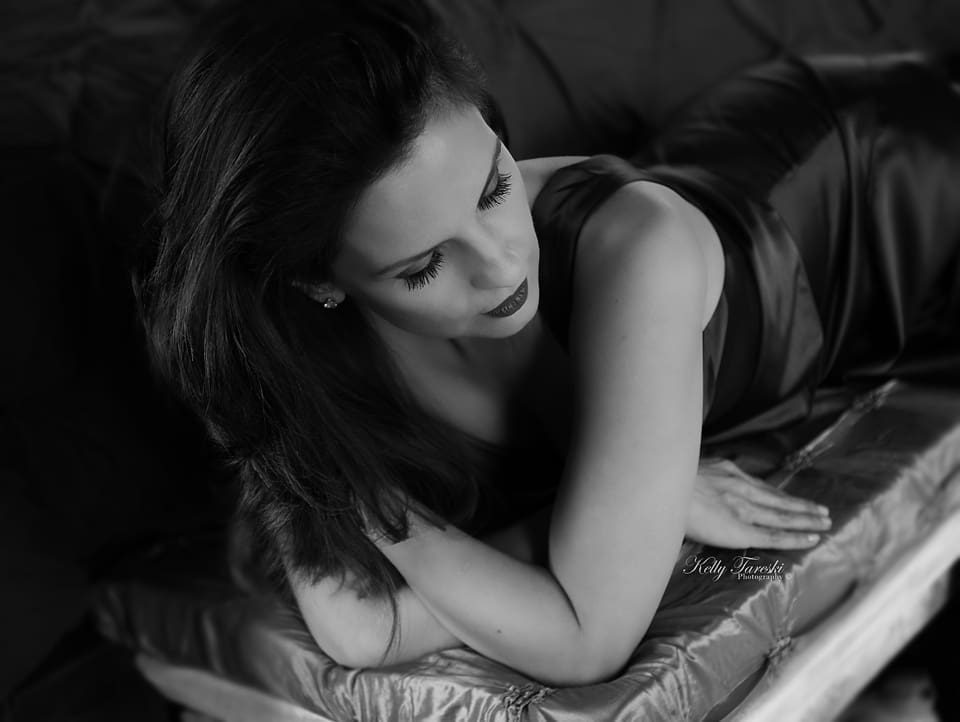
Hard light is not automatically bad. Direct sunlight, a smaller light source, or a more directional setup can create shape, drama, texture, and strong shadows when that is the look you want. Instead of always trying to soften the light, pay attention to its direction, contrast, and how it falls across the face.
2. Use Camera Height Intentionally
Eye-level camera placement often feels natural because the viewer meets the subject from a familiar perspective, but it is not a rule. Raising or lowering the camera changes how facial features, body proportions, and the background are represented.
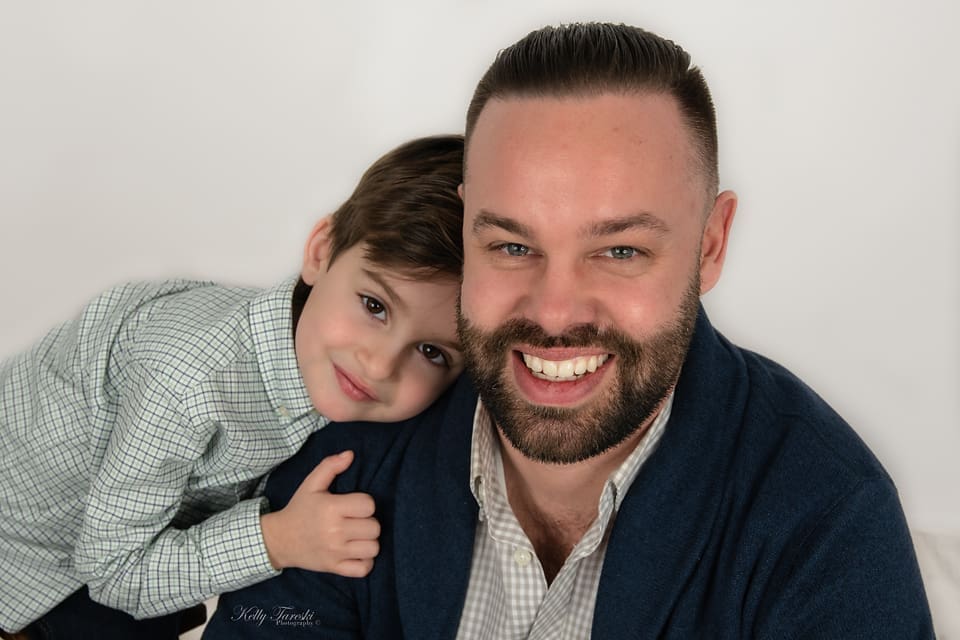
For children, getting closer to their height can make the portrait feel more connected to their point of view. For adults, small changes in camera height can help you refine the composition. Move with a purpose rather than assuming every portrait must be photographed at eye level.
3. Put Focus Where It Matters
In many close portraits, the eyes are an important focus point because viewers naturally look there first. When the face is turned, I often pay particular attention to the eye closest to the camera, but the correct focus point depends on the pose, aperture, distance, and how much of the face you want sharp.
Very shallow depth of field can make precise focus more demanding. If both eyes or multiple people need to be sharp, stopping the lens down may be more useful than simply choosing the widest aperture available.
4. Treat the Background as Part of the Portrait
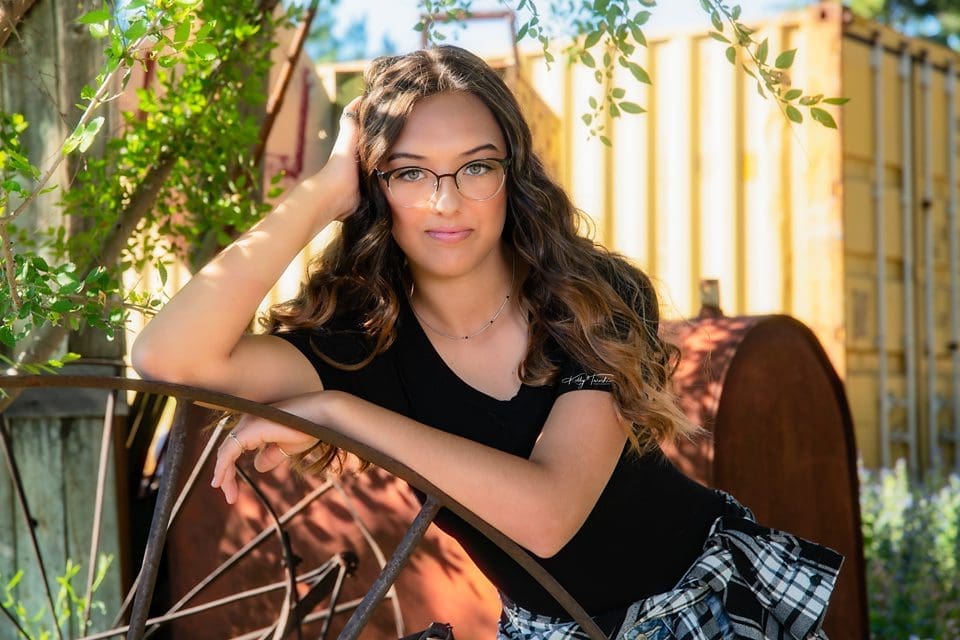
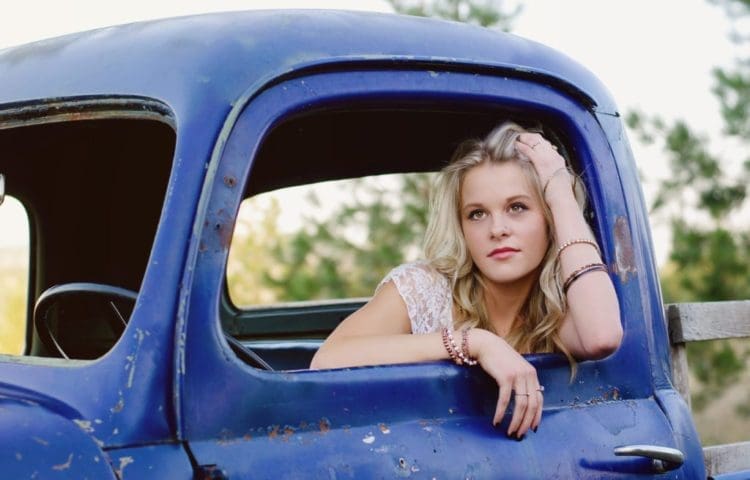
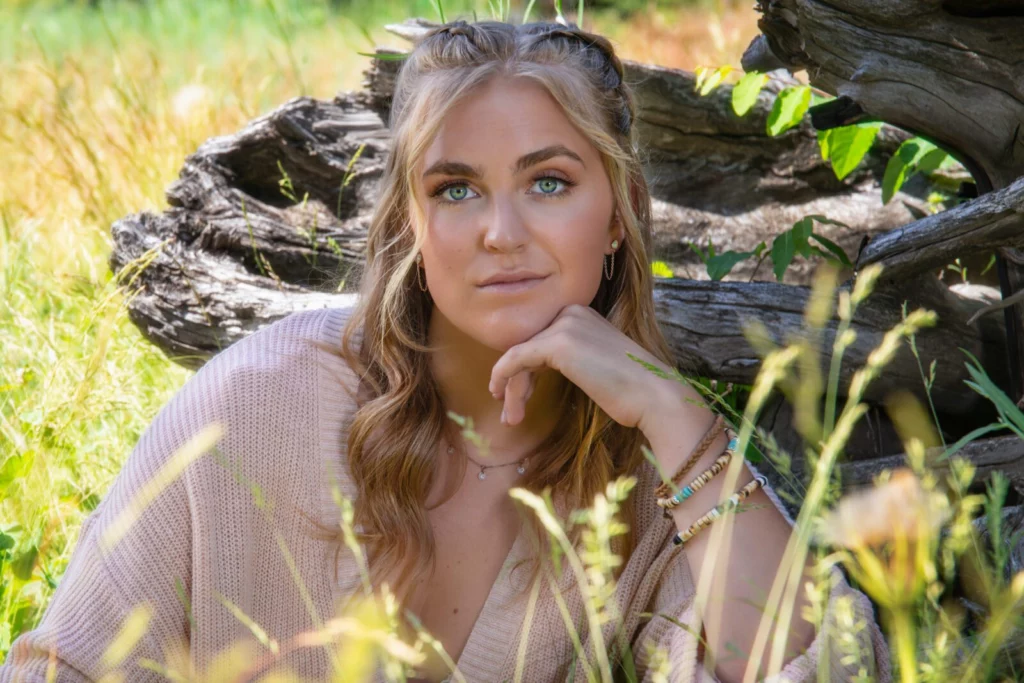
A strong portrait background supports the subject instead of competing for attention. Before pressing the shutter, look for bright distractions, objects that appear to grow out of the subject, competing lines, or colors that pull attention away from the face.
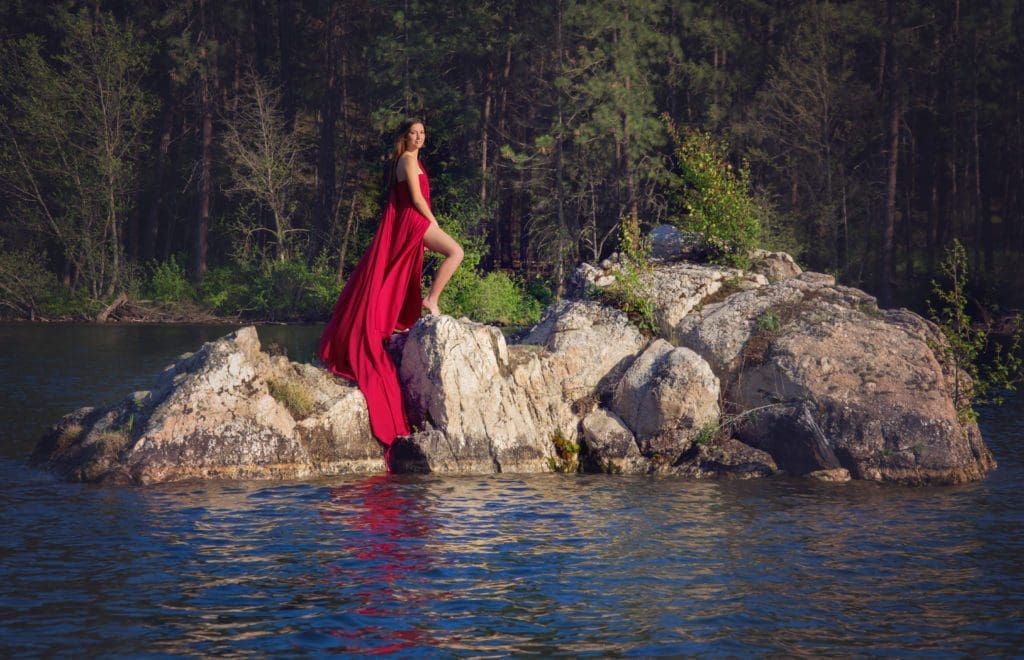
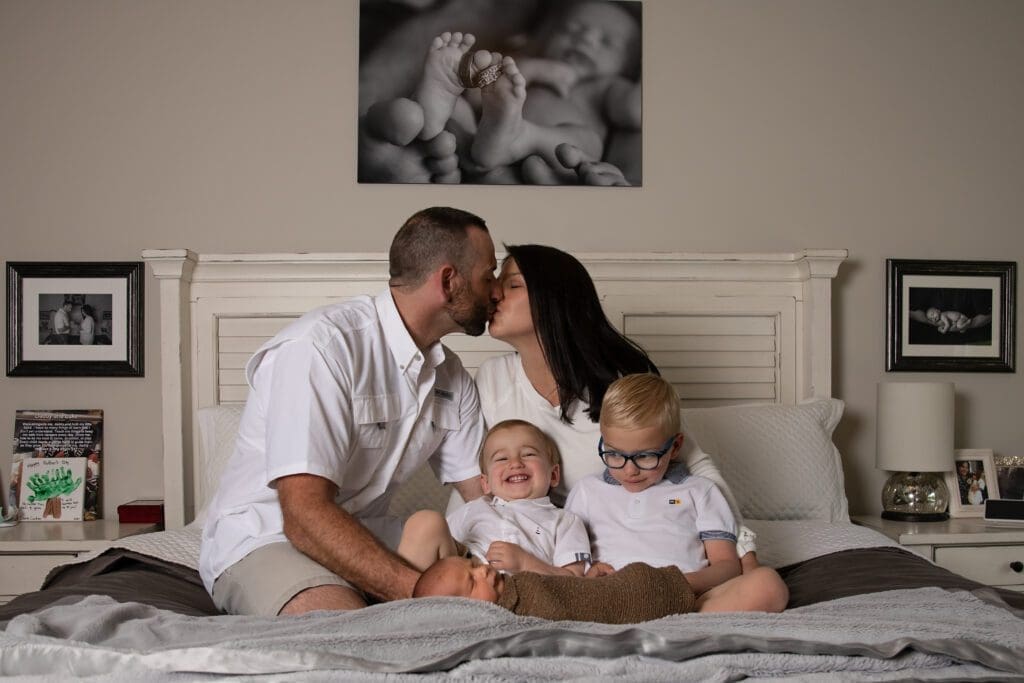
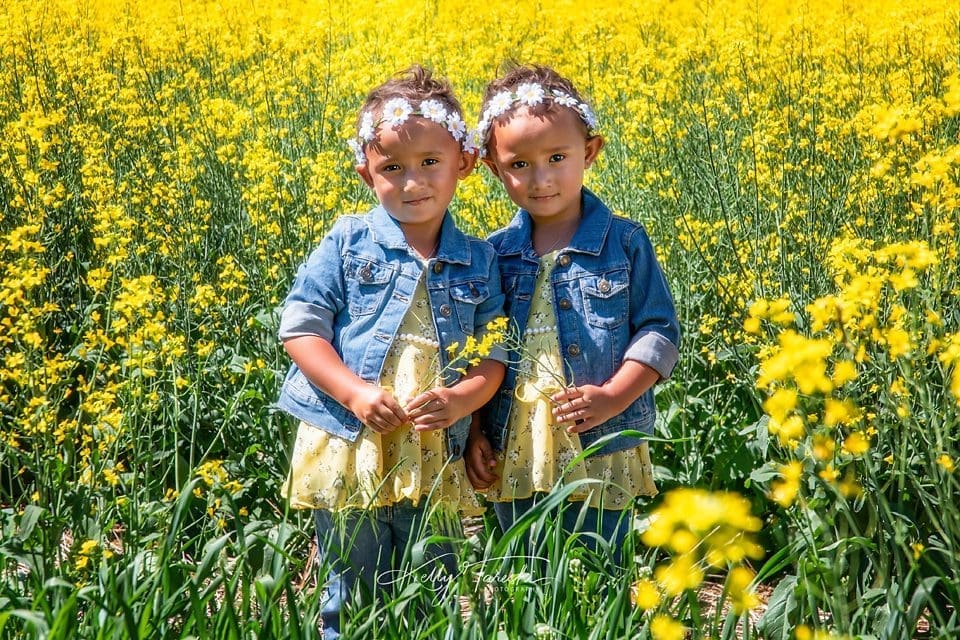
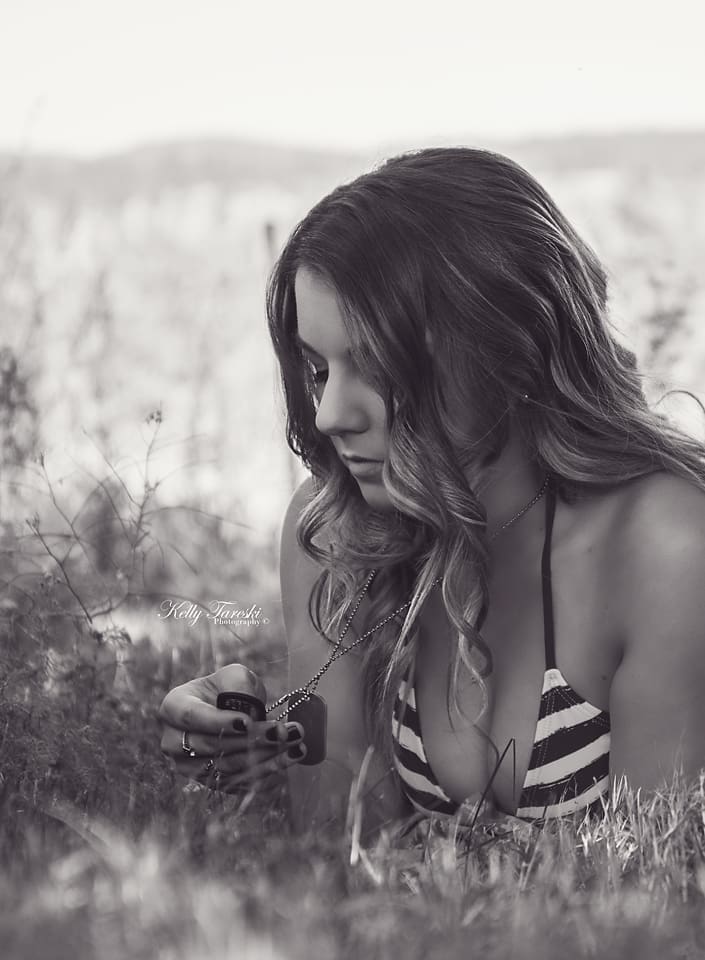
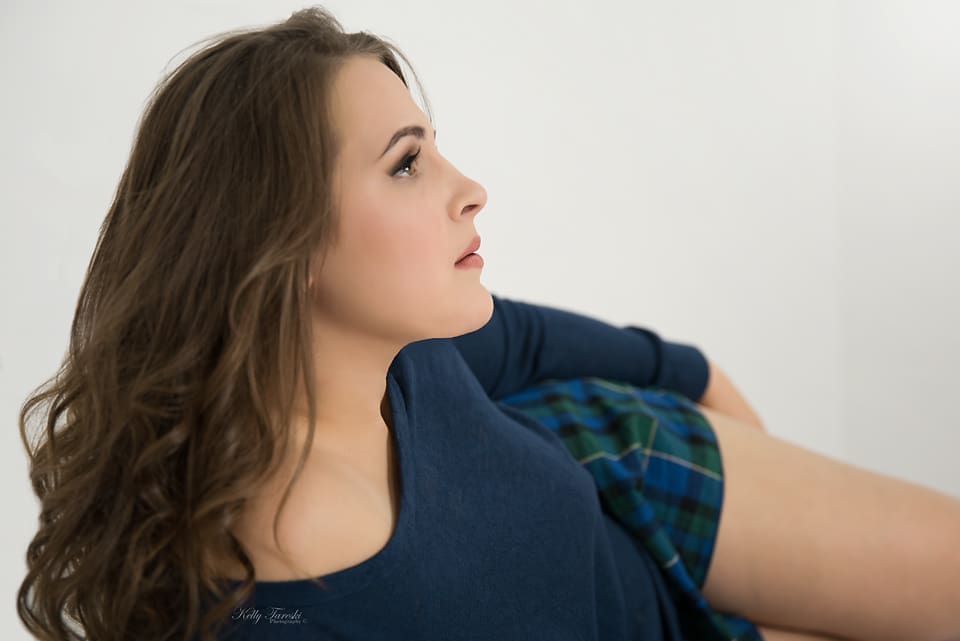
The background can also help tell the story. A studio, garden, home, urban location, or open landscape can each add a different feeling. Sometimes a clean background is the best choice. Other times, keeping meaningful environmental detail makes the portrait stronger.
5. Control Background Blur Instead of Chasing It
A wide aperture can reduce depth of field, but aperture is only one part of background blur. Subject-to-background distance, camera-to-subject distance, focal length, framing, and the physical background all affect how separated the subject appears.
Use blur when it helps the photograph, not simply because portraits are expected to have a blurry background. Sometimes the setting matters and deserves to remain recognizable. For a deeper explanation, see my guide to bokeh in portrait photography.
6. Communicate With the Person You Are Photographing
Portrait photography is not only a camera exercise. Clear direction can help a subject understand where to stand, what to do with their hands, where to look, and how the session is progressing. I try to give specific guidance instead of expecting someone to know how to pose on their own.
Pay attention to comfort and boundaries as well. If a pose feels awkward or does not fit the person, change it. Useful feedback and a steady pace usually produce more natural variation than repeatedly asking for a generic smile.
7. Understand What Focal Length and Camera Distance Change
Different focal lengths change framing and field of view, but perspective is driven primarily by where the camera is positioned relative to the subject. If you move very close with a wide-angle lens, nearby facial features can appear proportionally larger. If you step farther back and use a longer focal length to keep similar framing, the perspective changes because the camera position changed.
That is why portrait photographers often choose a focal length that lets them work at a comfortable distance for the composition they want. Wide-angle lenses can also be useful for environmental portraits when the surroundings are intentionally part of the image.
8. Practice One Variable at a Time
Practice becomes more useful when you know what you are testing. Instead of changing light, lens, pose, location, and camera settings all at once, choose one variable and compare the results.
You might photograph the same person with different camera heights, move the subject farther from the background, compare two focal lengths from appropriate working distances, or test how a small lighting change affects the face. Controlled practice makes it easier to understand why a portrait changed.
9. Edit to Support the Photograph
Post-processing can refine exposure, white balance, contrast, color, cropping, and other details after the image is captured. The amount of editing should match the purpose and style of the portrait.
I prefer to treat editing as part of the photographic process rather than as a way to rescue every problem. Getting the light, focus, expression, and composition as close as possible in camera gives you a stronger file to work with and more freedom to make deliberate finishing choices.
10. Choose RAW or JPEG for Your Workflow
RAW files generally retain more image data and give you greater latitude for adjustments such as white balance and exposure during post-processing. The tradeoff is larger files and the need for processing before delivery or sharing.
JPEG files are smaller and processed in-camera, which can be useful when speed, storage, or a simpler workflow matters more than maximum editing flexibility. Some cameras also allow RAW and JPEG to be recorded together. The better choice depends on how you photograph and what you plan to do with the files afterward.
Which Portrait Photography Tip Should You Practice First?
Start with the part of your portraits that is least predictable. If focus is inconsistent, work on autofocus and depth of field. If faces look flat or harsh, study light direction and contrast. If backgrounds are distracting, slow down and improve subject placement before changing camera settings.
Portrait photography improves fastest when you can identify the problem you are trying to solve. One deliberate adjustment is usually more useful than copying a long list of settings from someone else's camera.
That's a Wrap!
Good portrait photography combines technical control with attention to the person being photographed. Light, focus, camera position, background, lens choice, communication, and editing all matter, but none of them works in isolation.
Use these ten tips as a practice framework rather than a fixed recipe. Test them with real subjects, compare the results, and keep the choices that help you create the kind of portraits you want to make.
Kelly Tareski Photography



Education Most Searched Articles
- Kelly Tareski Photography Homepage
- How to Choose Background Colors to Complement Skin Tones
- Choosing the Best Lens for Stunning Senior Portraits
- 5 Tips Using the Nikon Z7ii Camera for Portrait Photography
- Exploring Spokane Through a Lens: Must-Visit Photo Locations
- How to Choose the Best Lenses for Senior Portraits
- When to Use a Neutral Background in Photography
- Top Posing Ideas for Solo Portraits: Looking Confident and Natural
- The Economy and Photography
- How the Economy Impacts Photography
- How to Weather Economic Slumps as a Photographer
- Finding Creative Ways to Promote Your Photography on a Budget
- Free and Low-Cost Resources for Photographers