

What is Black and White Photography
What Is Black and White Photography?
Black and white photography records or renders a scene without full color, using a range of tones from black through gray to white. In digital photography, a black-and-white image may be captured with a monochrome camera or, more commonly, created from a color file during processing.
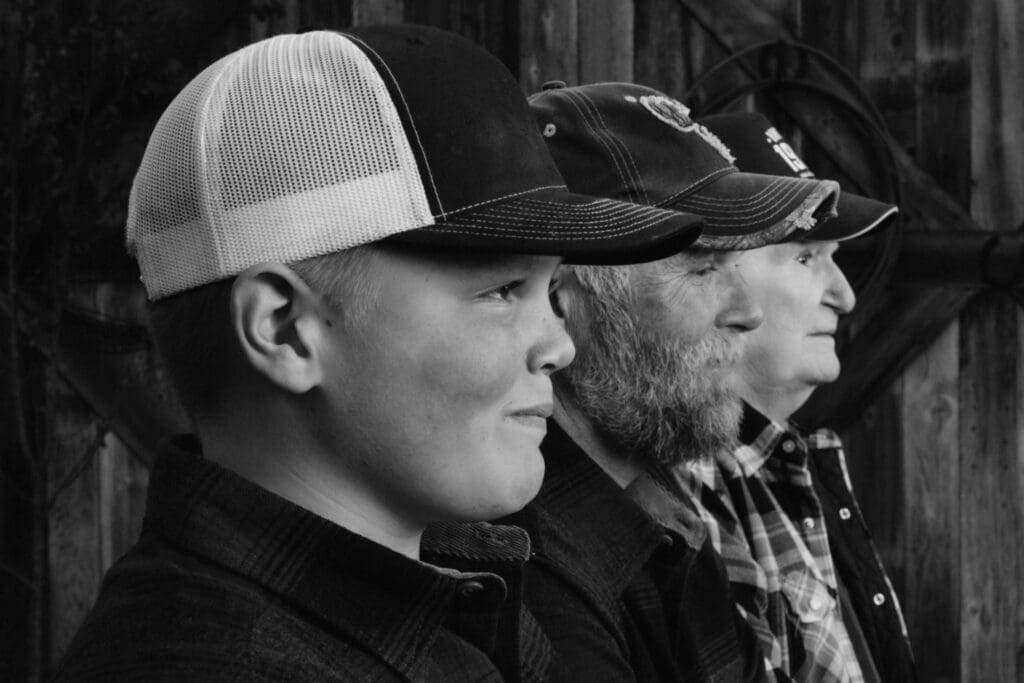
Removing color changes how the photograph is read. Light, shadow, contrast, texture, shape, line, pattern, expression, and composition often become more noticeable because color is no longer carrying part of the visual information.
Is Black and White Photography the Same as Monochrome?
Black and white is a form of monochrome, but the terms are not always identical. A monochromatic image can use one dominant hue or a limited tonal family, while black and white specifically uses grayscale. For a single-color portrait approach, see Monochromatic Boudoir Photography.
What Makes a Strong Black and White Photograph?
- Tonal separation: The subject and background need enough difference in brightness, texture, edge, or light direction to remain readable without color.
- Light and shadow: Direction, quality, and intensity of light determine how form and texture appear in grayscale.
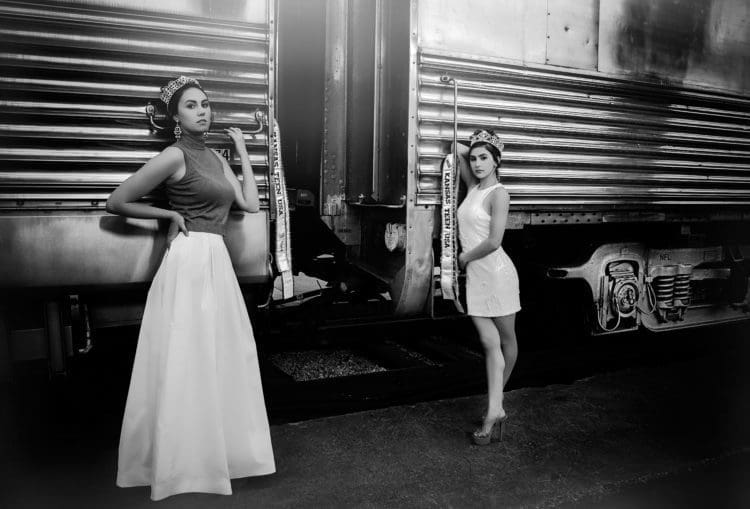
- Contrast: High contrast can create graphic or dramatic images, while lower contrast can produce a softer tonal range.
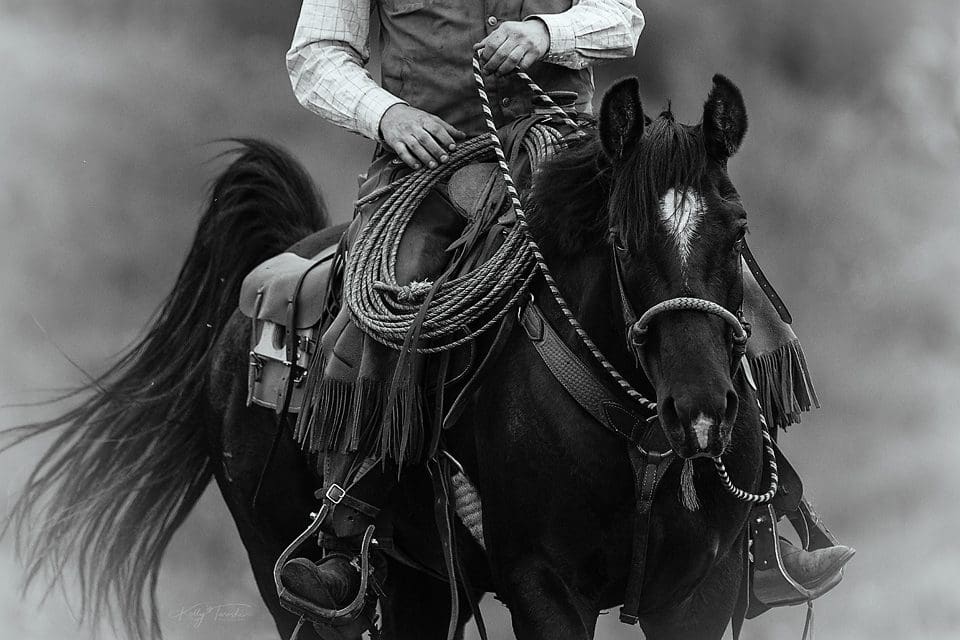
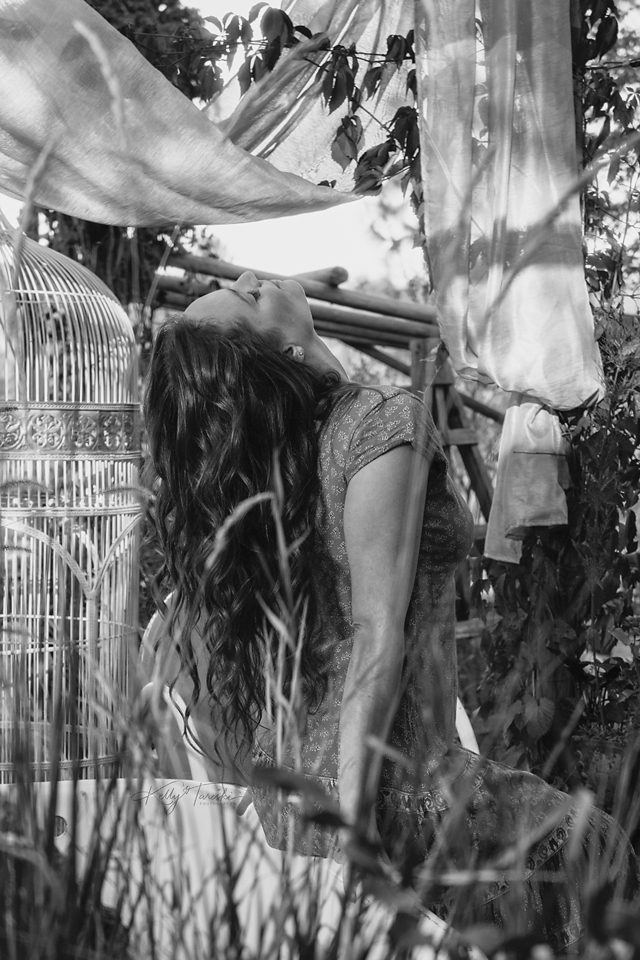
- Texture: Skin, fabric, wood, metal, architecture, foliage, and other surfaces can become more visually prominent without color.
- Composition: Shape, line, negative space, gesture, and subject placement matter because color contrast is unavailable to organize the frame.
Do You Need Special Equipment for Black and White Photography?
No. Most digital cameras and phones can produce files that are converted to black and white later. A dedicated monochrome camera is a specialized option, not a requirement. Lens choice, sensor size, and camera brand do not determine whether a photograph works in black and white.
It is often useful to capture a color RAW file when possible because it preserves color-channel information that can later be used to control how different colors translate into gray values during editing.
Should You Shoot in Black and White or Convert Later?
Many photographers preview a scene in monochrome while still recording a color RAW file. That allows them to judge tone and composition in black and white while retaining more editing flexibility afterward. If you record only a monochrome JPEG, some color information may no longer be available for later conversion adjustments.
How Do Colors Translate Into Gray Tones?
Two objects that look very different in color can become similar shades of gray. Conversely, editing can make one color render lighter or darker than another. This is why a strong color composition does not automatically become a strong black-and-white image.
During conversion, color-channel controls can change the brightness of reds, oranges, yellows, greens, blues, and other hues without restoring visible color. Use those controls carefully so skin, sky, clothing, foliage, and backgrounds remain natural to the intended look.
How Do You Take Better Black and White Photos?
- Look at the scene for light and tonal contrast rather than color alone.
- Check whether the subject separates clearly from the background.
- Watch highlight detail and shadow detail during exposure.
- Use side light, backlight, soft light, or harder light deliberately rather than assuming one lighting style is best.
- Pay attention to texture, line, shape, pattern, and negative space.
- Preview the image in monochrome if your camera allows it, but keep a RAW file when you want maximum editing flexibility.
- Compare the color and black-and-white versions instead of assuming the monochrome version is automatically stronger.
How Is Black and White Photography Edited?
Black-and-white processing can include exposure, white and black points, tonal curves, contrast, local adjustments, dodging and burning, color-channel mixing, grain, sharpening, crop, and cleanup. Simply reducing saturation to zero is only one possible starting point.
A good conversion should preserve intentional detail and tonal relationships. Heavy contrast, crushed blacks, bright whites, or film-style grain can be useful creative choices, but none of them is required for a photograph to qualify as black and white.
What Types of Photography Work in Black and White?
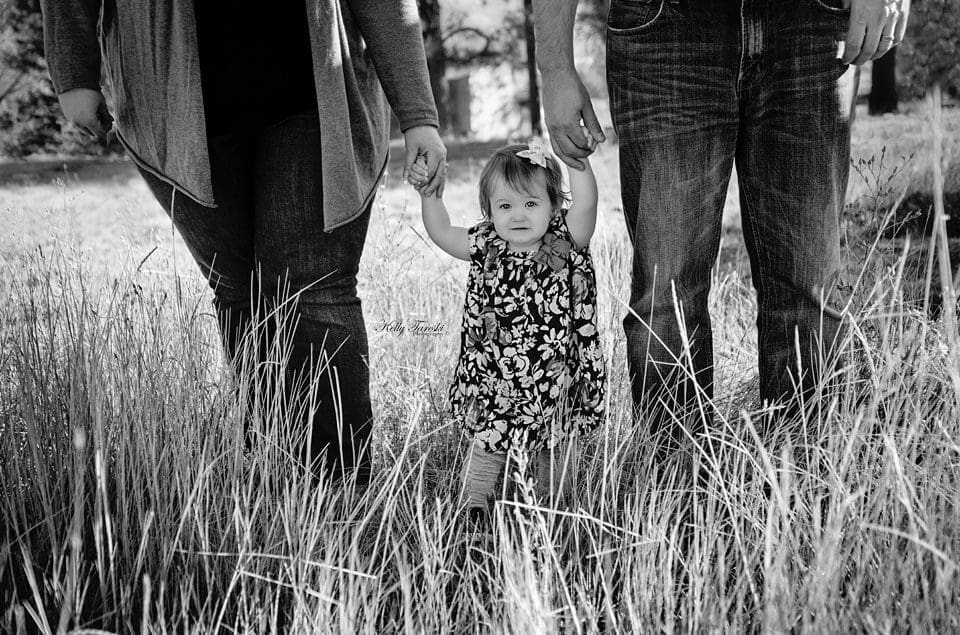
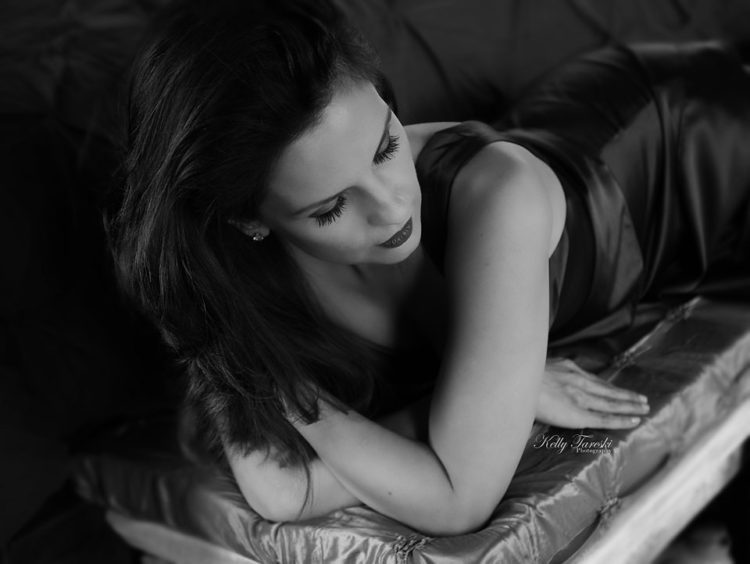
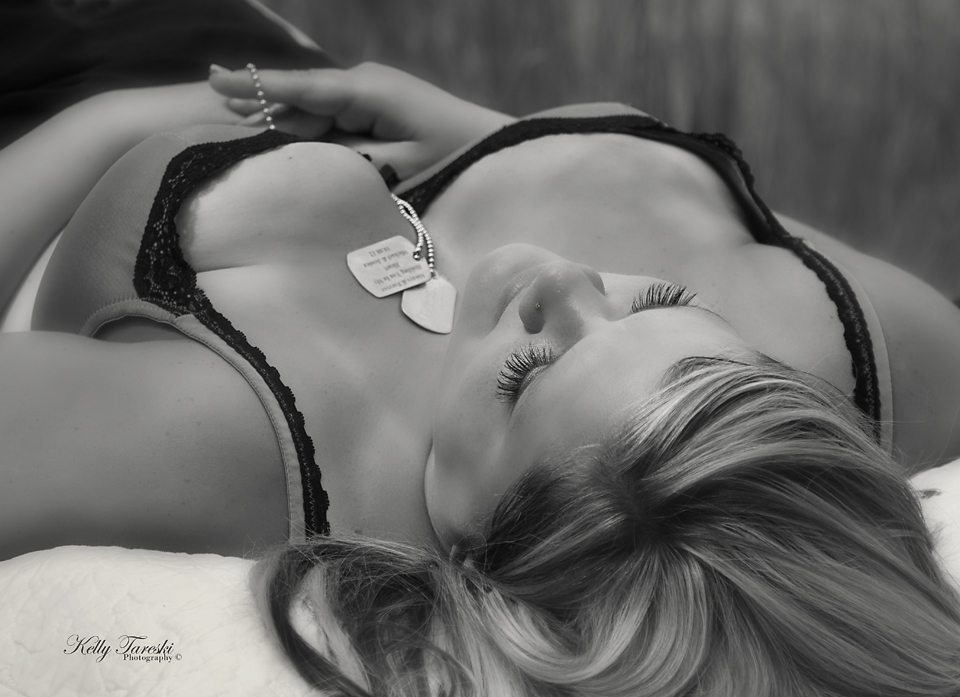
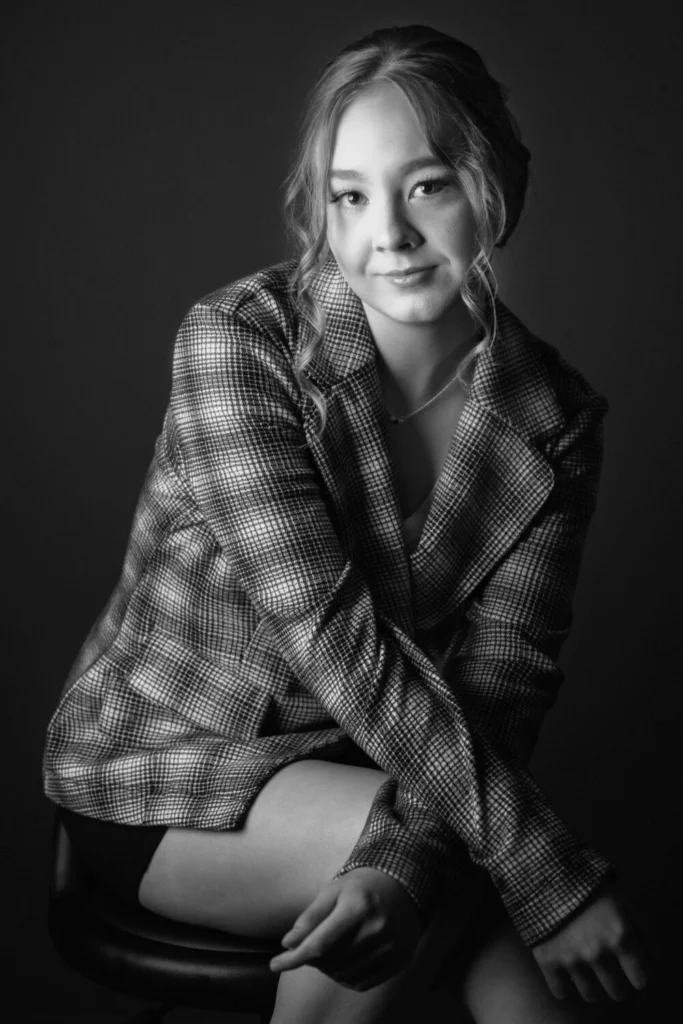
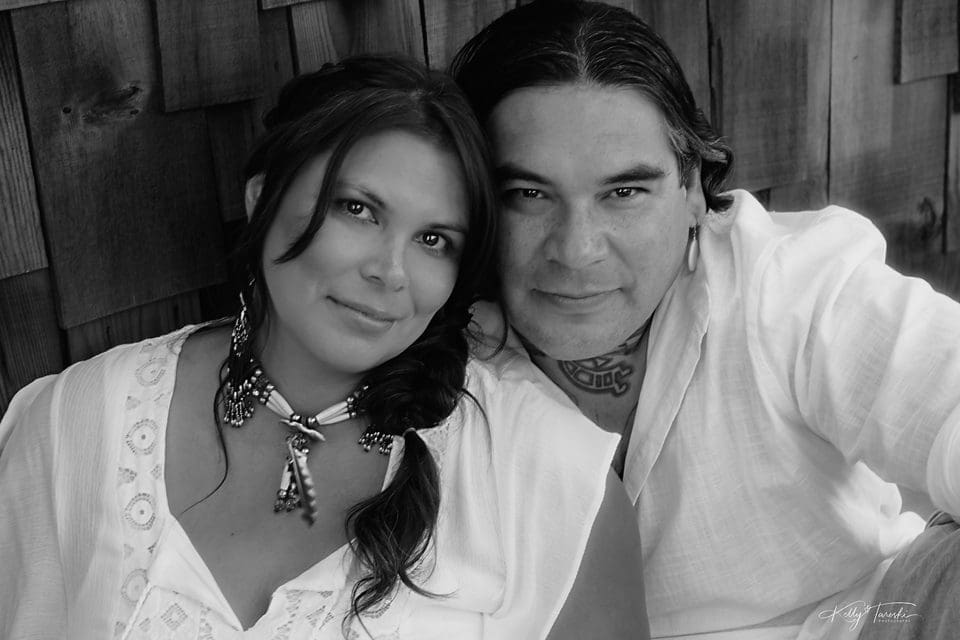
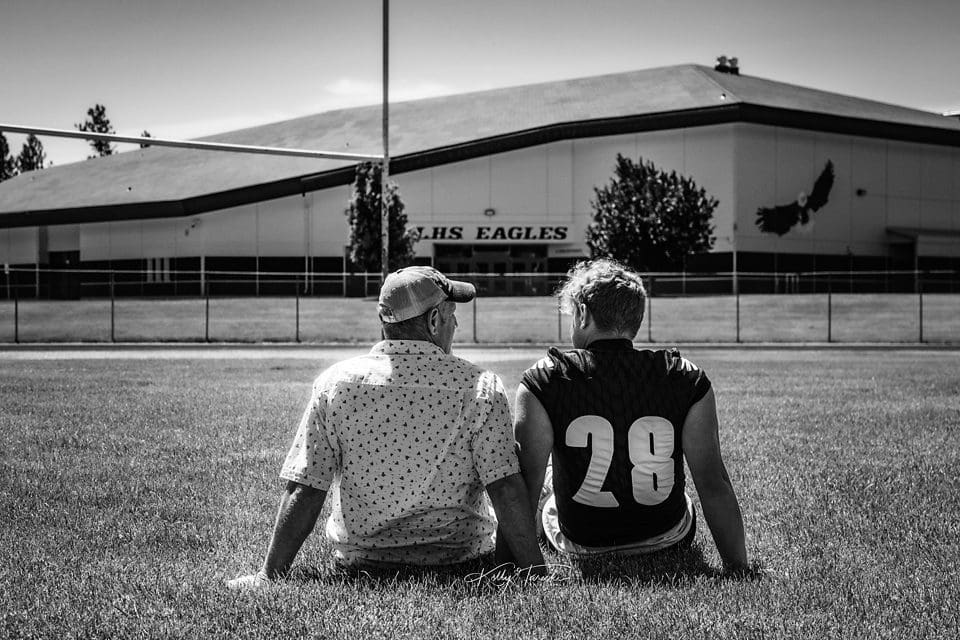
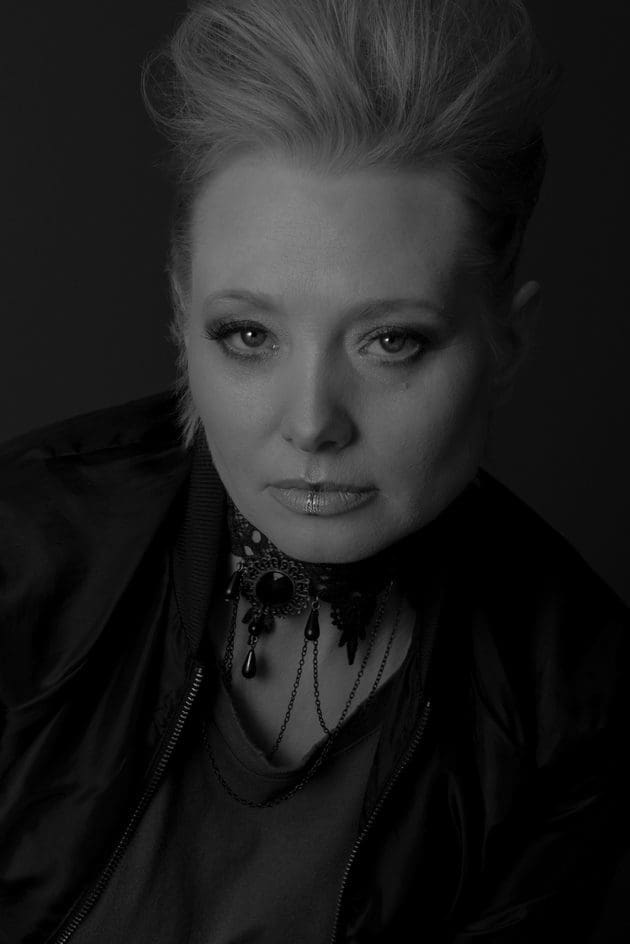
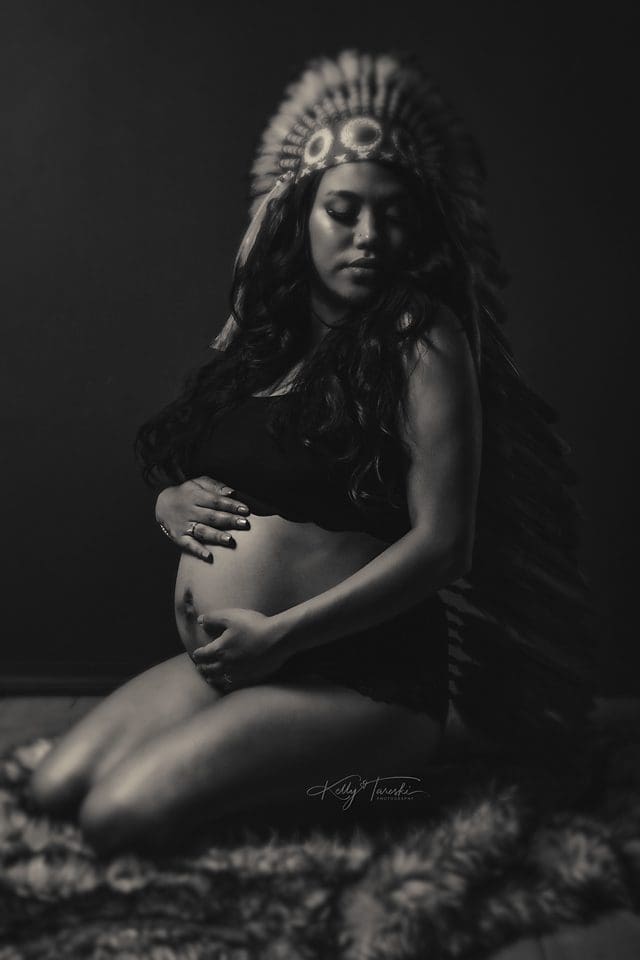
Portraits, street photography, landscapes, architecture, documentary work, still life, weddings, boudoir, family photography, and many other genres can work in black and white. The decision should be based on what the individual image gains or loses when color is removed.
Black and White vs. Color: Which Should You Choose?
Neither is universally better. Color may be important when wardrobe, environment, skin-tone relationships, branding, flowers, sunsets, or other hues contribute meaning. Black and white may work better when light, expression, texture, or shape are the stronger visual elements.
For a direct comparison, read Black and White vs. Color Photography.
Bottom Line
Black and white photography is not simply color photography with the color removed. It asks the photographer to organize the image through tone, light, contrast, texture, shape, and composition. The strongest choice is the treatment that best supports the photograph you are making.

















Education Most Searched Articles
- Kelly Tareski Photography Homepage
- How to Choose Background Colors to Complement Skin Tones
- Choosing the Best Lens for Stunning Senior Portraits
- 5 Tips Using the Nikon Z7ii Camera for Portrait Photography
- Exploring Spokane Through a Lens: Must-Visit Photo Locations
- How to Choose the Best Lenses for Senior Portraits
- When to Use a Neutral Background in Photography
- Top Posing Ideas for Solo Portraits: Looking Confident and Natural
- The Economy and Photography
- How the Economy Impacts Photography
- How to Weather Economic Slumps as a Photographer
- Finding Creative Ways to Promote Your Photography on a Budget
- Free and Low-Cost Resources for Photographers