
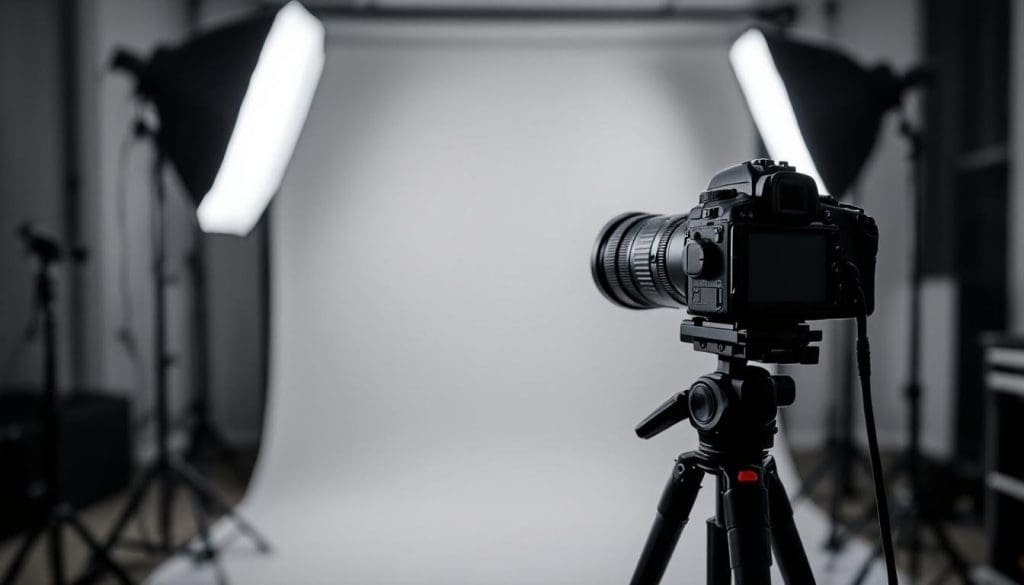
Rented Photography Studio Portraits: Tips and Setup
Creating Stunning Portraits in a Rented Photography Studio: Tips & Tricks. At Kelly Tareski Photography, we believe that mastering studio portraiture is a cornerstone of photography education. Renting a studio space offers endless possibilities for creating stunning portraits, but it also comes with its own set of challenges.
In this blog post, we’ll share our top tips and tricks for making the most of a rented photography studio. From choosing the right space to posing your subjects, we’ll cover everything you need to know to elevate your portrait game.
Quick answer: Strong portraits in a rented studio come from controlling four things: light direction, background, subject-to-background distance, and posing. Start with one simple lighting setup, test exposure before the subject is ready, and change one variable at a time so the session stays efficient.
For deeper guidance, see my portrait lighting guide and questions to ask before renting a studio.
How to Choose the Perfect Studio Space
At Kelly Tareski Photography, we understand that selecting the right studio can significantly impact your portrait session. The ideal space not only meets your technical requirements but also sparks creativity.
Size and Layout: The Foundation of Your Shoot
The size of your studio plays a crucial role in your shooting options. For people, 35mm full body portraits work great and 50-55mm headshots and half body would also work well. This allows ample room for lighting setups, backdrops, and subject movement.

Layout is equally important. Look for:
- High ceilings (minimum 10 feet) to accommodate lighting and backdrops
- An open floor plan for versatile shooting options
- Separate areas for makeup and wardrobe changes (streamlines your workflow)
Lighting Equipment: Illuminating Your Vision
A well-equipped studio should offer various lighting options:
- Strobes
- Continuous lights
- Modifiers (softboxes, umbrellas)
Today, many photographers favor studio lighting as their go-to artificial lighting choice, particularly in controlled environments.
Don’t overlook natural light. Studios with large windows provide beautiful, soft lighting for portraits. However, ensure blackout options are available for full lighting control.
Versatility: Expanding Your Creative Palette
The best studios offer a range of backdrops and props:
- At least one white cyclorama wall for clean, seamless backgrounds
- A selection of colored backdrops and textured surfaces
- Basic props (chairs, stools, reflectors)
These elements add depth and interest to your compositions without the need to transport bulky items yourself.
Amenities and Facilities: Enhancing the Experience
Consider these additional features:
- Comfortable waiting area for clients
- Clean restrooms
- Kitchenette for refreshments
- Nearby parking and food options (essential for full-day sessions)
- Dedicated makeup area with good lighting and a large mirror
Some high-end studios even offer on-site makeup artists and hairstylists, which can enhance your service offerings.
The perfect studio aligns with your specific needs and style. Visit potential spaces in person and ask questions about equipment, policies, and availability. With these considerations in mind, you’ll be well-prepared to set up your equipment and create stunning portraits that will impress your clients.
How to Set Up Your Equipment for Studio Portraits
Lighting Setup: The Foundation of Great Portraits
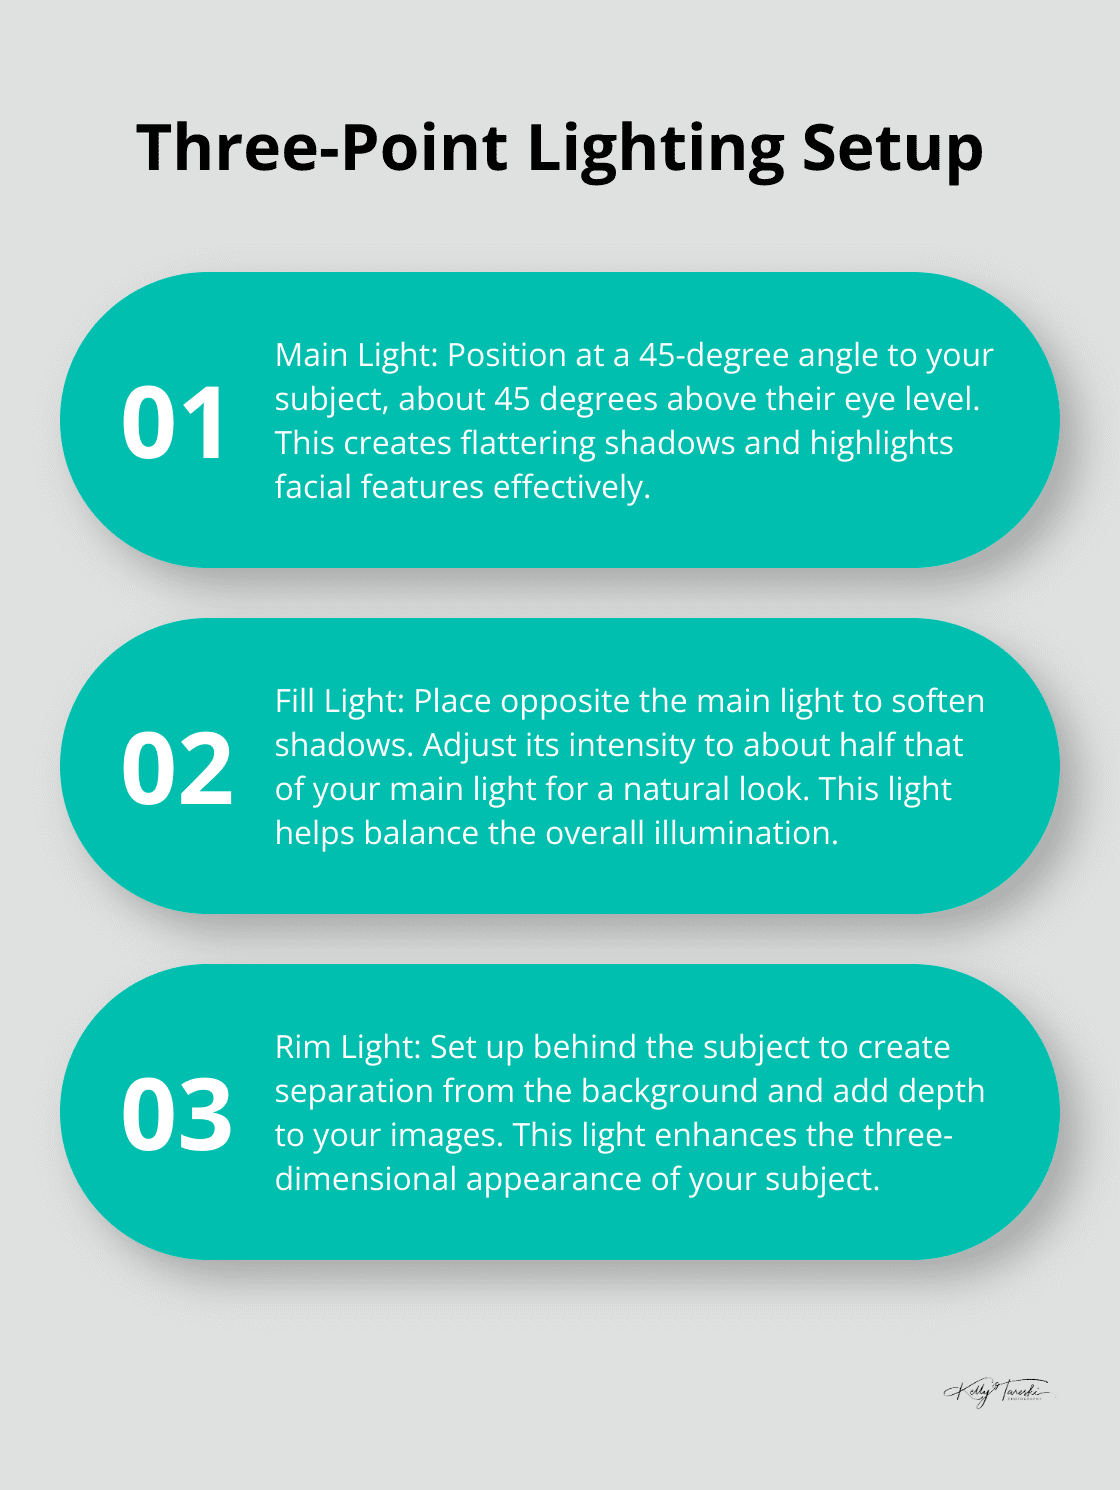
Start with one main light and place it where the shadow pattern supports the face and mood you want. A position above eye level and off to one side is a common starting point, not a required 45-degree formula. Move the light while watching the catchlights, nose shadow, cheek shadow, and background separation.
Add fill only when the shadow side needs more detail. Its intensity can range from barely noticeable to nearly equal with the key depending on the desired contrast. A reflector may provide enough fill without a second powered light.
For a three-point lighting setup, a rim or separation light can help define the subject against the background, but it is optional. Build the setup one light at a time so each source has a clear purpose.
Background and Reflectors: Enhancing Your Composition
Select a backdrop that complements your subject and the desired mood. Ensure paper or fabric backdrops are wrinkle-free and properly secured.
Position reflectors strategically to bounce light back onto your subject. Silver reflectors add contrast, while gold ones create a warmer tone. White reflectors provide a softer fill light.
Camera Settings: Capturing the Perfect Shot
Manual mode can be useful when the studio light is consistent, but there is no universal portrait exposure recipe. Set aperture for the depth of field you need, shutter speed for movement and flash synchronization, and ISO for the light level and image quality you want. Treat the examples below as starting points to test, not required settings:
- ISO: 100-400 (depending on available light)
- Aperture: f/5.6 to f/8 for portraits with sharp focus
- Shutter speed: 1/125 or faster to avoid motion blur
Adjust these settings based on your creative vision and the specific lighting conditions in your rented studio.
Props and Accessories: Adding Character to Your Portraits
Prepare additional props or accessories before your subject arrives. This might include chairs, plants, or personal items that add character to the portraits. Props can help the subject feel more comfortable and natural in front of the camera.
Organize your props in a designated area for easy access during the shoot. This keeps your workspace tidy and allows for smooth transitions between setups.
Streamlining Your Workflow
A well-organized setup leads to a more productive and creative portrait session. The more you work with different setups, the more intuitive this process will become. As you perfect your equipment setup, you’ll find yourself ready to guide and pose your subjects with confidence. Let’s explore how to effectively communicate with your clients and create stunning poses in the next section.
How to Pose and Direct Subjects for Stunning Portraits
Build Rapport with Your Subjects
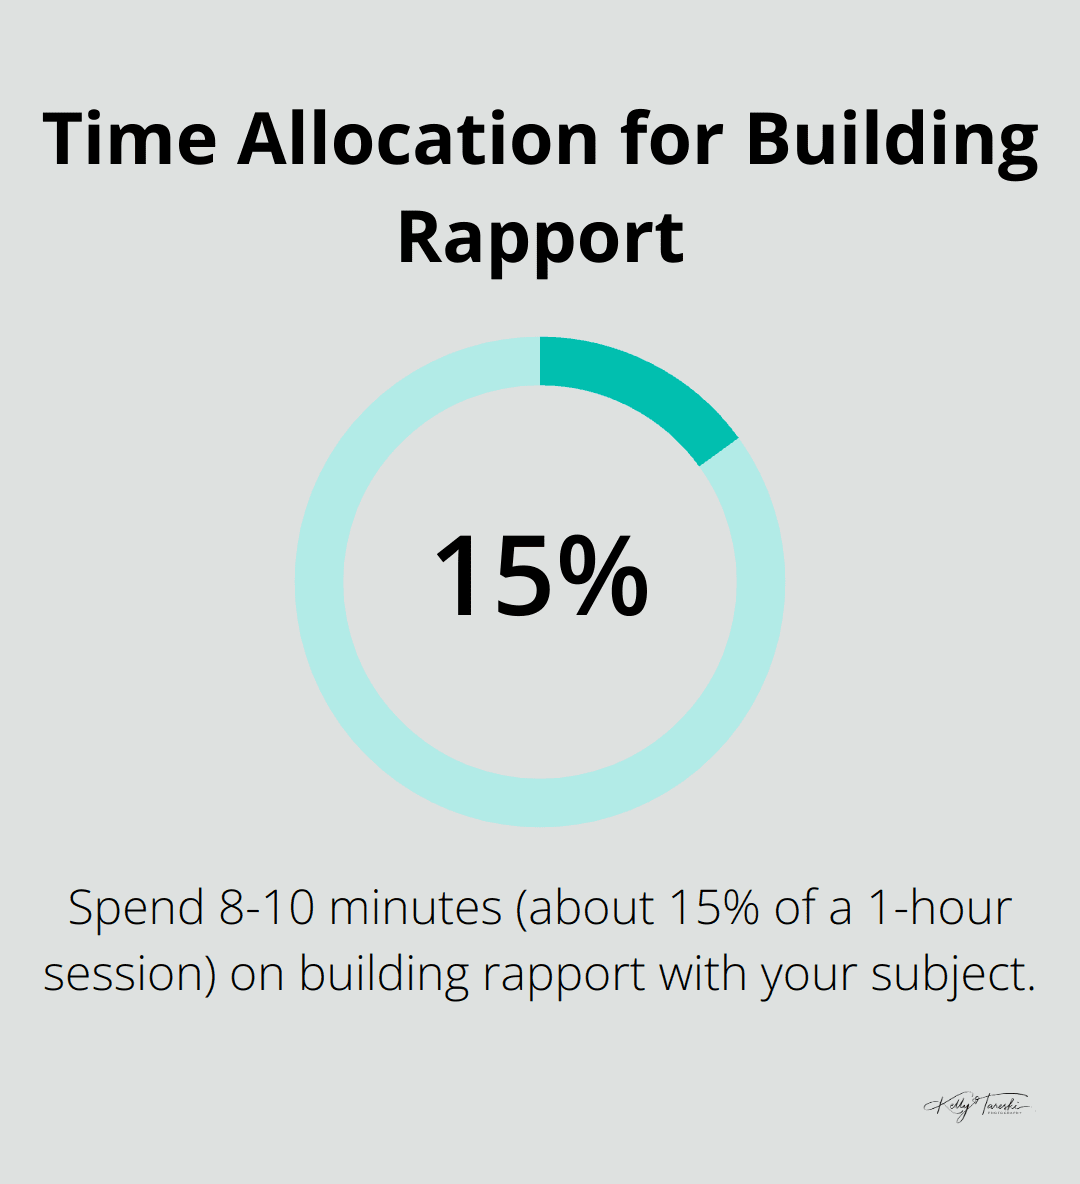
Create a comfortable atmosphere to help your subject relax. Engage in light conversation and share your vision for the shoot. Ask about their preferences to foster a collaborative approach. This often leads to more expressive portraits.
Build rapport before and during the session rather than reserving a fixed number of minutes for it. Some subjects relax quickly; others benefit from more conversation, a simple first setup, or clear direction while you begin photographing.
Guide Subjects into Flattering Poses
When it comes to posing, simplicity often works well. Start with a comfortable stance, then make small adjustments to posture, shoulders, hands, head position, and weight distribution based on the person and the purpose of the portrait. Angling the body can add depth, but it should be a creative choice rather than a rule about making someone look smaller.
Pay attention to hand placement. Keep hands relaxed and slightly bent at the wrists. Avoid having your subject’s hands flat against their body, as this can make them appear larger.
For facial expressions, prompt your subject to think of a happy memory or a loved one. This often results in a more genuine smile than simply saying “cheese.”
Incorporate Props and Studio Elements
Use props judiciously to add personality and context to your portraits. A simple prop (like a book for an author or a musical instrument for a musician) can tell a story without overwhelming the image.
Utilize studio elements creatively. Transform a plain wall into a dynamic backdrop when your subject leans against it. Use a window to provide beautiful natural light and framing. The key is to integrate these elements seamlessly into your composition.
Capture Authentic Emotions
To capture genuine emotions, give your subject an activity to focus on. This could be as simple as adjusting a piece of jewelry or looking out the window. These small actions can lead to unguarded moments.
Try using prompts instead of poses. Ask your subject to imagine they’ve just received great news, or to think about their favorite place. These prompts can evoke authentic expressions that bring your portraits to life.
Every subject is unique. What works for one person may not work for another. Stay flexible and attentive to your subject’s comfort level and personality. With practice and patience, you’ll develop an intuitive sense of how to bring out the best in each individual you photograph.
Final Thoughts
Creating stunning portraits in a rented photography studio combines technical skill, creativity, and interpersonal finesse. We select the right space, set up equipment effectively, and master the art of posing to elevate portrait photography. Preparation allows us to focus on creating a comfortable atmosphere and building rapport with subjects during the shoot.
Clear guidance and positive reinforcement help subjects feel at ease and bring out their best in front of the camera. We experiment with different poses, lighting setups, and props to find what works best for each individual. This journey of growth and experimentation forms an essential part of photography education.
At Kelly Tareski Photography, we believe in the power of continuous learning and improvement. With over 20 years of experience in capturing timeless and elegant portraits (adapting and evolving in this dynamic field), we understand the importance of creating images that clients will cherish for years to come. We invite you to explore our services and let us help you create portraits that not only look stunning but also tell a compelling story. Creating Stunning Portraits in a Rented Photography Studio: Tips & Tricks.
Education Most Searched Articles
- Kelly Tareski Photography Homepage
- How to Choose Background Colors to Complement Skin Tones
- Choosing the Best Lens for Stunning Senior Portraits
- 5 Tips Using the Nikon Z7ii Camera for Portrait Photography
- Exploring Spokane Through a Lens: Must-Visit Photo Locations
- How to Choose the Best Lenses for Senior Portraits
- When to Use a Neutral Background in Photography
- Top Posing Ideas for Solo Portraits: Looking Confident and Natural
- The Economy and Photography
- How the Economy Impacts Photography
- How to Weather Economic Slumps as a Photographer
- Finding Creative Ways to Promote Your Photography on a Budget
- Free and Low-Cost Resources for Photographers