Five Tips for Using Studio Lighting in Photography
Let's Roll!
Hi there! This is Kelly from Kelly Tareski Photography, and today I’d like to share some tips for using studio lighting in photography. While it may seem daunting at first, studio lighting can actually be very rewarding and fun. It’s all about learning how to manipulate the light to create the desired effect. Whether you’re a beginner or a seasoned pro, these tips will help you take your studio photography to the next level. So, let’s get started!
Understand the Types of Light
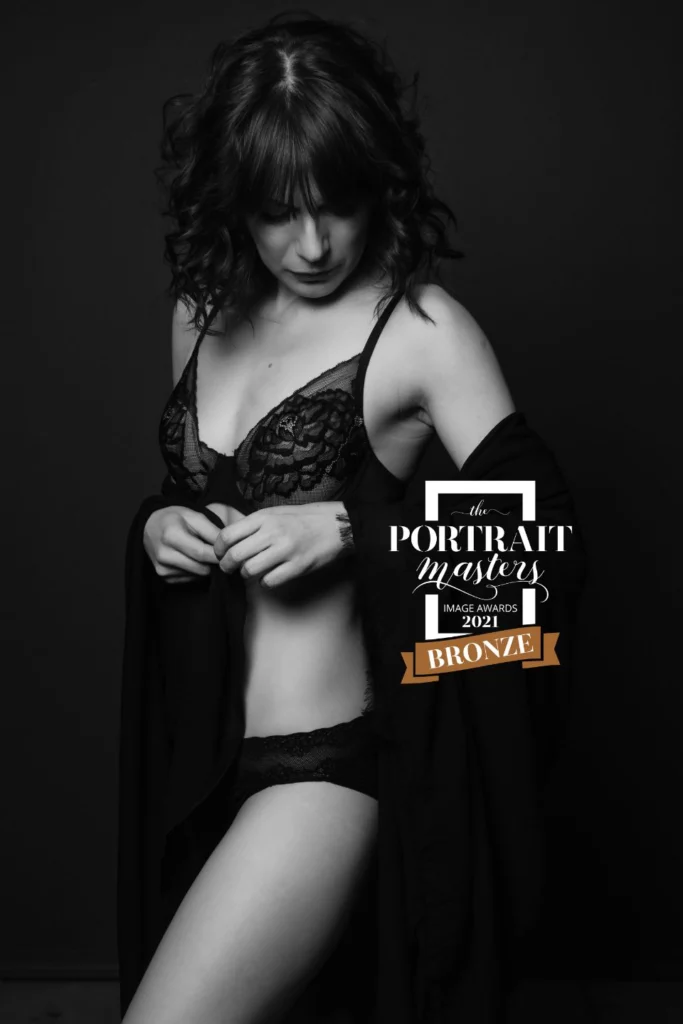
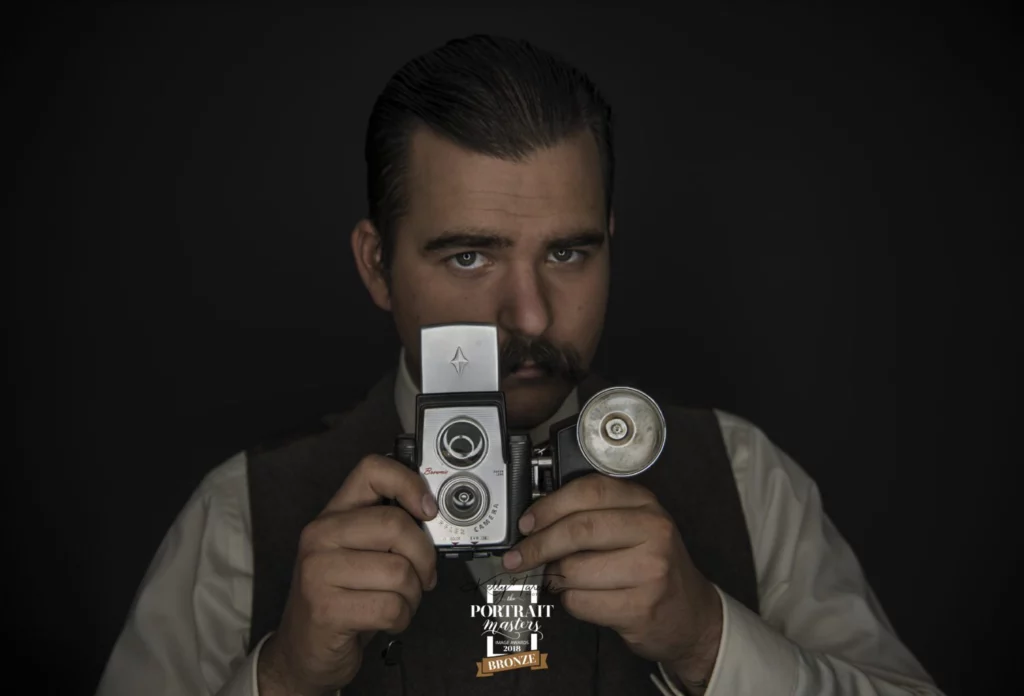
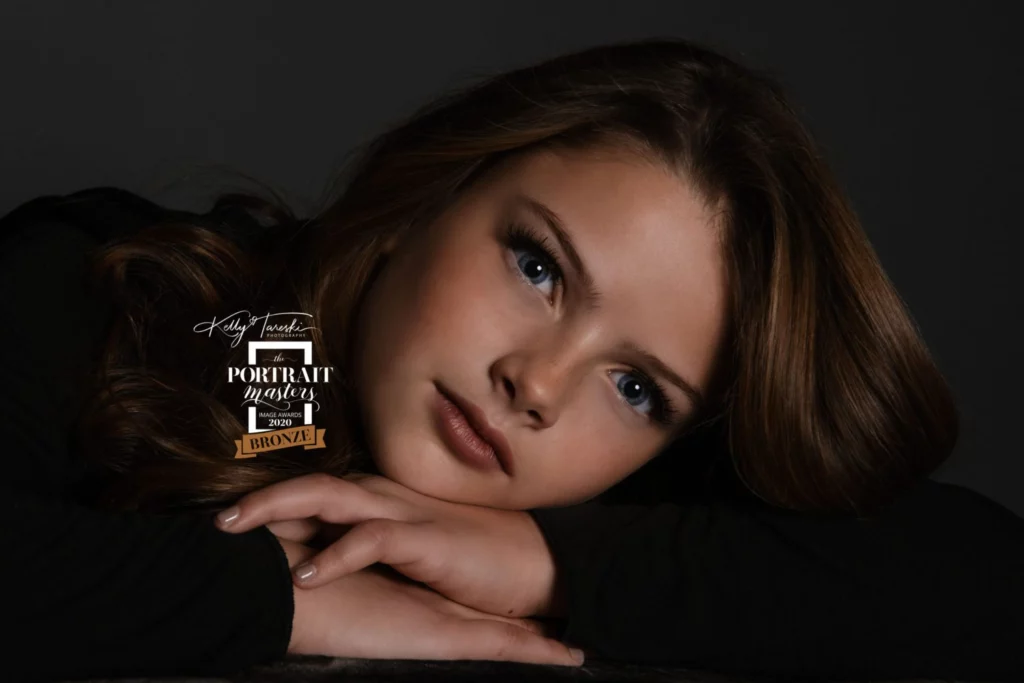
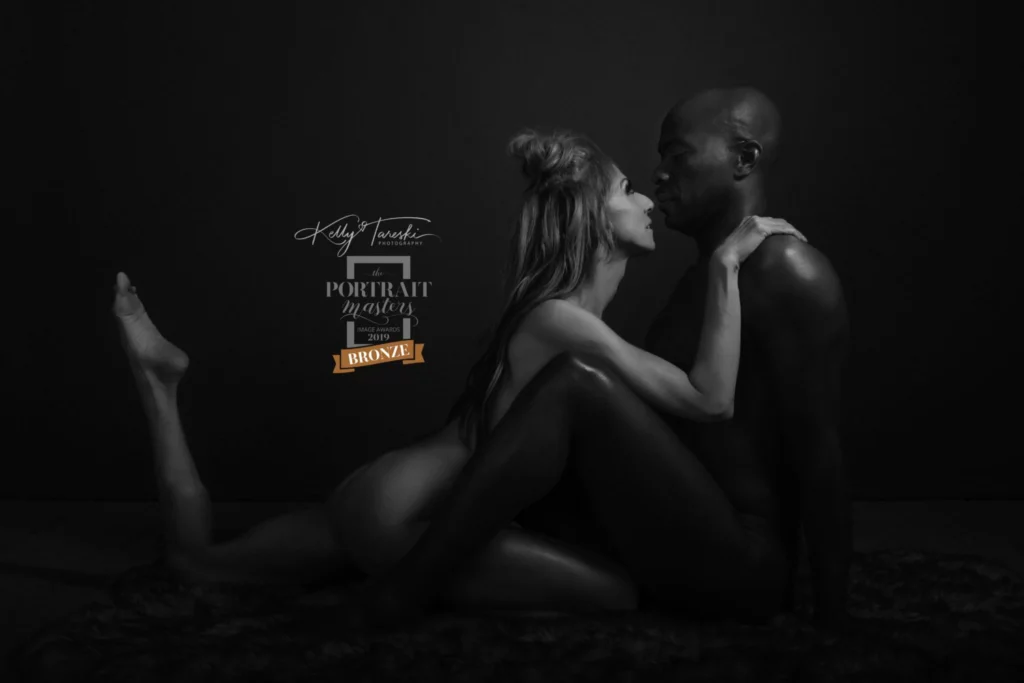
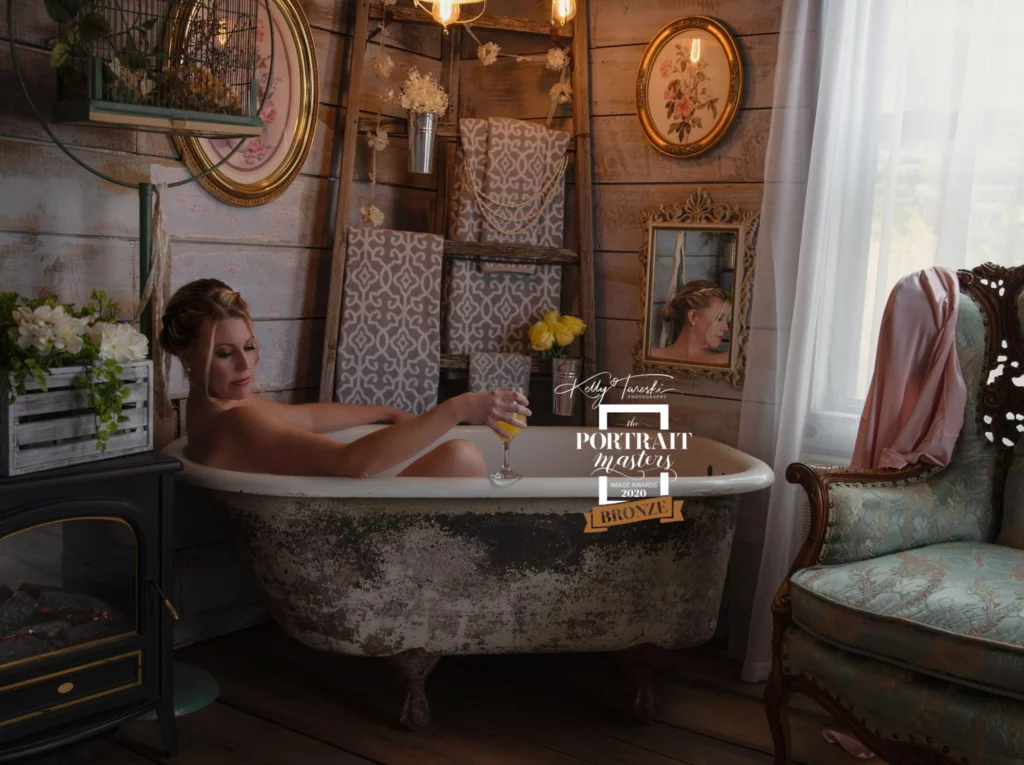
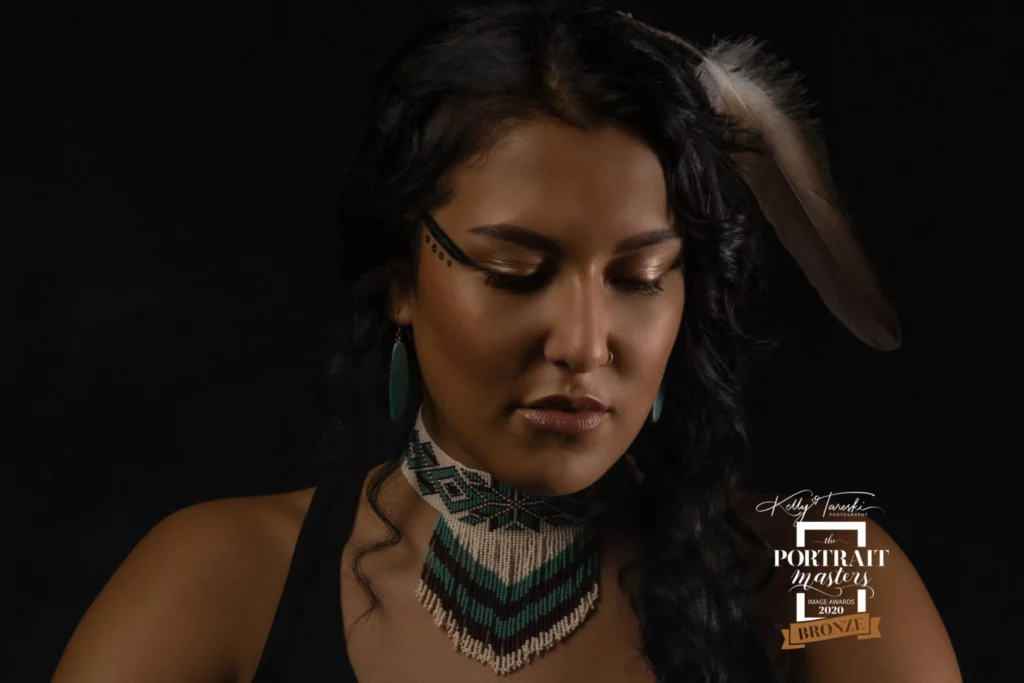
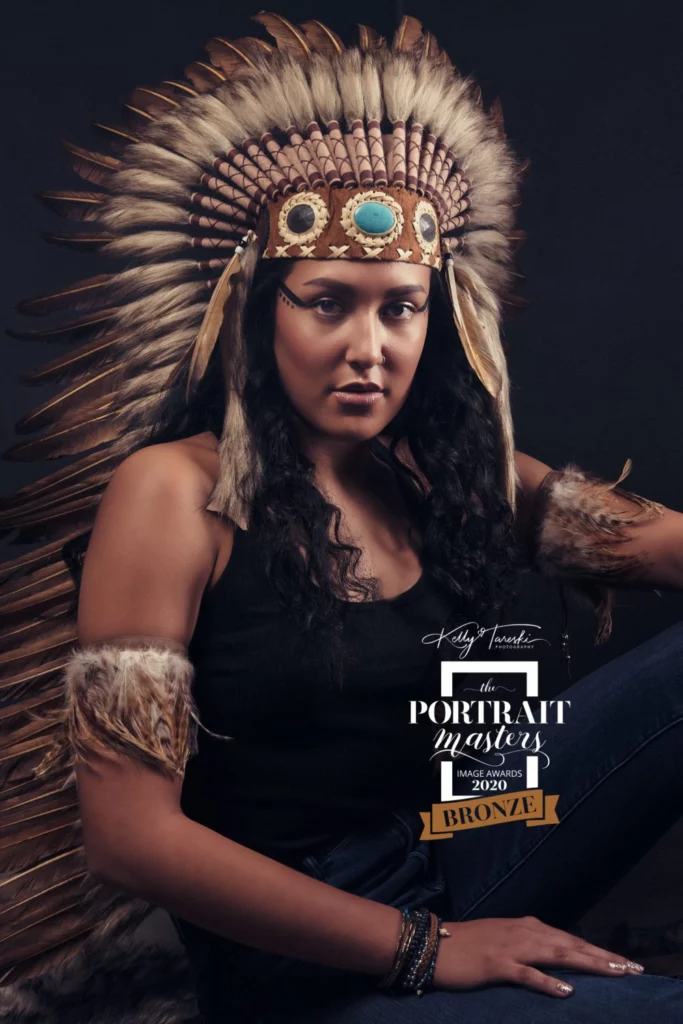
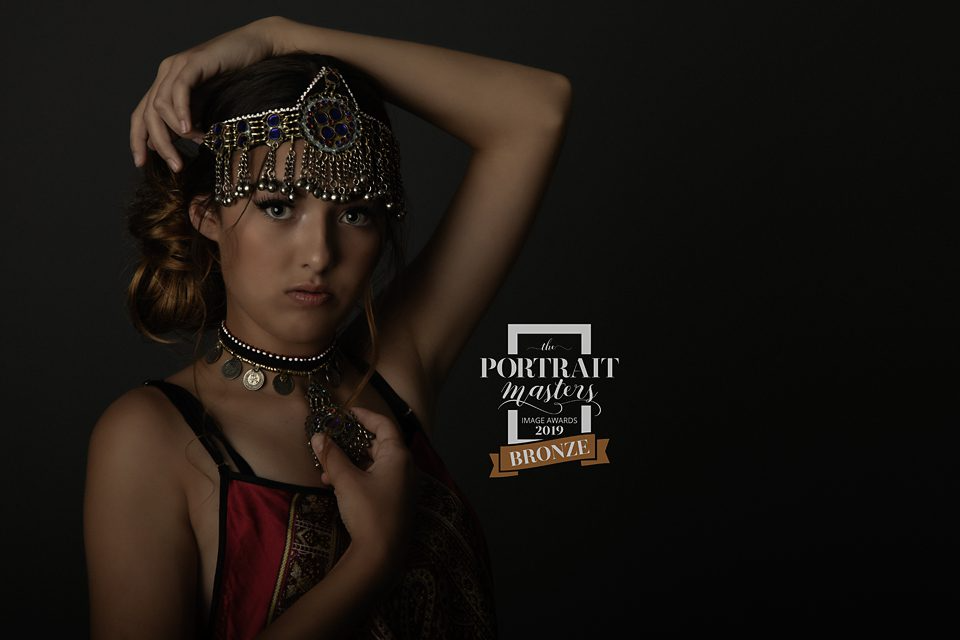
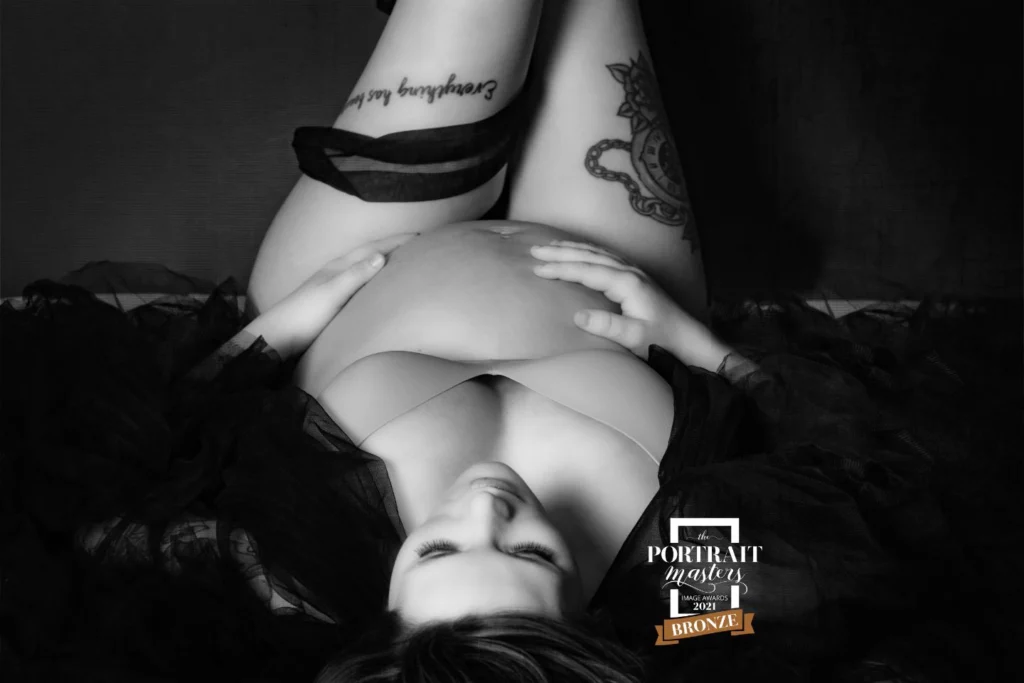
There are two main types of light in studio photography: hard light and soft light. Hard light produces strong shadows and is often used to create dramatic effects. Soft light, on the other hand, is more diffused and gentle, which makes it great for portraits. By understanding the qualities of each type of light, you can achieve the desired effect in your photography.
Use Light Modifiers
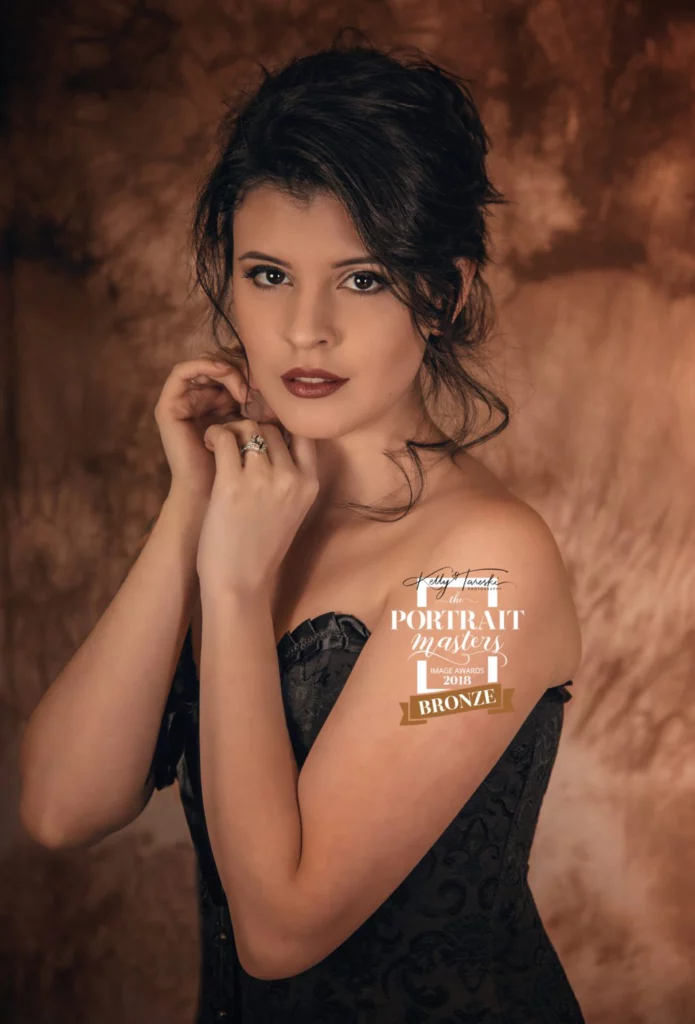
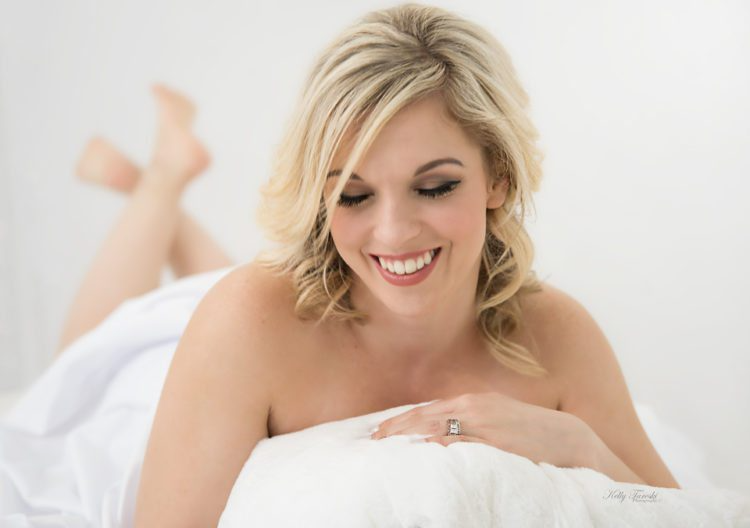
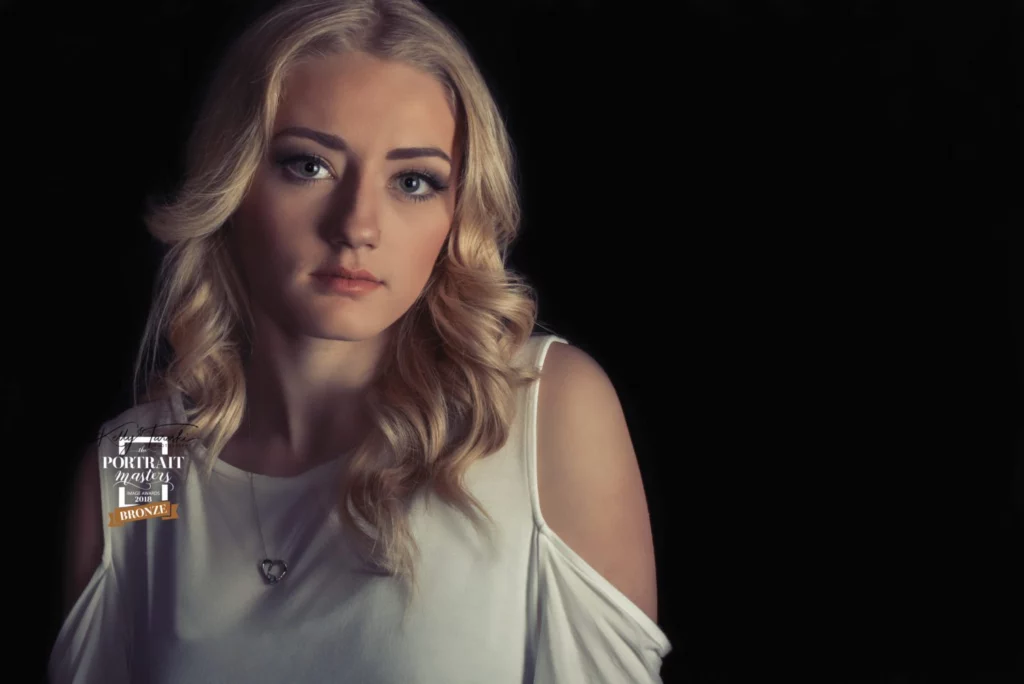
Light modifiers such as umbrellas, softboxes, and reflectors can help you control and manipulate the light to achieve different results. For example, using a softbox will diffuse the light, creating a more even and flattering light on your subject’s face. Experiment with different light modifiers and see which ones work best for your style of photography.
Get Creative with Angles
The angle at which the light hits your subject can have a big impact on the final result. By changing the angle of your light source, you can create different effects and moods in your photos. For example, lighting your subject from above will create a more dramatic and moody effect, while lighting from below will create a more flattering and natural look.
Use Colored Gels
Colored gels are a great way to add some fun and creativity to your studio photography. These gels can be placed over your light source to change the color of the light. By using different colors, you can create different moods and emotions in your photos. For example, using a blue gel can create a cool and calming effect, while using a red gel can create a warm and passionate effect.
Practice, Practice, Practice
The more you practice using studio lighting, the more comfortable and confident you will become. Don’t be afraid to experiment and try new things. The best way to learn is by doing, so take the time to practice and perfect your technique. Soon enough, you’ll be creating stunning studio photographs that you can be proud of.
That's a Wrap!
Let's wrap this up. Using studio lighting in photography can be a fun and rewarding experience. By understanding the types of light, using light modifiers, getting creative with angles, using colored gels, and practicing your technique, you can create stunning studio photographs that capture the true essence of your subject. So, don’t be afraid to explore the possibilities of studio lighting and take your photography to the next level. Happy shooting!
Related Articles to Education
-
Preparing For Your Family Photos – Spokane
-
Spokane Photography – Showcasing a Region
-
Spokane Photographers – How To Choose
-
More about Children’s Photography In Spokane
-
What is a Professional Photographer?
-
The Importance of Senior Portrait Photography Spokane
-
Legacy Portrait Photography in Spokane
-
Prepare with Pinterest Spokane Boudoir
-
Choosing Professional Portrait Photography Spokane
-
The Importance of Children’s Photography in Spokane
-
How to Choose A Photographer In Spokane
-
Indoor Photography Studios Spokane – Kelly Tareski Photography
-
How to choose the right photographer
-
Benefits of Accreditation for Photographers
-
Why Hiring An Accredited Photographer Matters
-
My Journey to Accreditation – The Portrait Masters
-
Elevating Spokane Modeling Photography
-
Ultimate Survival Guide for a Family Photo Shoot
-
Top Ten Questions to Ask a Professional Photographer
-
Your Guide To Choosing A Professional Photographer
-
A Journey through 10 Diverse Photography Genres
-
Hair and Makeup for Portrait Photography Spokane – Kelly Tareski Photography
-
A Comprehensive Guide to Capturing Stunning Portraits
-
The Four Seasons of Portrait Photography
-
The Difference Between Graduation Photos and Senior Pictures
-
Black and White VS Color Photography
-
The History Of Spokane Photographers
-
Top Ten Life Events That Call for a Professional Photographer
-
The Evolution of Photography
-
A Labor of Love-Building The Warehouse Door Garden Gate
-
Five Tips for Nailing Your Boudoir Photography Shoot
-
Lifestyle Photography Sessions Explained
-
The Ultimate Guide to Capturing the Perfect Family Portrait
-
Step into the Dramatic Grey Studio
More Education Posts
-
Whimsical White Studio – How I Create Amazing Photos
-
My Magical Retro-Themed Cabin Studio
-
Get Creative! Five Unique Ways to Personalize Your Family Photos
-
Five Birthday Milestones That Call For Professional Photography
-
Five Tips for Gorgeous Outdoor Photos
-
Tips to Look Your Best in Professional Photos
-
The Importance of a Photography Consultation
-
Five Reasons You Need Professional Prints For Your Photos
-
A Photography Reveal Session Explained
-
5 Hair and Makeup Tips for the Perfect Photography Session
-
6 Senior Photo Shoot Mistakes to Avoid in 2023
-
The Importance of Editing for Professional Photography
-
A Glimpse Into The Past at Kelly Tareski Photography - 2019
-
Being a Photographer in Washington State - Spokane
-
Why Quality Equipment is Essential in Photography
-
Natural Light and Studio Lighting for Photography
-
Enhancing Photography With Natural Light
-
Five Tips for Using Studio Lighting in Photography
-
Understanding the Cost of Professional Photography
-
Amazing Metal Prints for Your Home
-
Canvas Prints - Affordable and Beautiful
-
Bring Vintage Into Your Life With The Retro Viewer
-
Photographers In North Spokane Washington
-
Photographer Near Me - Spokane Washington
-
Photographers Near the Spokane Valley
-
Professional Photographers Near Cheney Washington
-
Professional Photographers Near Medical Lake Washington
-
Professional Photographers Near Reardan Washington
-
Professional Photographers Near Davenport Washington
-
Professional Photographers Near Deer Park Washington
-
Professional Photographers Near Liberty Lake Washington
-
Professional Photographers Near Airway Heights Washington
-
Professional Photographers Near Millwood Washington
-
Professional Photographers Near Chewelah Washington
-
Professional Photographers Near Colville Washington
-
Professional Photographers Near Newport Washington
-
Professional Photographers Near Kettle Falls Washington
-
Professional Photographers Near Mead Washington
-
Professional Photographers Near Springdale Washington
-
Professional Photographers Near Spangle Washington
-
Professional Photographers Near Valleyford Washington
-
Professional Photographers Near Rockford Washington
-
Professional Photographers Near Fairfield Washington
-
Professional Photographers Near Rosalia Washington
-
Professional Photographers Near Colfax Washington
-
Professional Photographers Near Loon Lake Washington
-
Professional Photographers Near Harrington Washington
-
Professional Photographers Near Tekoa Washington
-
Professional Photographers Near Chattaroy Washington
-
Professional Photographers Near Colbert Washington
-
Professional Photographers Near Northport Washington
-
Professional Photographers Near Metaline Falls Washington
-
Professional Photographers Near Post Falls Idaho
-
Professional Photographers Near Coeur d'Alene Idaho
-
Professional Photographers Near Rathdrum Idaho
-
Professional Photographers Near Blanchard Idaho

