
![A Beginner's Guide to Understanding Camera Settings [2025]](https://images.rapidload-cdn.io/spai/ret_blank,q_lossless,to_avif/https://kellytareskiphotography.com/wp-content/uploads/emplibot/photography-basics-hero-1757617707-1024x585.jpeg "photography-basics-hero-1757617707")
Camera Settings for Beginners: Aperture, Shutter Speed & ISO
At Kelly Tareski Photography, we believe mastering photography basics is essential for every aspiring photographer. Understanding camera settings is the foundation of creating stunning images.
In this guide, we’ll break down the three key elements of exposure: aperture, shutter speed, and ISO. By the end, you’ll have the knowledge to take control of your camera and capture photos with confidence.
Quick Answer: What Camera Settings Should Beginners Learn First?
Start with aperture, shutter speed, and ISO. Aperture controls how much light enters through the lens and affects depth of field. Shutter speed controls how motion is rendered. ISO changes how the camera records and processes brightness; raising it can help you reach a usable exposure, but it can also make noise more visible. Learning how these three settings interact gives you practical control over exposure.
For more beginner and intermediate guides, browse my photography education resources.
Understanding Aperture: The Gateway to Creative Photography
The Basics of Aperture
Aperture stands as one of the most powerful tools in a photographer’s arsenal. It controls the amount of light entering the camera and creates stunning depth-of-field effects. Aperture refers to the opening in your lens through which light passes. It’s measured in f-stops, with smaller numbers indicating a wider opening. For example, f/1.4 is a very wide aperture, while f/22 is a narrow one.
A wider aperture can create a shallower depth of field that helps separate a subject from the background. It also lets more light through the lens, which can be useful in lower light. Background blur and bokeh are creative choices rather than requirements for a successful portrait.
Conversely, a narrow aperture (large f-number) lets in less light but increases the depth of field. This means more of the scene will be in focus, which is great for landscape photography where you want everything from the foreground to the background to be sharp.
Creative Applications of Aperture
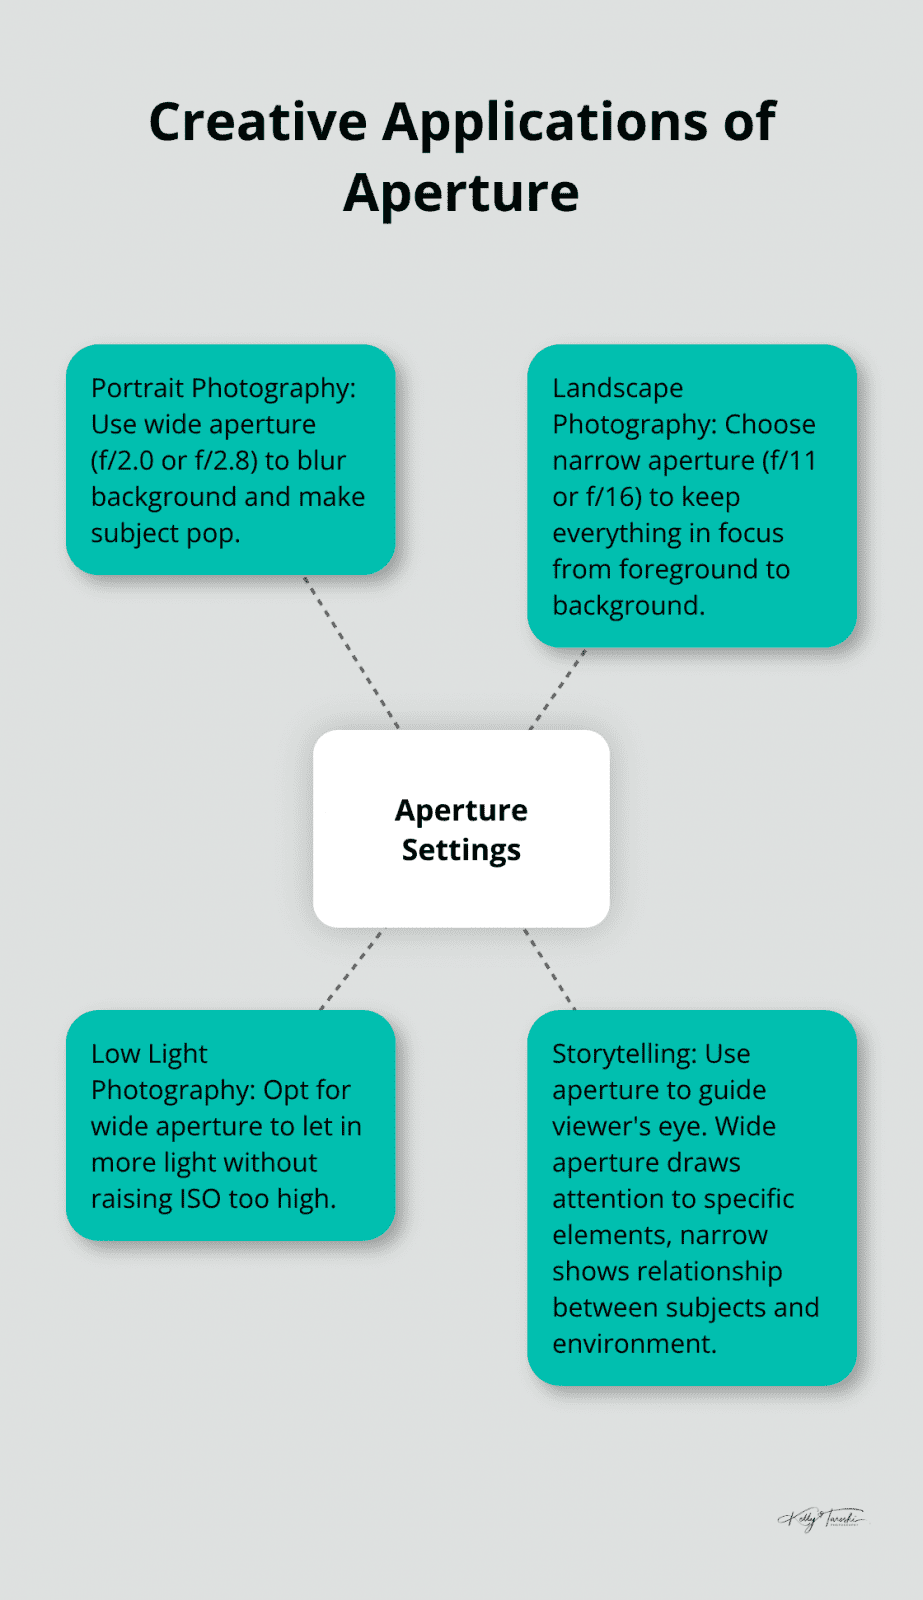
Aperture isn’t just about technical aspects; it’s a creative tool. Here are some practical ways to use aperture:
- Portrait Photography: Choose aperture based on how much of the face, group, and background you want in focus. A wider aperture can add separation, while a smaller aperture can give you more depth of field.
- Landscape Photography: Choose enough depth of field for the scene, then balance that choice against diffraction, shutter speed, ISO, focal length, and where you focus.
- Low Light Photography: A wider aperture can help gather more light, but depth of field, subject movement, shutter speed, stabilization, and acceptable ISO noise all matter. Balance the settings around the photograph you need.
- Storytelling: Use aperture to guide the viewer’s eye. A wide aperture can draw attention to a specific element, while a narrow aperture can show the relationship between subjects and their environment.
Mastering Aperture Control
To truly harness the power of aperture, practice is key. Start by shooting in Aperture Priority mode, where you set the aperture and the camera adjusts other settings accordingly. Experiment with different f-stops and observe how they affect your images.
There’s no “correct” aperture – it depends on your creative vision and the story you want to tell through your photographs. We encourage our clients to explore different aperture settings during sessions to achieve their desired look.
As you become more comfortable with aperture control, you’ll find it becomes an intuitive part of your photography process, allowing you to capture images with greater depth and impact.
The Relationship Between Aperture and Shutter Speed
Aperture and shutter speed work hand in hand to create the perfect exposure. A wide aperture (small f-number) allows more light in, which means you can use a faster shutter speed. Conversely, a narrow aperture (large f-number) requires a slower shutter speed to let in enough light. This interplay between aperture and shutter speed opens up a world of creative possibilities (which we’ll explore in the next section).
Mastering Shutter Speed: The Key to Motion Control
Understanding Shutter Speed Basics
Shutter speed transforms ordinary shots into extraordinary images. It controls the duration your camera’s sensor receives light. Fast shutter speeds freeze action, while slow speeds introduce motion blur.
Freezing Time with Fast Shutter Speeds
Faster shutter speeds reduce motion blur, but there is no single cutoff that freezes every subject. The right setting depends on how fast the subject is moving, its direction of travel, focal length, distance, and how sharp you want the motion to appear. A sprinter may require a much faster shutter speed than a person walking.
Creating Motion with Slow Shutter Speeds
Slower shutter speeds can intentionally record motion instead of freezing it. The useful range depends on the subject and whether the camera is handheld or supported. Techniques such as capturing flowing water, light trails, or panning work best when you test the shutter speed against the amount of movement you want to show.
The Light and Speed Balance
Shutter speed doesn’t just control motion; it also affects light intake. Fast shutter speeds allow less light to hit the sensor, while slower speeds let in more light. This relationship often requires adjustments to aperture or ISO when changing shutter speeds to maintain proper exposure.
Practical Applications in Different Genres
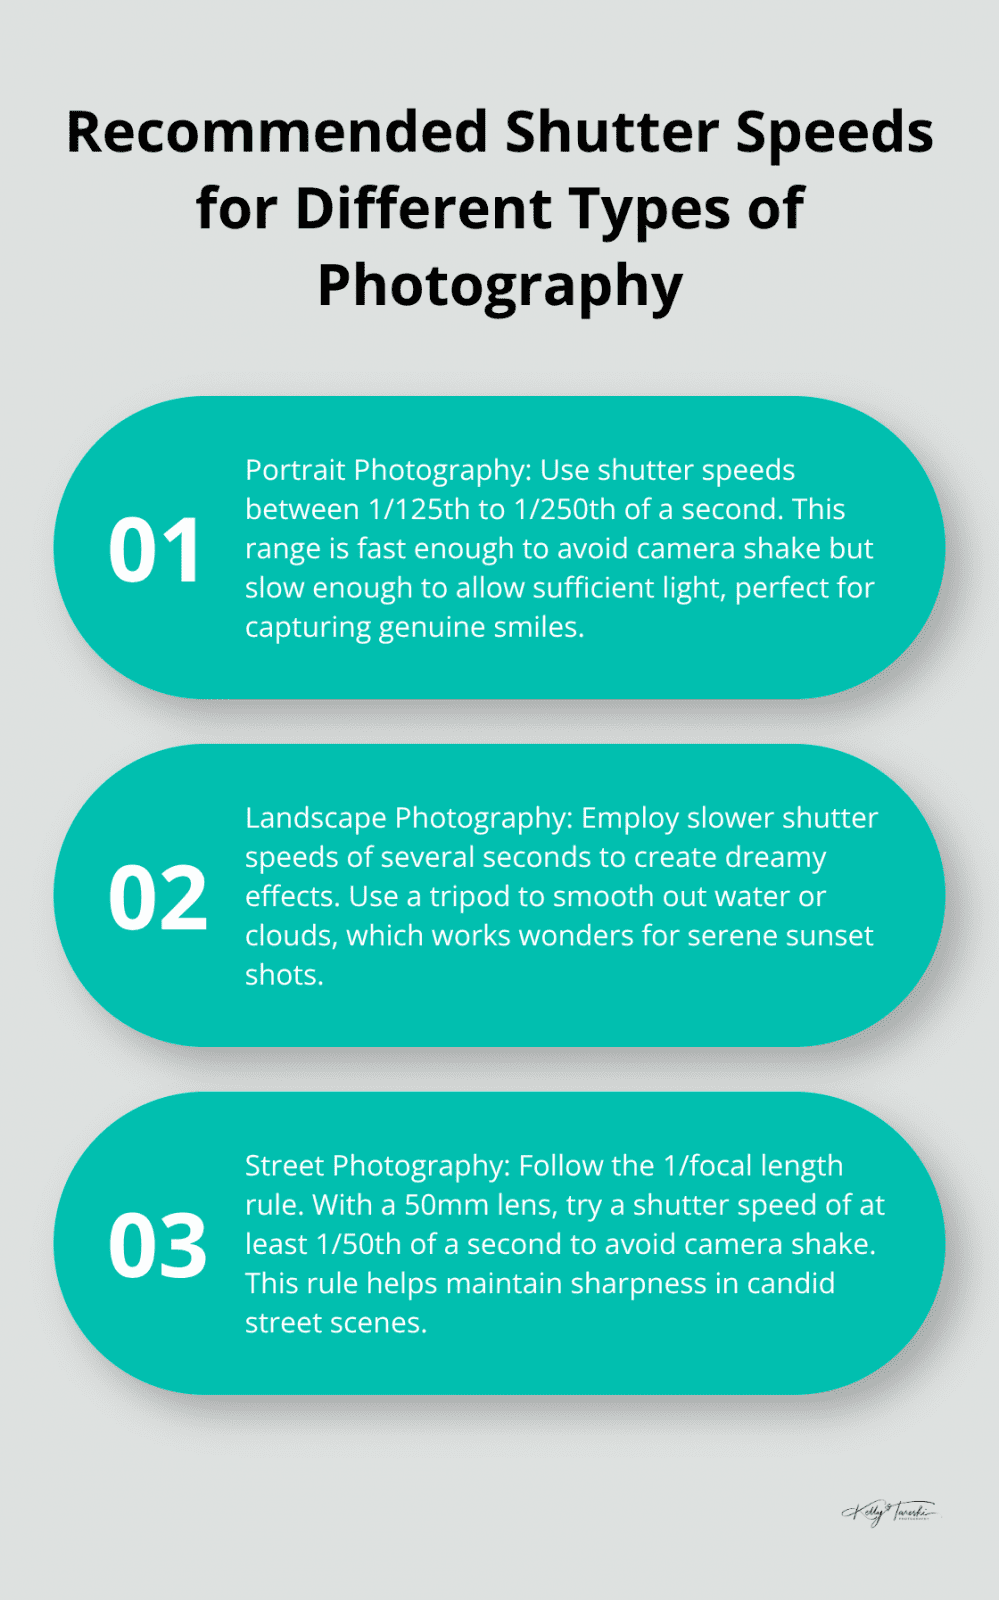
Portrait Photography: Choose shutter speed around subject movement, focal length, stabilization, and how steadily the camera is being held. A still seated portrait may allow a slower shutter speed than a walking, laughing, or turning subject. Prioritize the sharpness and motion rendering you want rather than memorizing one portrait range.
Landscape Photography: Slower shutter speeds create dreamy effects. Use a tripod and a shutter speed of several seconds to smooth out water or clouds (this technique works wonders for those serene sunset shots).
Street Photography: The reciprocal rule can be a useful handheld starting point, but it is not a guarantee of sharpness. Sensor resolution, stabilization, technique, subject movement, and crop factor can all change the shutter speed you need. Review the result and adjust rather than treating 1/focal length as a fixed rule.
These suggestions serve as starting points. Photography thrives on experimentation. Push the boundaries and discover unique effects with different shutter speeds.
Tackling Low Light Challenges
Low light situations tempt photographers to use very slow shutter speeds. However, this can result in blurry images due to camera shake. Instead, consider increasing your ISO or using a wider aperture. If a slow shutter speed becomes necessary, a tripod becomes essential.
As we move forward, let’s explore how ISO completes the exposure triangle and affects your images’ overall quality.
How ISO Impacts Your Photography
Understanding ISO Basics
ISO is part of how the camera records and renders brightness, but unlike aperture and shutter speed it does not change how much light physically reaches the sensor. Lower ISO settings generally produce cleaner files when enough light is available, while higher ISO can help you use the shutter speed and aperture the scene requires. The tradeoff is usually more visible noise and less highlight latitude, with the amount varying by camera.
Balancing ISO with Aperture and Shutter Speed
ISO adjustments allow you to maintain your desired aperture and shutter speed in various light conditions. For example, when you shoot a fast-moving subject in low light, you might need a fast shutter speed and wide aperture. Increasing your ISO can help achieve proper exposure without compromising these settings.
It’s often best to start with the lowest possible ISO and adjust other settings first. Only increase ISO when necessary to avoid underexposure or camera shake from slow shutter speeds.
Tackling Digital Noise
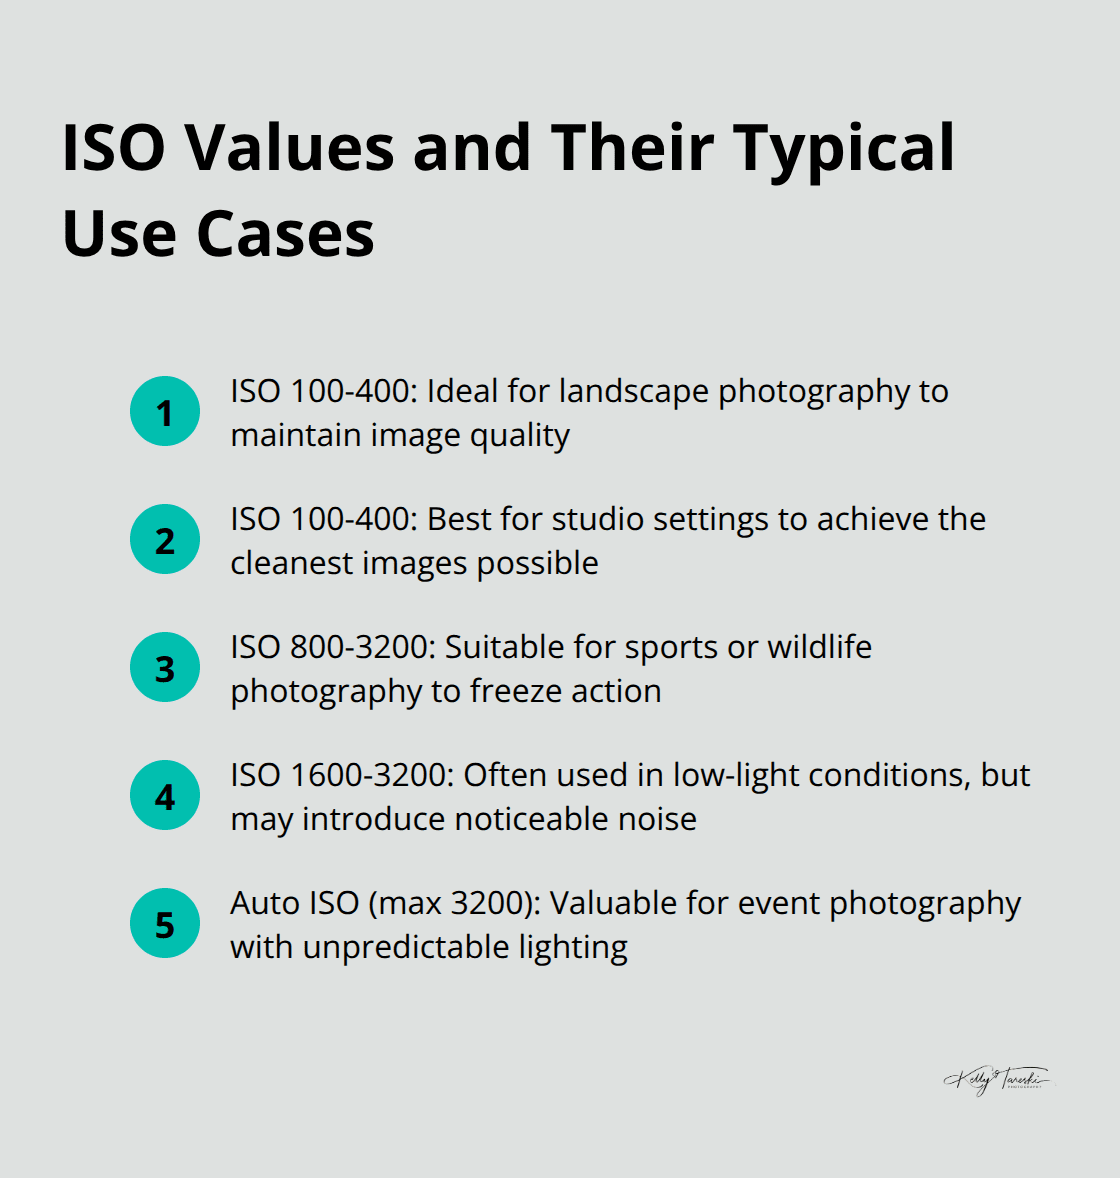
High ISO settings can make it easier to create bright images in low-light conditions and reduce the need for a tripod or flash. However, they can also introduce unwanted graininess or digital noise in your images. Modern cameras handle high ISOs better than ever, but it remains a concern. Noise often becomes noticeable in most cameras around ISO 1600-3200.
To minimize noise:
- Use the lowest ISO possible for the shooting conditions.
- Invest in fast lenses (wide apertures) to gather more light without raising ISO.
- Use noise reduction software in post-processing (but avoid over-applying and losing detail).
- Try using a tripod in low light to allow for longer exposures at lower ISOs.
Adapting ISO for Different Scenarios
For landscape photography, try to stick to low ISOs (100-400) to maintain image quality. In fast-paced environments like sports or wildlife photography, don’t hesitate to push your ISO higher (800-3200) to freeze action.
In studio settings, ISO 100-400 typically achieves the cleanest images possible. For event photography, where lighting can be unpredictable, auto ISO with a maximum limit (e.g., 3200) can prove invaluable.
Evaluating Your Camera’s ISO Performance
Every camera handles high ISOs differently. We recommend you test your camera’s ISO performance in various lighting conditions. Take a series of shots at different ISO settings and examine them at 100% zoom on your computer. This will help you determine your camera’s “acceptable” ISO limit for different types of photography.
Final Thoughts
Mastering aperture, shutter speed, and ISO forms the foundation of photography basics. These settings work together to create well-exposed, visually striking images. We at Kelly Tareski Photography apply these principles across various styles, from senior portraits to commercial shots.
Experimentation with manual mode will help you internalize how these settings interact. Try to shoot the same scene with different combinations of aperture, shutter speed, and ISO. Analysis of the results will deepen your understanding of how each change affects your image.
Practice is essential to improve your skills. Don’t fear mistakes; they provide valuable learning opportunities. As you continue your photography journey, visit our website for more tips and inspiration.
Camera Settings FAQ
What is the exposure triangle?
The exposure triangle is a teaching model that describes how aperture, shutter speed, and ISO work together to control the brightness and visual character of a photograph.
Should beginners shoot in manual mode all the time?
No. Manual mode is useful for learning and for consistent conditions, but aperture priority, shutter priority, and other modes can be practical tools. The goal is to understand what the camera is doing so you can choose the mode that fits the situation.
Education Most Searched Articles
- Kelly Tareski Photography Homepage
- How to Choose Background Colors to Complement Skin Tones
- Choosing the Best Lens for Stunning Senior Portraits
- 5 Tips Using the Nikon Z7ii Camera for Portrait Photography
- Exploring Spokane Through a Lens: Must-Visit Photo Locations
- How to Choose the Best Lenses for Senior Portraits
- When to Use a Neutral Background in Photography
- Top Posing Ideas for Solo Portraits: Looking Confident and Natural
- The Economy and Photography
- How the Economy Impacts Photography
- How to Weather Economic Slumps as a Photographer
- Finding Creative Ways to Promote Your Photography on a Budget
- Free and Low-Cost Resources for Photographers