
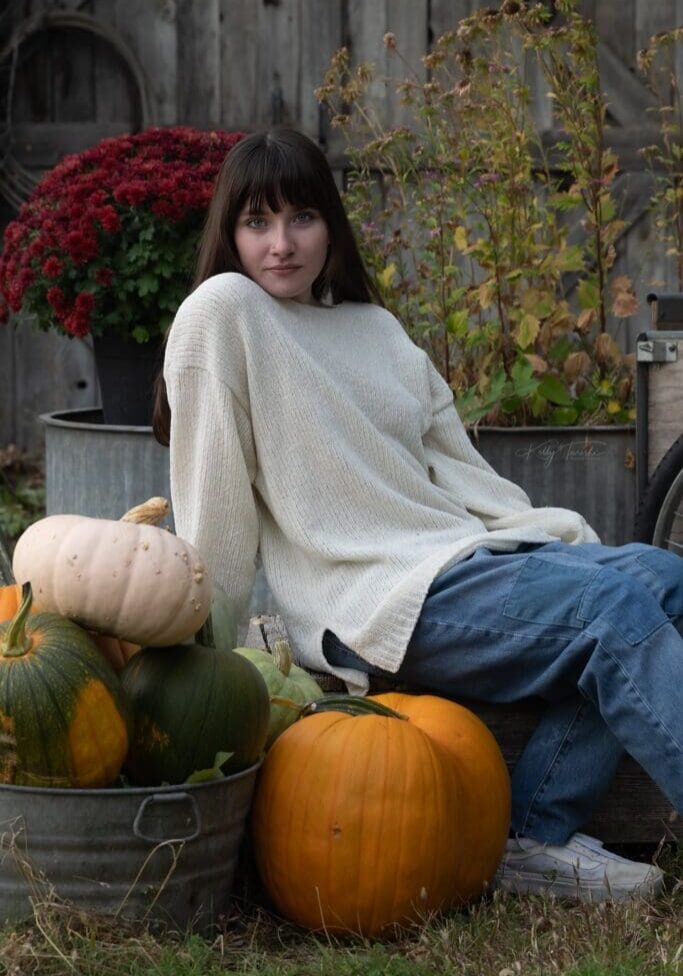
5 Tips Using the Nikon Z7ii Camera for Portrait Photography
How Can You Use the Nikon Z7II for Portrait Photography?
The Nikon Z7II gives portrait photographers useful control over autofocus, camera setup, viewfinder preview, shutter behavior, and exposure. The five things I pay the most attention to are using face and eye detection deliberately, putting frequently used controls within easy reach, understanding what the EVF is showing me, choosing silent photography only when it fits the situation, and balancing ISO with shutter speed, aperture, and lighting.
These are workflow choices, not universal rules. The best setup changes with subject movement, available light, lens choice, flash use, and the kind of portrait I am creating.
1. Use Face and Eye Detection Deliberately
The Z7II can detect human faces and eyes in compatible people-detection AF-area modes. For portraits, that can make it easier to keep my attention on expression, timing, and composition while the camera helps me place focus where I want it.
I still treat eye detection as an aid rather than a guarantee. I watch the active focus point, choose an autofocus mode that fits the subject, and confirm critical focus when the image matters. A carefully posed portrait may call for a more controlled focus approach, while a moving subject may benefit from continuous autofocus and a broader AF-area mode.
2. Customize Controls Around the Way You Shoot
Portrait sessions move more smoothly when the settings I use most are easy to reach. The Z7II offers customizable controls and quick-access options, so I can organize the camera around the way I actually work instead of constantly digging through menus.
For me, the important idea is not that every portrait photographer should use the same button assignment. It is to identify the settings you change repeatedly, such as autofocus behavior, ISO, metering, or another frequently used control, and make those adjustments easier to reach. That leaves more attention for the person in front of the camera.
3. Use the EVF as a Preview, Not a Promise
The electronic viewfinder is one of the Z7II features I appreciate most for portrait work. It can give me a useful preview of framing, brightness, color, and other visual choices before I take the photograph.
That preview depends on the camera settings. When the camera is configured to apply shooting settings to the live view, changes such as exposure compensation, white balance, and Picture Controls can be reflected in the display. When that preview option is turned off, the viewfinder is intended to make the scene easier to see rather than to simulate the finished exposure.
I use the EVF as a practical guide, then confirm important images on playback and with the exposure information I need. This is especially useful when moving between indoor studio work and changing outdoor light.
4. Know the Tradeoffs of Silent Photography
Silent photography uses the electronic shutter and can reduce mechanical shutter noise and vibration. That can be helpful when I want the camera to be less noticeable during a quiet portrait moment.
It is not simply a "better" shutter mode. The camera may still make sounds from autofocus or aperture operation, flash is not available in silent photography, and some artificial lighting can create banding or uneven exposure. Fast subject or camera movement can also produce distortion with an electronic shutter.
I choose silent photography when those tradeoffs make sense for the scene. If I am using flash, working under problematic lighting, or photographing faster movement, another shutter option may be the better choice.
5. Balance ISO, Shutter Speed, Aperture, and Light
The Z7II performs well across a broad range of lighting conditions, but low-light portrait photography is still a set of exposure tradeoffs. Raising ISO can help me maintain a shutter speed that reduces motion blur, but higher ISO can also increase visible noise and reduce some image detail. Opening the aperture can gather more light, but it also changes depth of field. Adding or shaping light may be a better answer in other situations.
I decide which compromise matters least for the portrait in front of me. For a moving subject, protecting shutter speed may be more important than keeping ISO low. For a carefully controlled studio portrait, I may have much more freedom to shape the light and use a different exposure strategy.
If you are still building your exposure and composition fundamentals, my photography tips for beginners provide a broader starting point. I also explain why camera equipment can support good photography without replacing technique.
What Is the Best Nikon Z7II Setup for Portraits?
There is no single best Z7II portrait setup for every session. Start with the subject and the light, then choose autofocus, shutter speed, aperture, ISO, and shutter mode around those conditions. The camera gives you many useful tools, but the strongest settings are the ones that solve the specific photographic problem in front of you.
That's a Wrap!
The Nikon Z7II has become a useful part of my portrait workflow because I can adapt it to very different sessions rather than rely on one fixed recipe. Face and eye detection, customizable controls, the EVF, electronic-shutter options, and flexible exposure controls can all help, but each feature works best when I understand its limits as well as its advantages.
If you use the Z7II for portraits, test these choices with the kinds of subjects and lighting you photograph most often. The goal is not to copy someone else's settings. It is to build a camera setup that helps you work deliberately and consistently.
I hope these tips help you get more from your Nikon Z7II and give you a stronger starting point for your own portrait workflow.
Education Most Searched Articles
- Kelly Tareski Photography Homepage
- How to Choose Background Colors to Complement Skin Tones
- Choosing the Best Lens for Stunning Senior Portraits
- 5 Tips Using the Nikon Z7ii Camera for Portrait Photography
- Exploring Spokane Through a Lens: Must-Visit Photo Locations
- How to Choose the Best Lenses for Senior Portraits
- When to Use a Neutral Background in Photography
- Top Posing Ideas for Solo Portraits: Looking Confident and Natural
- The Economy and Photography
- How the Economy Impacts Photography
- How to Weather Economic Slumps as a Photographer
- Finding Creative Ways to Promote Your Photography on a Budget
- Free and Low-Cost Resources for Photographers