

Mastering Natural Light: Techniques for Stunning Outdoor Portraits
Let's Roll!
Quick answer: Outdoor natural-light portraits depend on where you place the subject relative to the sun, sky, shade, reflective surfaces, and background. This guide focuses specifically on outdoor portrait decisions: subject position, shadow control, backlighting, reflectors and diffusers, and adapting when weather changes. For a broader natural-light overview, see Mastering Natural Light for Breathtaking Portraits.
** Understanding the Basics of Natural Light**
Outdoors, the useful light is shaped by more than the sun alone. Open sky, buildings, trees, pavement, walls, clouds, and the ground can all change direction, contrast, color, and fill. Before posing the subject, look at the face and background from several angles and decide which source or reflected surface you want to act as the main light.
Light direction changes facial modeling, texture, catchlights, contrast, and background separation. Front, side, and backlight can all work outdoors. Rather than labeling one direction flattering or another flat, rotate the subject and camera while watching what happens to the face and background, then choose the angle that supports the portrait you want.
** Choosing the Right Time of Day for Outdoor Portraits**
Lower-angle light shortly after sunrise or before sunset can create warm color, longer shadows, and useful backlight, but there is no universally best time or Kelvin value for outdoor portraits. Golden-hour timing and color vary with season, weather, latitude, terrain, and surrounding surfaces. Treat it as one lighting option rather than a technical requirement.
Do not limit outdoor portraits to golden hour. Midday sun can be used directly or controlled with shade, diffusion, fill, or a different camera angle. Overcast conditions often lower contrast, but they do not automatically eliminate every shadow or guarantee even light. Evaluate the actual scene and adapt the technique to it.
** Utilizing Shadows and Highlights Effectively**
Shadows and highlights are powerful tools in photography that can add drama and depth to your images. When used effectively, they can transform a simple portrait into a work of art. Shadows can create a sense of mystery and intrigue, while highlights can draw attention to specific features or expressions.
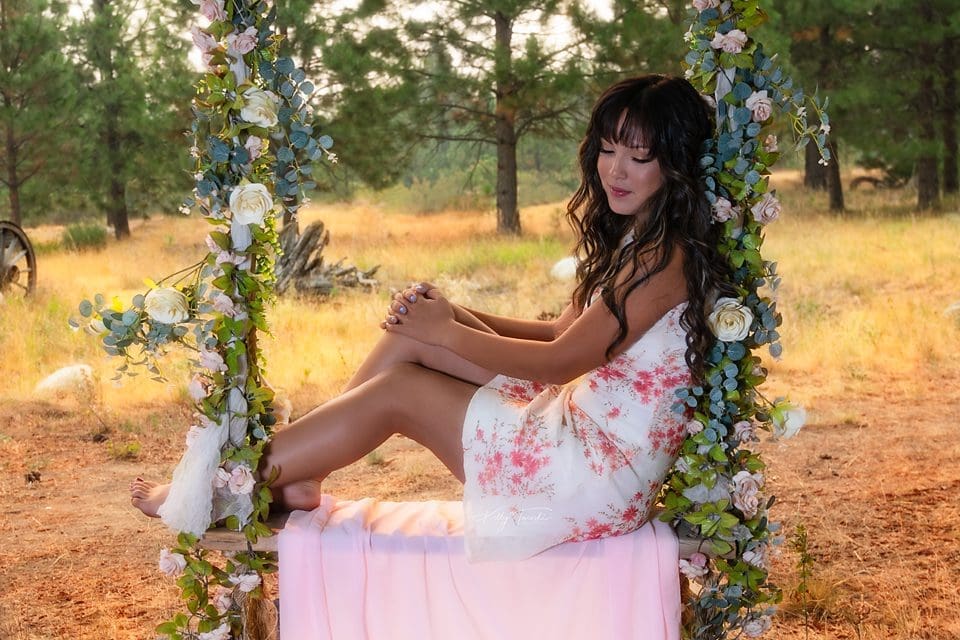
Dappled light can create interesting patterns, but uncontrolled patches across eyes, noses, or cheeks can also be distracting. If you use it intentionally, watch where the bright areas fall and expose for the tones you want to preserve. You can also move the subject, change the camera angle, use diffusion, or choose cleaner shade when the pattern does not support the portrait.
** Mastering the Art of Backlighting**
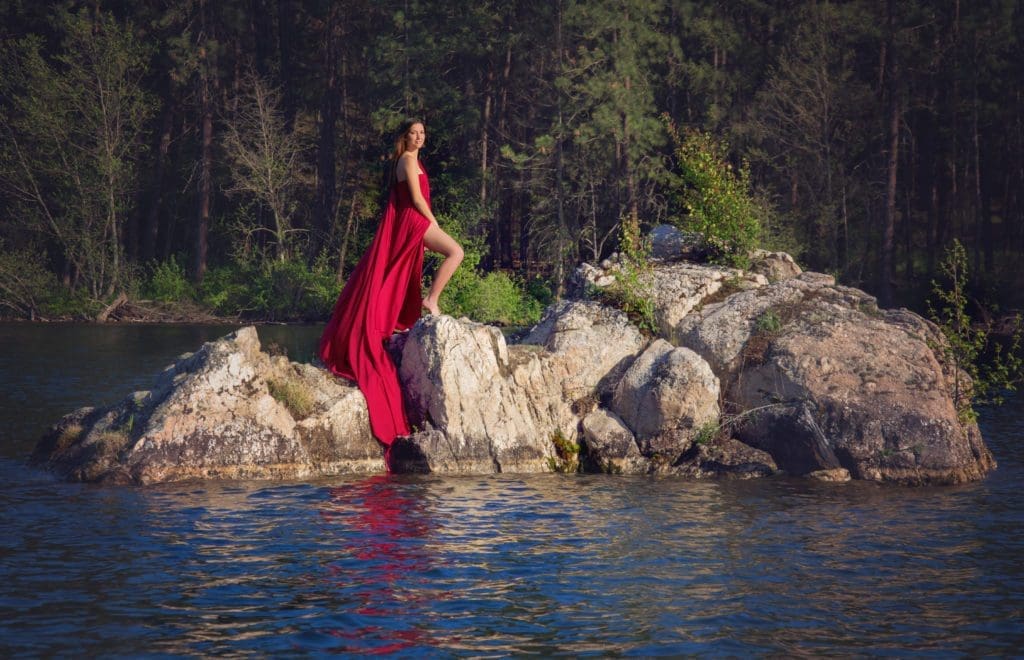
Backlighting can create rim light, haze, silhouette, glow, or lower-contrast effects depending on sun angle, lens flare, exposure, fill, and background. Place the light behind or partly behind the subject, then decide whether you want to expose for the face, preserve highlights, create a silhouette, or add reflected or flash fill. Move the camera and subject until the flare, edge light, and background separation support the image rather than following one fixed metering method.
** Incorporating Reflectors and Diffusers**
Reflectors and diffusers are optional light-control tools, not requirements for every outdoor portrait. White, silver, gold, and translucent surfaces change intensity, color, spread, or contrast in different ways. A reflector can add fill when shadows are deeper than you want, while diffusion can reduce direct-sun contrast. Their useful size, distance, angle, and placement depend on the subject, wind, sun angle, available help, and intended look.
** Adapting to Changing Weather Conditions**
Weather changes the character and consistency of outdoor light. Overcast skies often reduce contrast, but the brightest part of the sky, surrounding surfaces, and background can still create direction and shadow. Rain can add reflections and saturated color, but safety, equipment protection, comfort, wind, and access also matter. Use the weather when it supports the portrait and have a backup plan when it does not.
Thats a Wrap!
Strong outdoor portrait lighting comes from making deliberate field decisions: identify the main light, place the subject, inspect the face and background, control contrast when needed, and adapt as the sun or weather changes. Practice the same scene from several positions so you can see how small changes in angle, shade, reflection, or fill alter the portrait.
Mastering Natural Light: Techniques for Stunning Outdoor Portraits




Education Most Searched Articles
- Kelly Tareski Photography Homepage
- How to Choose Background Colors to Complement Skin Tones
- Choosing the Best Lens for Stunning Senior Portraits
- 5 Tips Using the Nikon Z7ii Camera for Portrait Photography
- Exploring Spokane Through a Lens: Must-Visit Photo Locations
- How to Choose the Best Lenses for Senior Portraits
- When to Use a Neutral Background in Photography
- Top Posing Ideas for Solo Portraits: Looking Confident and Natural
- The Economy and Photography
- How the Economy Impacts Photography
- How to Weather Economic Slumps as a Photographer
- Finding Creative Ways to Promote Your Photography on a Budget
- Free and Low-Cost Resources for Photographers