

Comparing Natural Light and Studio Lighting for Photography
Quick answer: I do not choose natural light or studio lighting because one is universally better. I choose based on the portrait, weather, background, amount of control needed, and the look we are creating. At Kelly Tareski Photography in Nine Mile Falls, I can work across a private five-acre property with three acres of gardens and vineyard or inside five indoor studios: White, Grey, Old Cabin, Apothecary, and Greenhouse. This article explains how I decide which lighting environment fits a session.
Kelly Tareski Photography & My Studios, where moments are captured and preserved to last for a lifetime.
I use five indoor studios at the Nine Mile Falls property: White, Grey, Old Cabin, Apothecary, and Greenhouse. Each gives me a different combination of background, texture, available light, and room for controlled lighting. The choice depends on the subject, wardrobe, intended mood, privacy, weather, and how much lighting control the portrait needs.
The Advantages of Natural Light for Photography
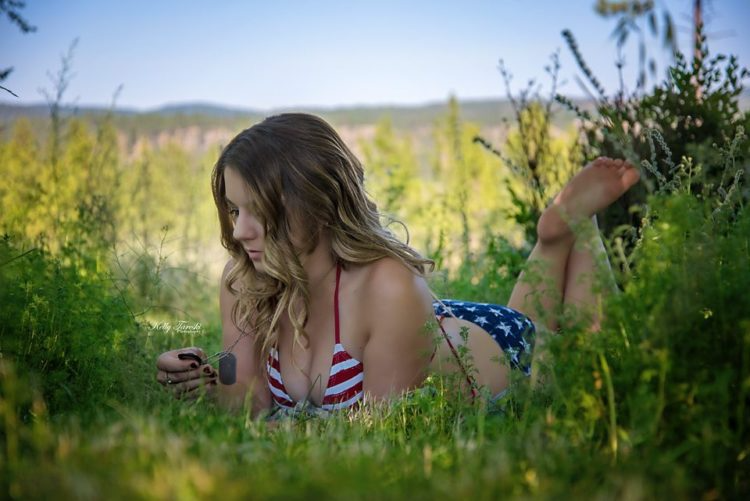
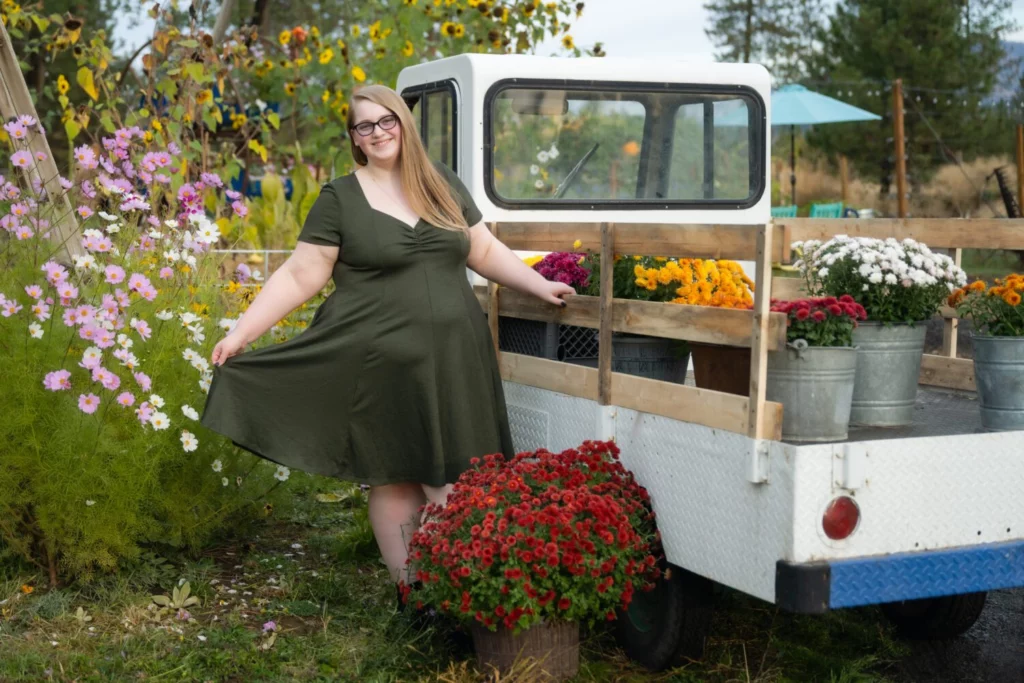
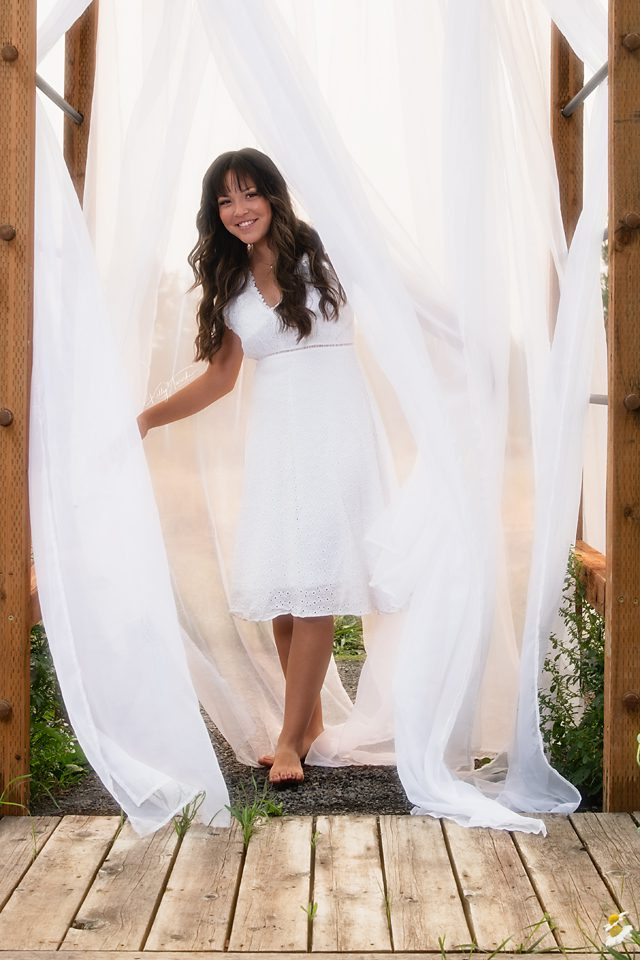
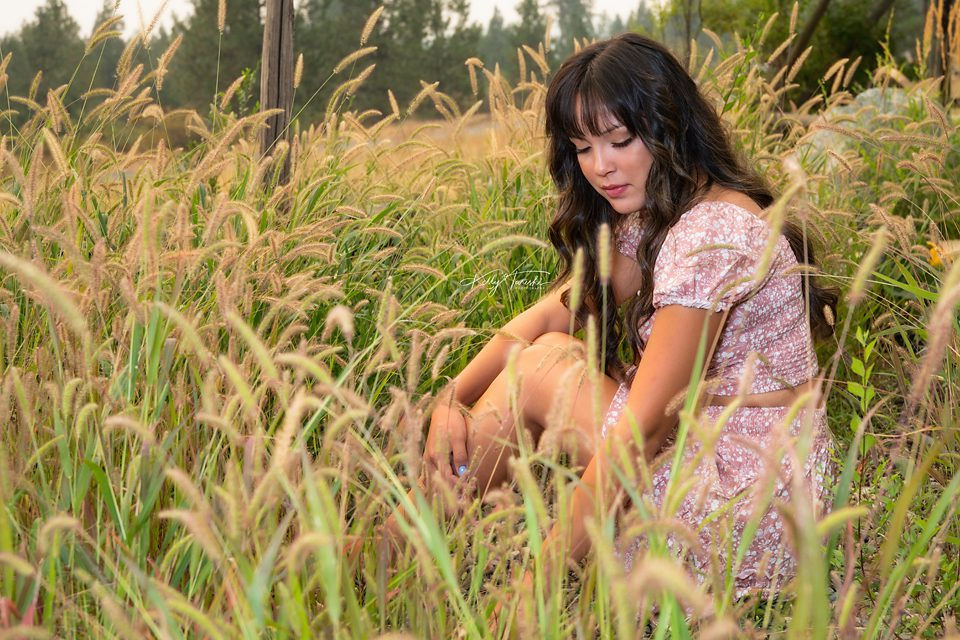
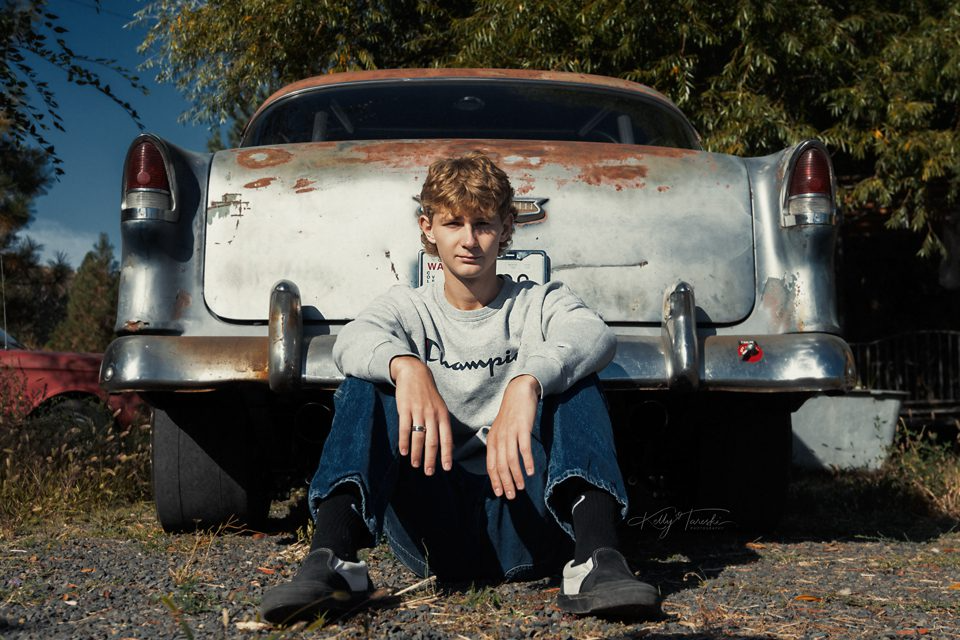
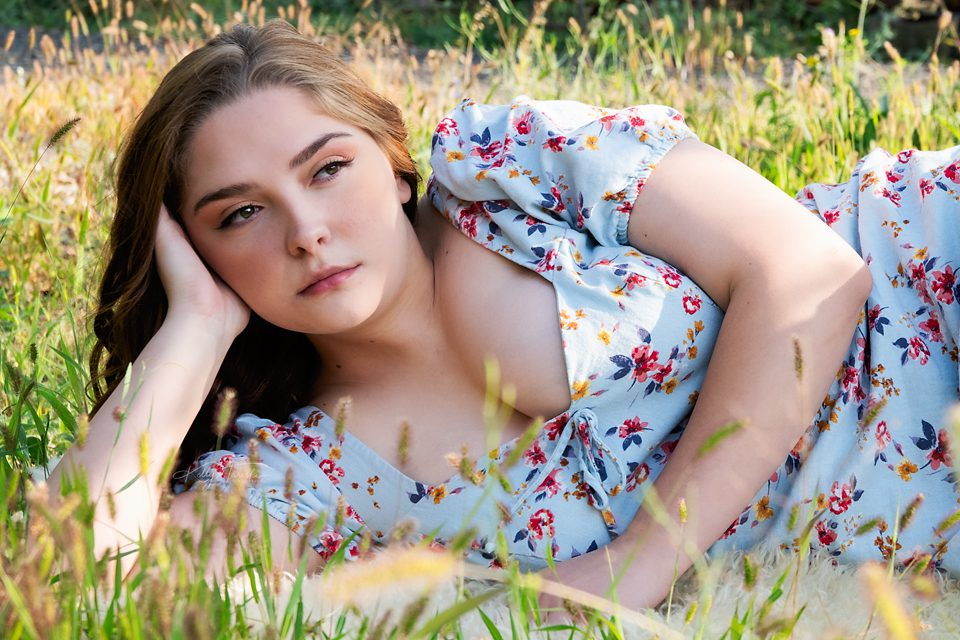
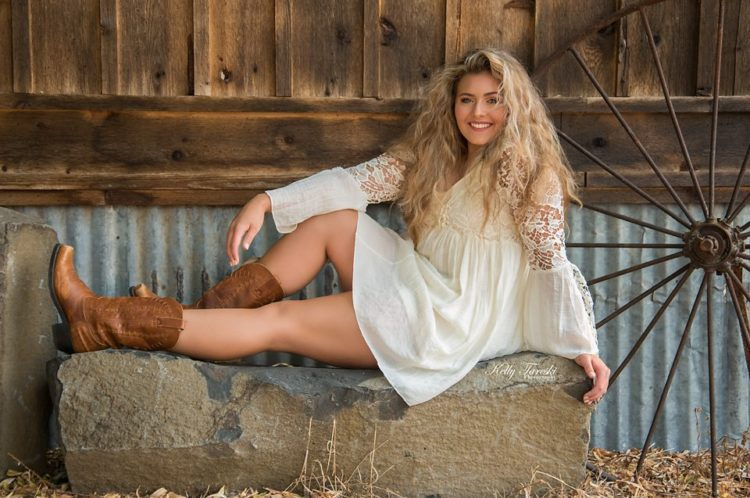
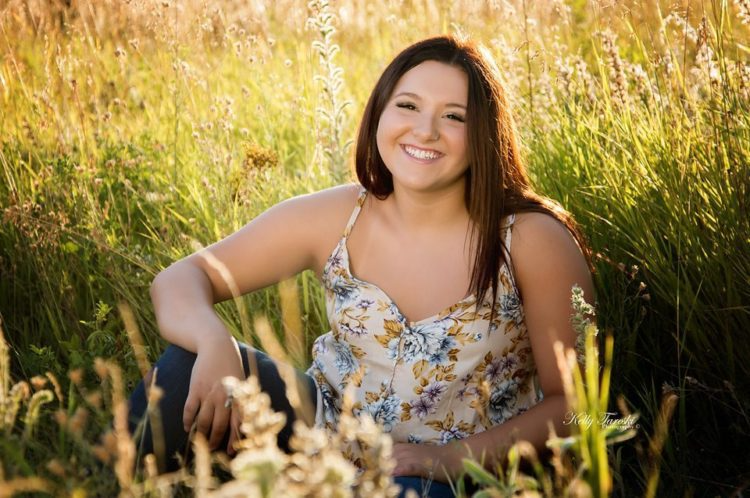
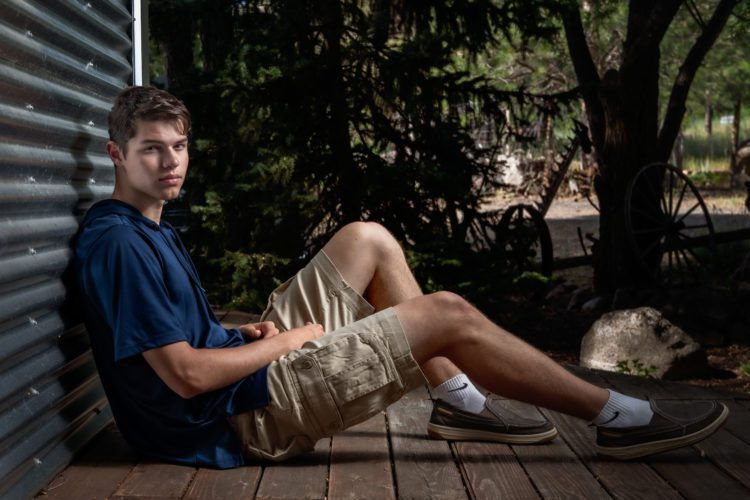
Natural light changes with time of day, season, cloud cover, shade, and nearby reflective surfaces. Outdoors, that variation can become part of the portrait by creating backlight, open-shade softness, strong direct sun, or lower-angle evening light. It is not inherently warmer, softer, more authentic, or more comfortable than artificial light. I use it when the changing environment supports the portrait I want to make.
The Benefits of Studio Lighting for Photography
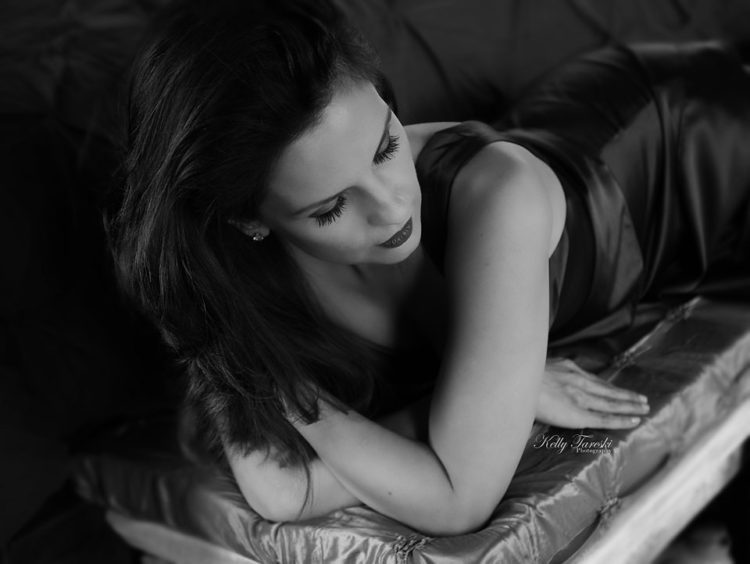
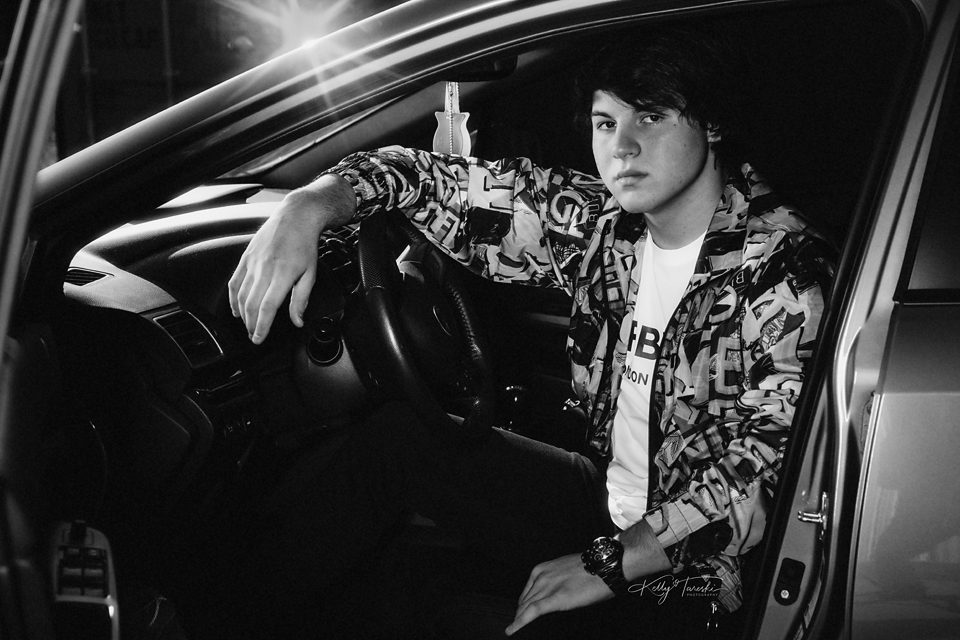
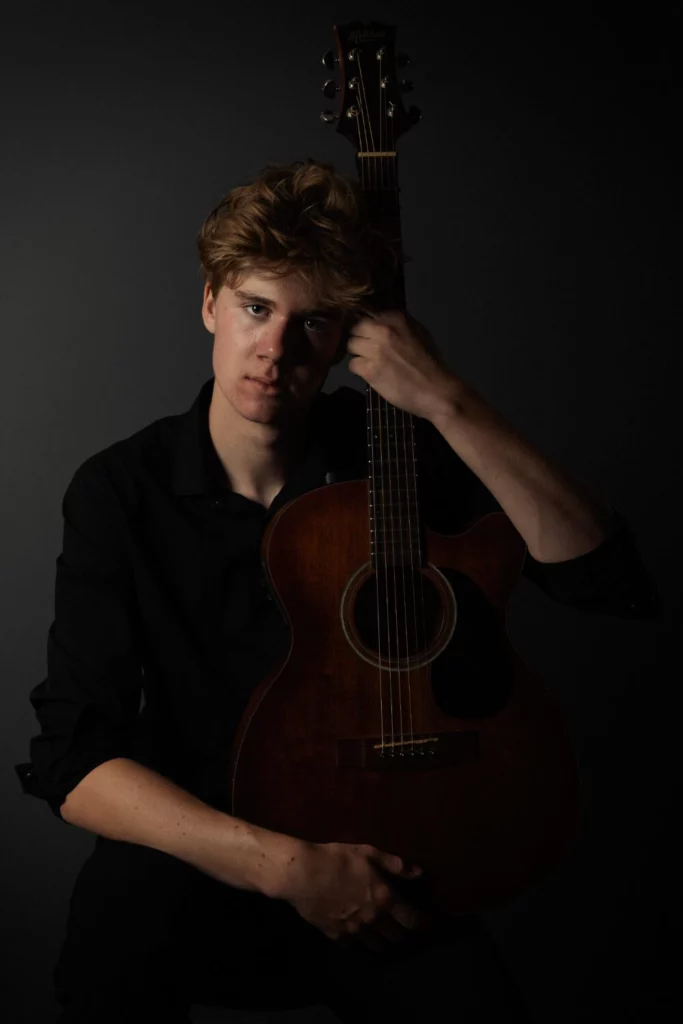
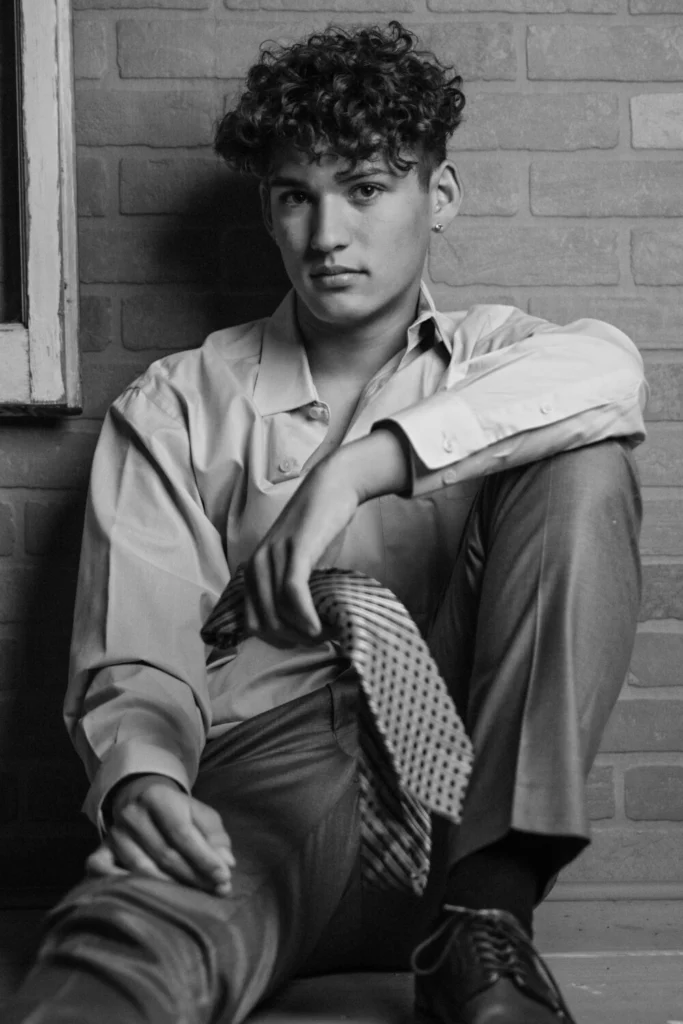
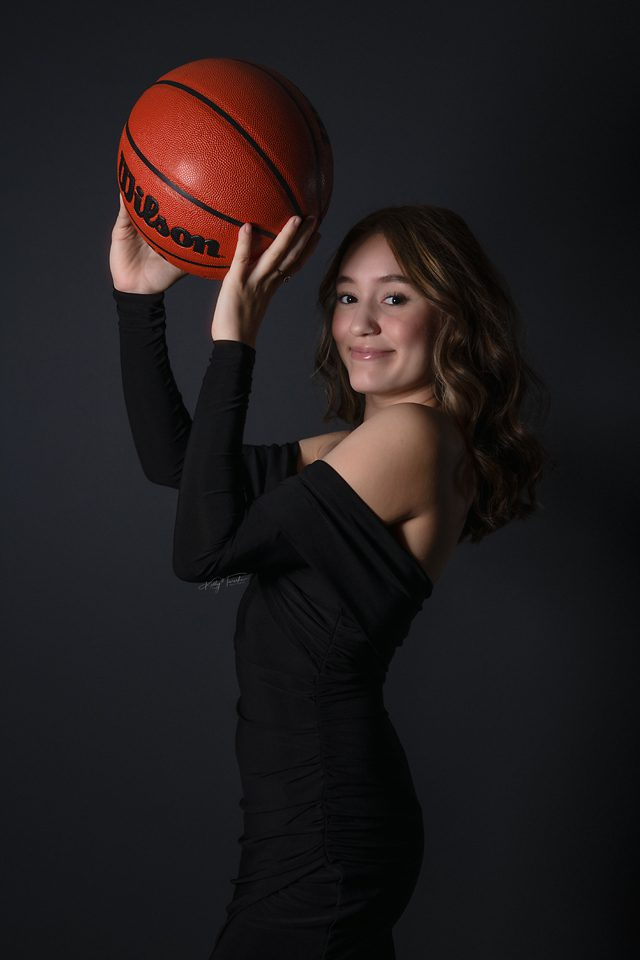
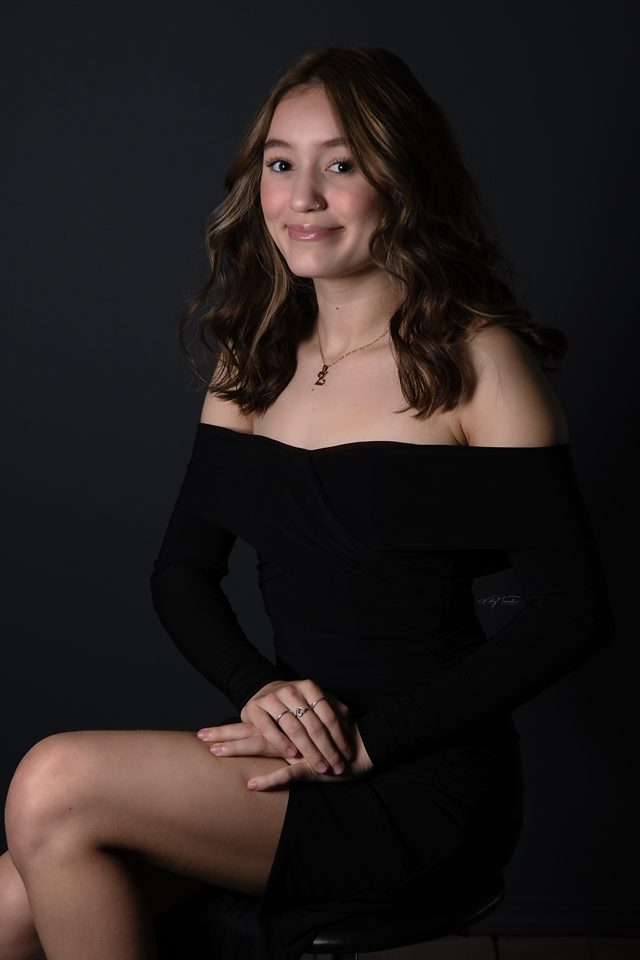
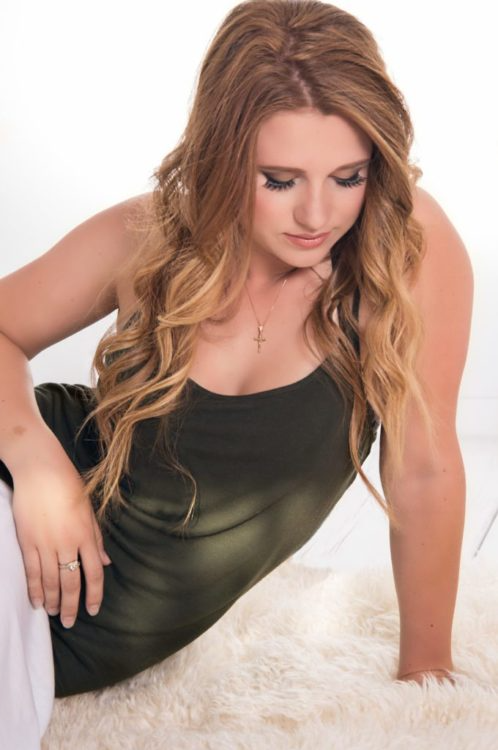
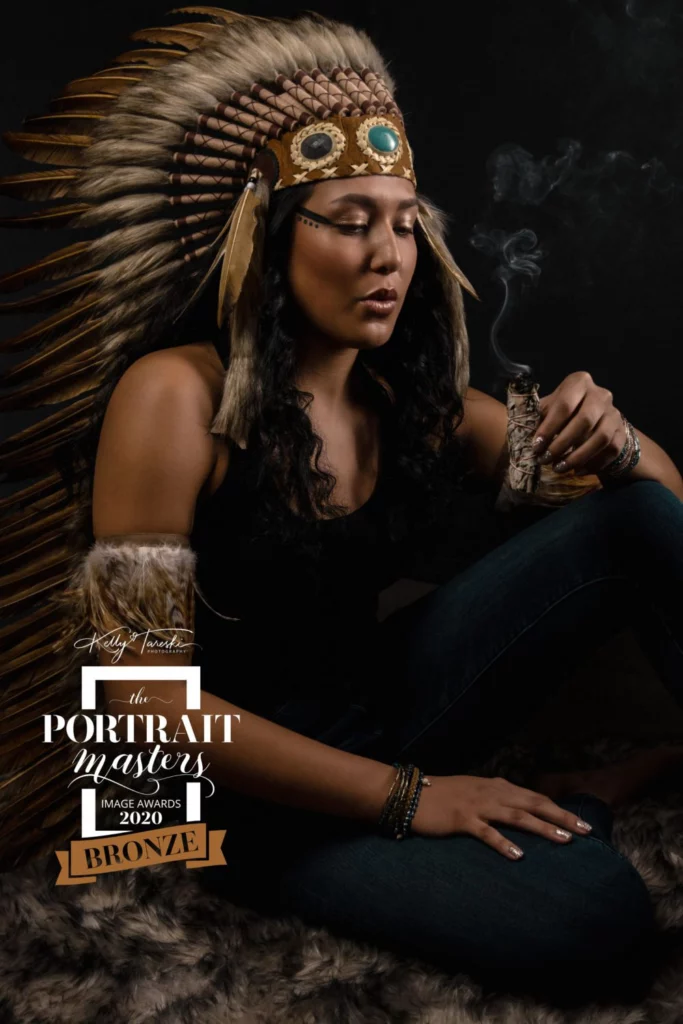
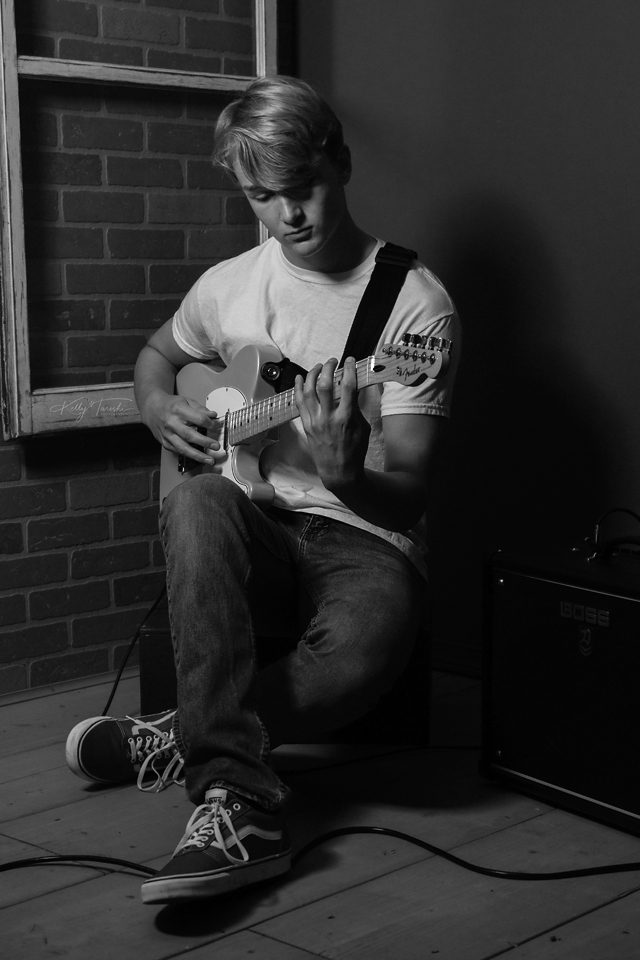
Studio lighting gives me repeatable control over direction, intensity, contrast, spill, and background separation. That can be useful when I want consistency across a set of headshots, a specific dramatic pattern, or a predictable indoor plan regardless of weather. Controlled light does not automatically make a portrait better, and natural light does not automatically create harsh or unflattering results. The useful source is the one that fits the photograph and the working conditions.
Tips to Optimize Both Natural and Studio Light for Photography
As a photographer, the ability to capture stunning images relies heavily on the use of light. Whether you are shooting in a studio or at an outdoor location, knowing how to optimize both natural and studio light can make all the difference. When working with natural light, be patient and take advantage of the golden hour when the sun is low in the sky. Determine the direction and intensity of the light and position your subject accordingly. In a studio, use softboxes or umbrellas to diffuse light and create a natural look. Experiment with different lighting setups, and don't be afraid to play around with shadows. By mastering both natural and studio light, you can take your photography to the next level and capture stunning images that are sure to leave a lasting impression.
My Outdoors Gardens and Indoor Studios for Portraits
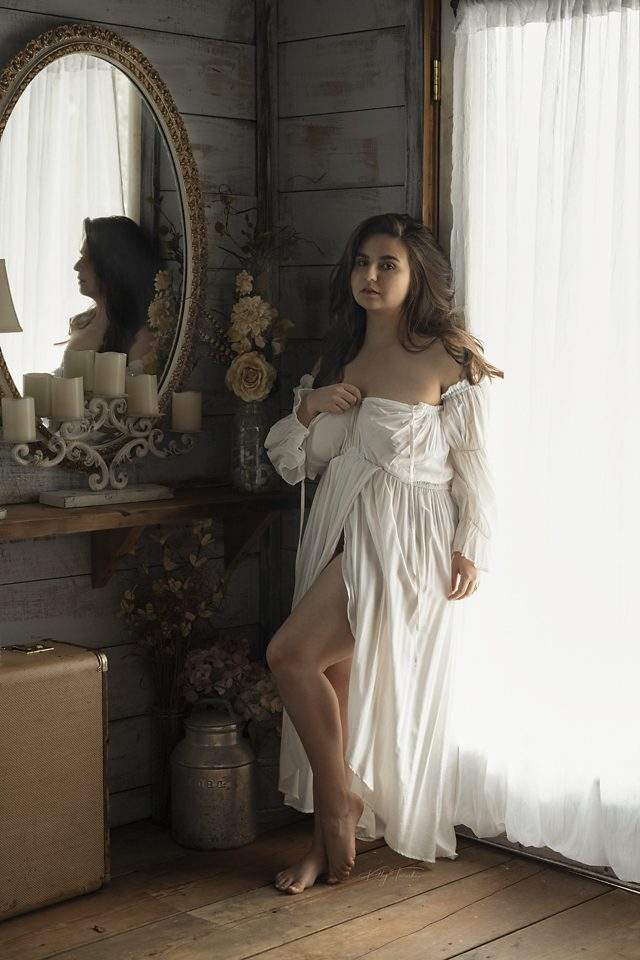
The advantage of having both outdoor settings and indoor studios is choice. A family or senior session may move between gardens and a studio when that supports the visual plan. A headshot may need controlled lighting and a simple background, while another portrait may benefit from environmental texture or changing outdoor light. For boudoir and other private portrait work, the setting and lighting can be selected around the client's boundaries, wardrobe, privacy preferences, and desired visual style.
Takeaways from Comparing Natural Light and Studio Lighting for Photography
The practical question is not which source wins a natural-light-versus-studio-light debate. Ask what the portrait needs: a changing environmental look or repeatable control, indoor privacy or outdoor context, a weather-independent setup or a specific season and landscape. I may also combine available light with reflectors, flash, or other controlled light when that produces the result I want.
That's a Wrap!
At Kelly Tareski Photography, the five-acre Nine Mile Falls property and five indoor studios give me multiple ways to build a portrait around the client and the conditions. Natural light, studio light, reflectors, flash, and mixed-light approaches are all tools. I choose among them based on the session rather than promising one perfect lighting formula. If you are planning a portrait session, we can discuss the setting and visual style that fit what you want photographed.
Education Most Searched Articles
- Kelly Tareski Photography Homepage
- How to Choose Background Colors to Complement Skin Tones
- Choosing the Best Lens for Stunning Senior Portraits
- 5 Tips Using the Nikon Z7ii Camera for Portrait Photography
- Exploring Spokane Through a Lens: Must-Visit Photo Locations
- How to Choose the Best Lenses for Senior Portraits
- When to Use a Neutral Background in Photography
- Top Posing Ideas for Solo Portraits: Looking Confident and Natural
- The Economy and Photography
- How the Economy Impacts Photography
- How to Weather Economic Slumps as a Photographer
- Finding Creative Ways to Promote Your Photography on a Budget
- Free and Low-Cost Resources for Photographers