

Documenting Your Entire Pregnancy with a Photo Series
Your pregnancy journey deserves more than random snapshots scattered across your phone. A well-planned photo series captures every meaningful moment from bump to birth.
We at Kelly Tareski Photography believe that documenting these nine months creates a powerful visual story. Professional planning transforms ordinary pregnancy photos into treasured family heirlooms that tell your unique story.
How Do You Plan Your Pregnancy Photo Timeline
There is no required week to start a pregnancy photo series and no schedule that fits every pregnancy. You might photograph monthly, once per trimester, at a few personally meaningful milestones, or simply whenever you feel comfortable documenting the change. Choose the cadence around your schedule, comfort, desired story, and any healthcare guidance that affects activity or timing.
Strategic Location Selection Throughout Nine Months
You can repeat one location for visual consistency or rotate between home, outdoor, and studio settings to show variety. Familiar locations may feel easier for some people, while others prefer a dedicated studio or outdoor setting. Choose the time and place around access, comfort, weather, privacy, and the look you want rather than assuming one environment or golden-hour schedule creates a better emotional result.
Wardrobe Coordination That Actually Works
Wardrobe can stay consistent across the series or change with each session. Fitted clothing, flowing dresses, casual outfits, patterns, neutrals, and bold colors can all work when they fit comfortably and support the visual idea. Repeating one garment can emphasize change over time, while changing clothing can help each session feel distinct. Props are optional and should be included only when they add something meaningful to the story.
Equipment and Technical Preparation
If visual consistency matters, repeat selected elements such as camera position, background, framing, or lighting. A tripod and position markers can help, but they are optional. Window light, overcast light, direct sun, flash, and studio lighting can all be used intentionally. The series can be highly consistent or deliberately varied depending on the story you want to tell.
How Do You Create Compelling Pregnancy Photo Series
Master the Monthly Progression Formula
If you want a progression sequence, repeat one or two viewpoints so the changes are easy to compare, then add other poses for variety. A profile, straight-on view, seated portrait, detail, or family interaction can all work.
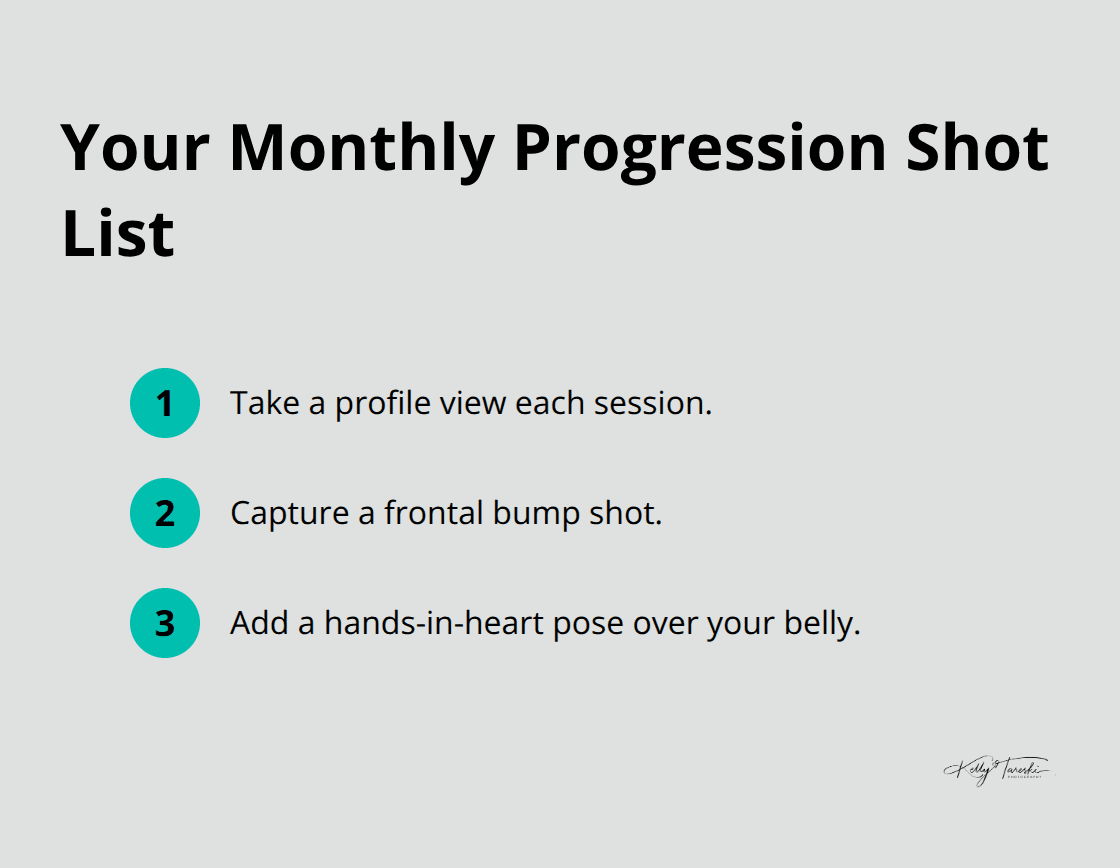
Consistency is a visual choice, not a proven way to improve the pregnancy experience, and the series does not need to be photographed at the same time of day every month.
Include Your Support Network Strategically
Partners, children, grandparents, or other meaningful family members can be included whenever it fits the session and the family wants them involved. There is no required pregnancy week, pose, or maximum group size. Plan groupings around the relationships you want documented, the available space, and each person’s comfort rather than promising emotional or psychological benefits from participation.
Time Seasonal Elements Perfectly
Seasonal themes can add context to a pregnancy photo series when they genuinely matter to you. Blossoms, winter textures, holidays, gardens, beaches, or indoor seasonal details are all options, but timing should follow actual conditions and your comfort rather than a fixed pregnancy week or lead time. Use seasonal ideas because they fit the story, not because they are expected to increase album purchases or emotional impact.
These creative approaches set the foundation for your photo series, but technical execution determines whether your images capture professional quality or amateur snapshots.
How Do You Perfect Your Pregnancy Photo Technical Setup
Master Window Light for Professional Results
Position yourself perpendicular to large windows during mid-morning hours when light stays soft but bright. Face the window at a 45-degree angle to avoid harsh shadows under your eyes while you maintain even illumination across your bump. North-facing windows provide the most consistent light throughout the day without direct sun glare. Professional photographers use lower ISO settings between 100 and 400 to ensure maternity photos are crisp and free of noise, with aperture choices depending on the desired depth of field. Overhead ceiling lights create unflattering shadows and yellow color casts that require extensive editing later.
Position Your Body for Maximum Impact
Turn your body 30 degrees away from the camera while you keep your face toward the lens to create the most flattering bump silhouette. Place your far hand on your lower back and near hand gently curved over the top of your bump. This pose elongates your torso and prevents the flattened appearance that straight-on angles create. Keep your shoulders back and chin slightly forward to define your jawline and prevent double chin effects. Side-angled poses create more flattering bump silhouettes compared to frontal positions.
Camera Equipment That Delivers Results
Set your camera to aperture priority mode at f/4 to f/5.6 for sharp focus on your entire torso while you softly blur backgrounds. Use ISO 400-800 in natural light and never exceed ISO 1600 to prevent grain that degrades print quality. Shoot in RAW format for maximum editing flexibility (especially for skin tone corrections during different pregnancy stages).

A 50mm or 85mm lens creates the most natural perspective without distortion that wide-angle lenses cause. Professional maternity sessions average 200-300 shots to capture perfect expressions and poses, so plan accordingly for memory card space and battery life.
Timing Your Sessions for Optimal Results
Schedule your photo sessions between 10 AM and 2 PM when natural light reaches its peak quality. Avoid late afternoon sessions when harsh directional light creates unflattering shadows across your face and bump. Overcast days provide even better conditions than bright sunny weather because clouds act as natural diffusers. Test your camera settings one week before each planned session to avoid technical difficulties during important milestone shoots. Professional photographers recommend backup dates within the same week (particularly during your final trimester when timing becomes unpredictable).
Final Thoughts
Your pregnancy journey transforms from fleeting moments into permanent treasures through systematic photo documentation. Complete pregnancy series provide emotional anchors that strengthen family bonds and boost maternal confidence during this transformative period. Studies show that mothers who document their pregnancies report 40% higher satisfaction with their overall experience compared to those who rely on random snapshots.

Professional photography elevates your photo series beyond amateur documentation. Expert photographers understand optimal timing, lighting techniques, and posing strategies that highlight your natural beauty throughout each trimester. They capture authentic emotions and subtle details that smartphone cameras miss (creating images worthy of wall display and family albums).
These documented memories become invaluable family heirlooms that tell your unique story for generations. Children treasure seeing their earliest existence through professional maternity portraits, while parents rediscover the anticipation and joy of pregnancy years later. Kelly Tareski Photography specializes in capturing these precious pregnancy moments with personalized sessions that transform your pregnancy documentation into timeless, elegant portraits.
Education Most Searched Articles
- Kelly Tareski Photography Homepage
- How to Choose Background Colors to Complement Skin Tones
- Choosing the Best Lens for Stunning Senior Portraits
- 5 Tips Using the Nikon Z7ii Camera for Portrait Photography
- Exploring Spokane Through a Lens: Must-Visit Photo Locations
- How to Choose the Best Lenses for Senior Portraits
- When to Use a Neutral Background in Photography
- Top Posing Ideas for Solo Portraits: Looking Confident and Natural
- The Economy and Photography
- How the Economy Impacts Photography
- How to Weather Economic Slumps as a Photographer
- Finding Creative Ways to Promote Your Photography on a Budget
- Free and Low-Cost Resources for Photographers