

Golden Hour Portraits - Harnessing the Magic
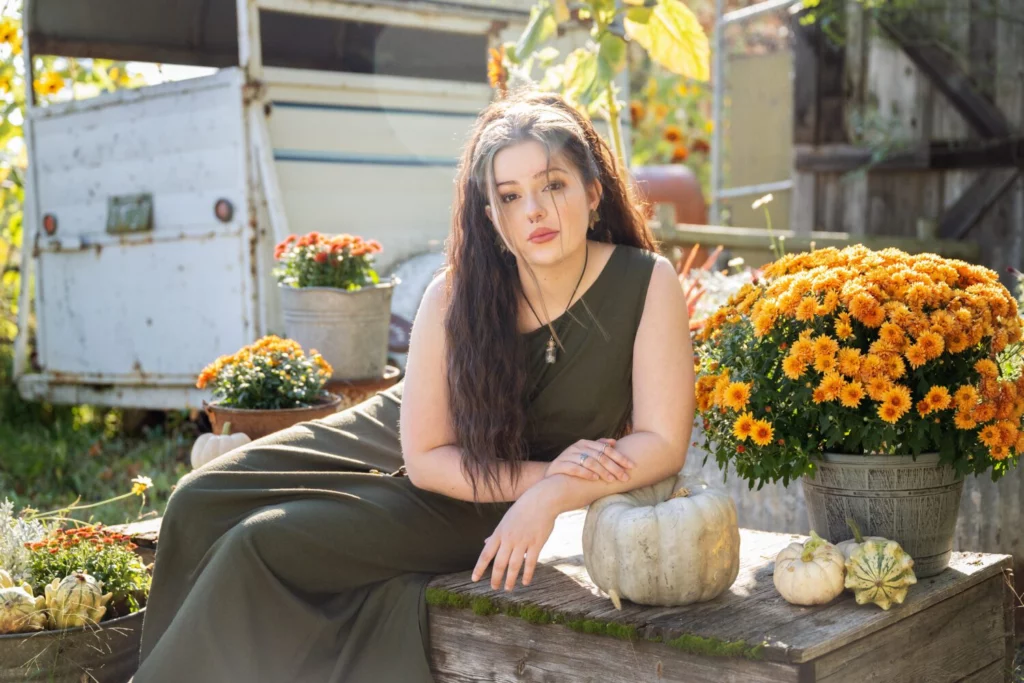
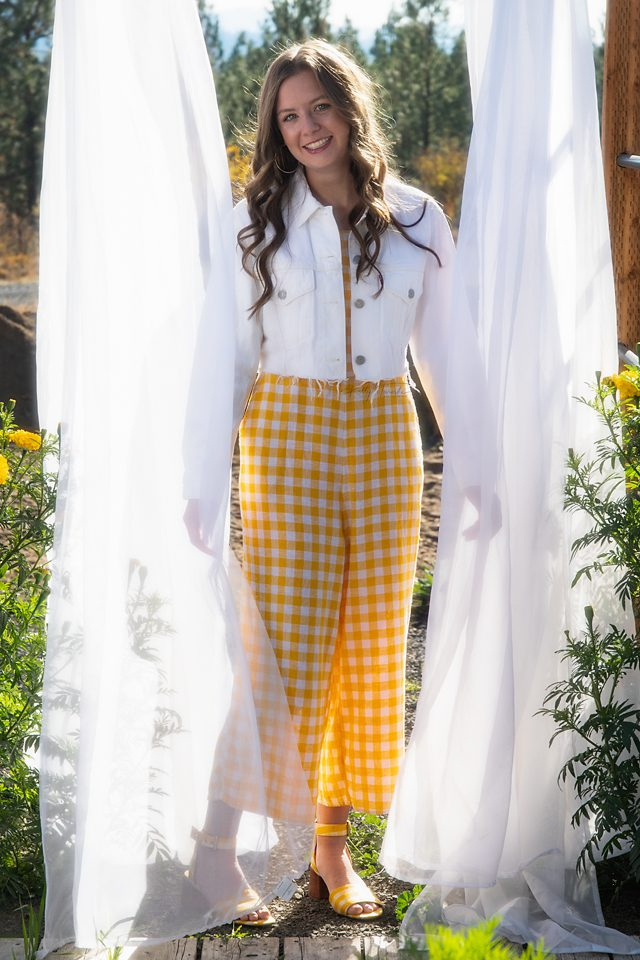
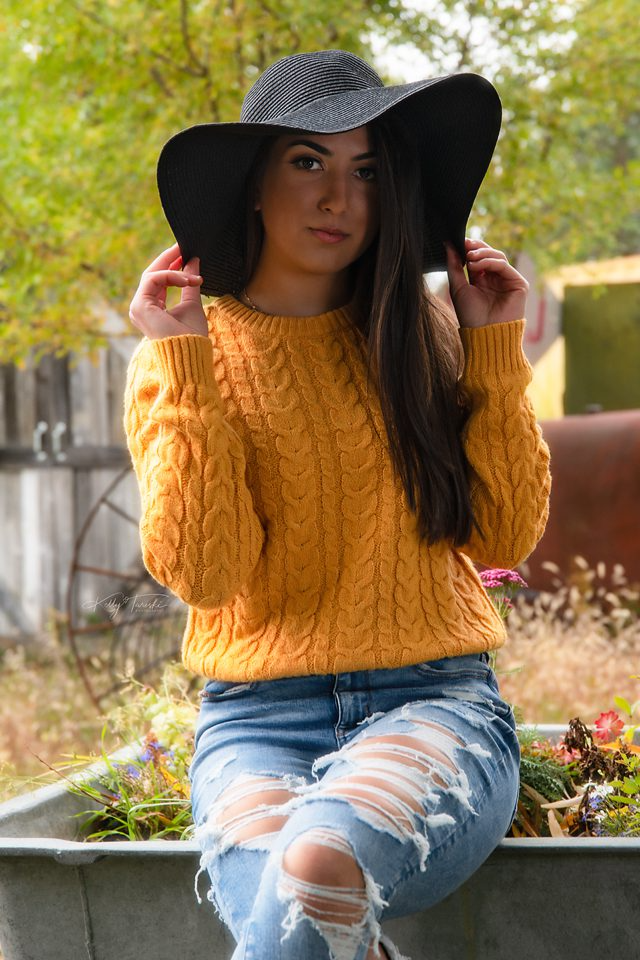
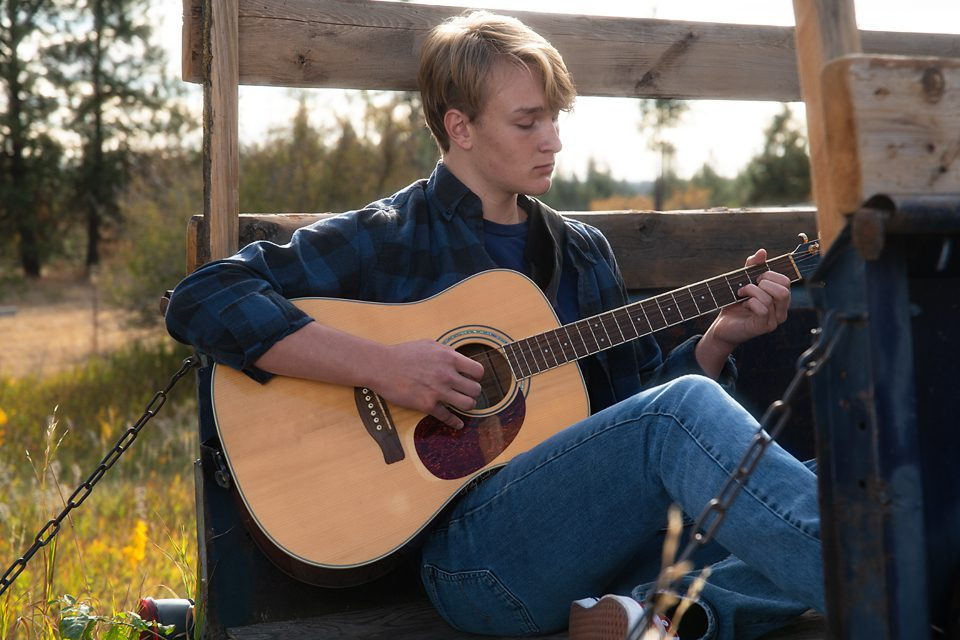
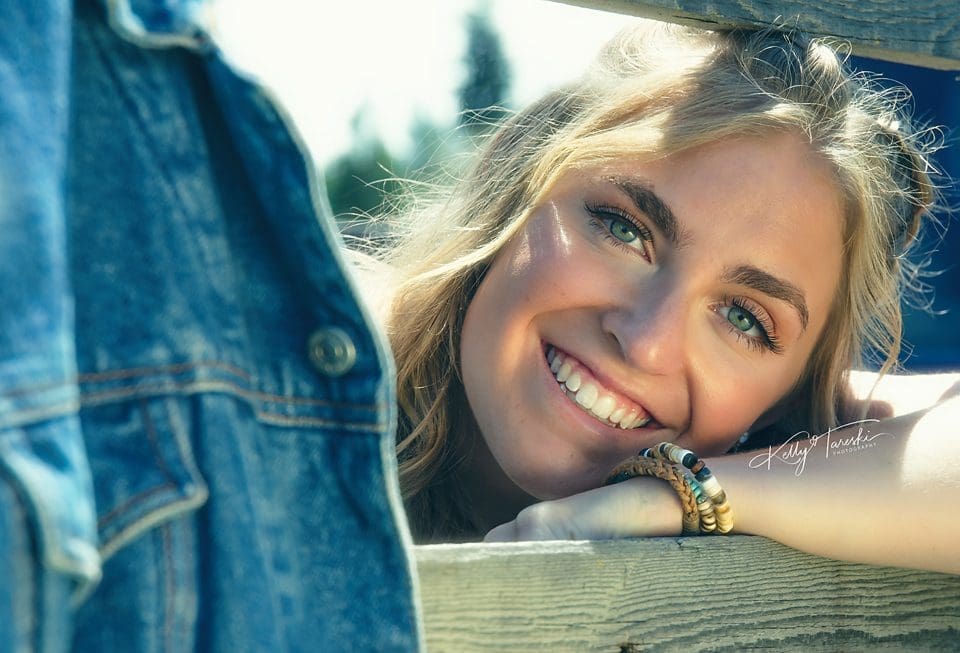
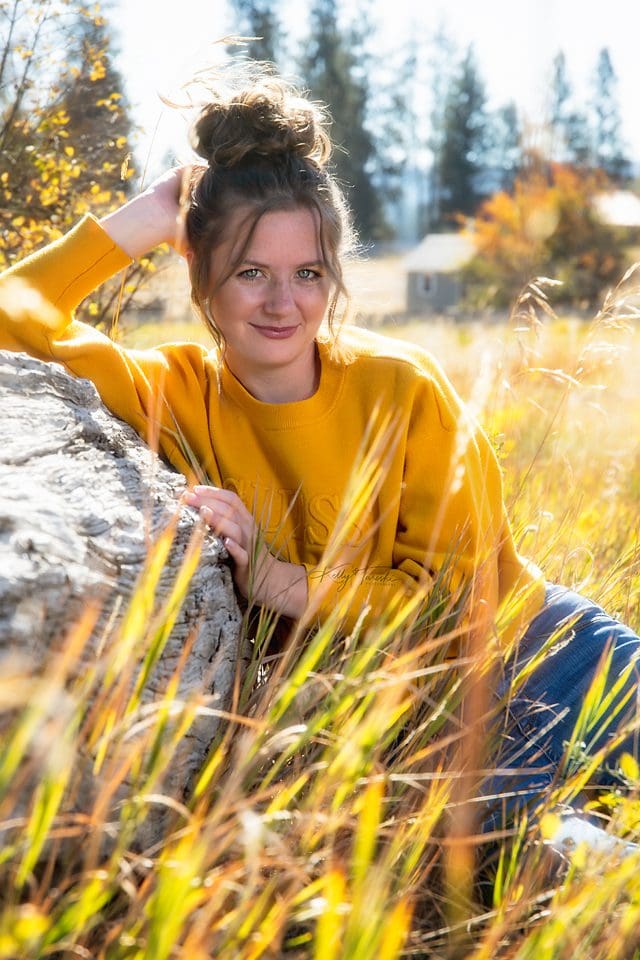
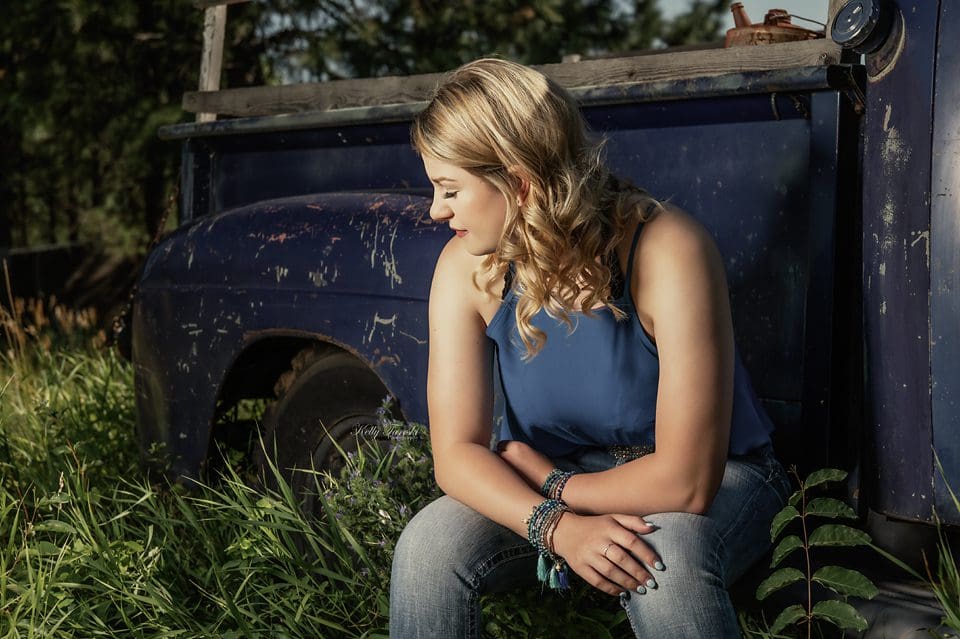
Quick answer: Golden hour is the period around sunrise or sunset when the sun is low and the light can appear warmer and more directional. It can be beautiful for portraits, but its exact duration and look change with season, weather, latitude, terrain, and exposure. It is one useful lighting condition, not the only time to create strong portraits.
Timing is Key
Golden-hour timing is not a fixed 20-to-45-minute window. Check the actual sunrise or sunset for the location and arrive early enough to watch how the light develops. Buildings, trees, hills, clouds, and the season can shorten or change the usable light considerably.
Location, Location, Location!
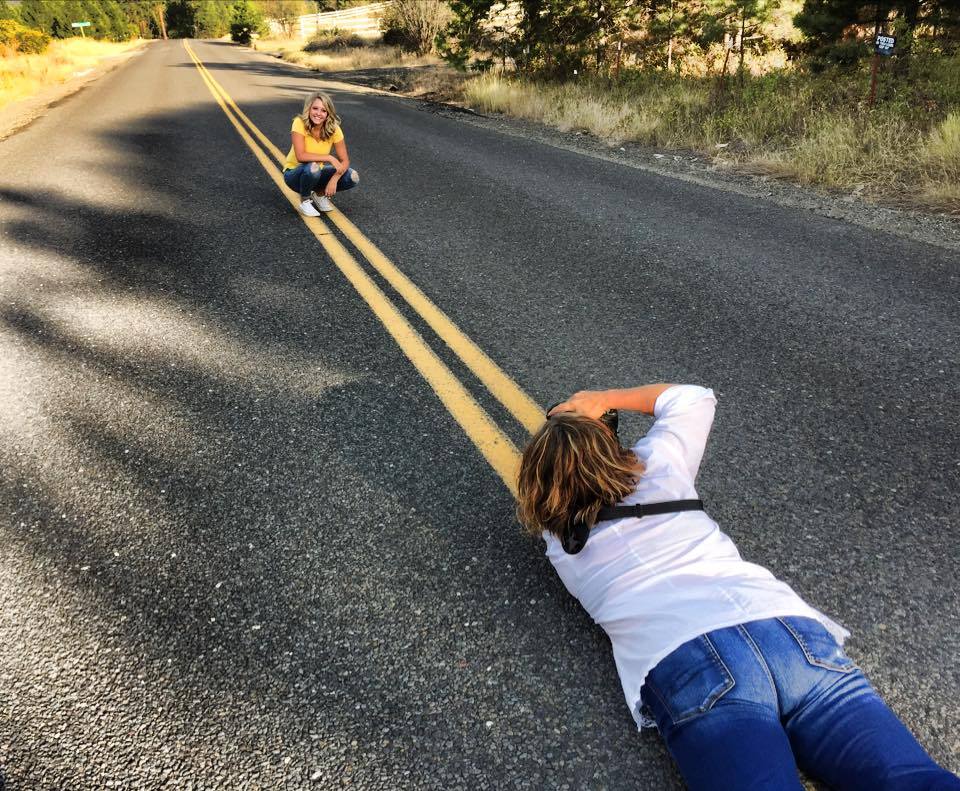
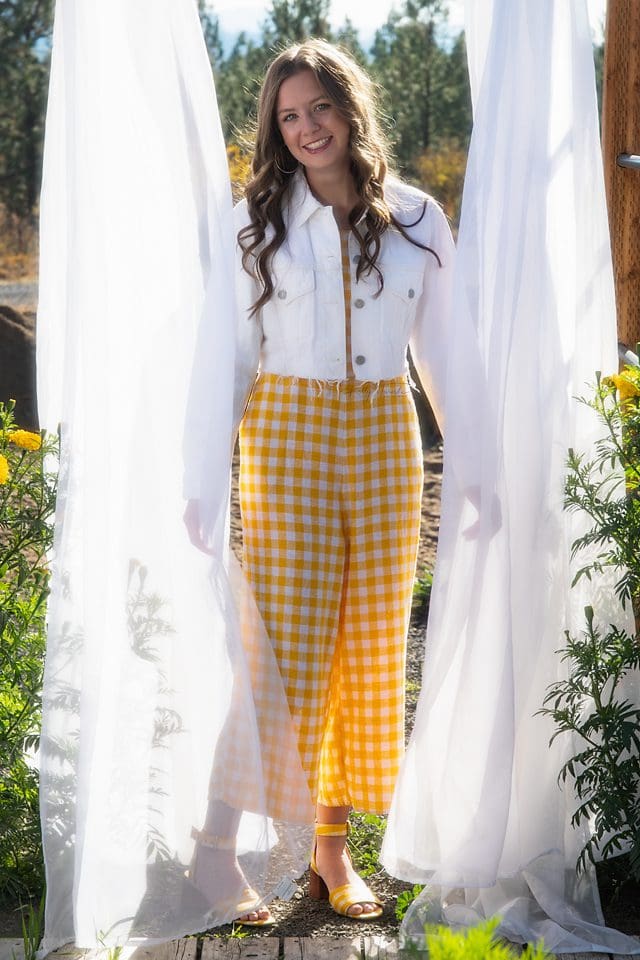
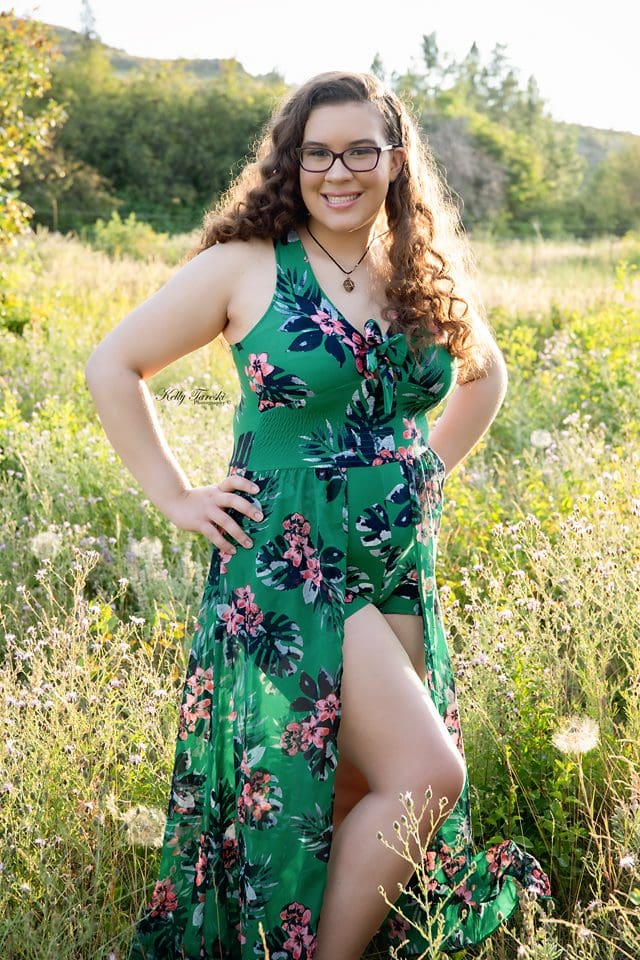
Location and composition play a vital role in making the most of the Golden Hour. You'll want to scout out your location beforehand to ensure you have the perfect backdrop. The right setting can take your portraits to the next level. Look for open spaces, a view of the horizon, and an unobstructed line of sight to capture that warm, golden light.
Understand Light and Exposure
During lower-angle morning or evening light, contrast and color can change quickly. Expose for the subject and adjust aperture, shutter speed, ISO, subject position, reflector or flash use, and background as the light changes. Do not assume golden hour always means lower contrast or that a wider aperture is automatically required.
better-quality
Equipment Preparation
Be prepared. This is key to taking great photographs. During the Golden Hour, you don't want to fumble with your equipment trying to change lenses or camera settings. Be ready to capture that perfect moment. You may want to bring a tripod to increase stability and a reflector to bounce light onto your subject. A tripod helps when you need to shoot long exposures or during low-light situations. On the other hand, a reflector will enhance the light on your subject, giving them that dazzling glow.
Editing your Portraits
Post-processing can be just as crucial as the actual shoot itself. You'll want to take the time to edit your portraits to enhance the light and bring out the subtle detail or retouch any distracting elements. Adding a vignette might also give your photos that signature Golden Hour look. However, be careful not to overdo it. Your goal is to enhance your photos' natural look, not to make them look fake.
That's a Wrap!
Golden hour can create warm color, long shadows, rim light, and softer transitions when conditions cooperate. The useful skill is learning how to observe the changing light and adapt quickly. Open shade, overcast conditions, midday light used intentionally, flash, and studio lighting can also produce excellent portraits.

Education Most Searched Articles
- Kelly Tareski Photography Homepage
- How to Choose Background Colors to Complement Skin Tones
- Choosing the Best Lens for Stunning Senior Portraits
- 5 Tips Using the Nikon Z7ii Camera for Portrait Photography
- Exploring Spokane Through a Lens: Must-Visit Photo Locations
- How to Choose the Best Lenses for Senior Portraits
- When to Use a Neutral Background in Photography
- Top Posing Ideas for Solo Portraits: Looking Confident and Natural
- The Economy and Photography
- How the Economy Impacts Photography
- How to Weather Economic Slumps as a Photographer
- Finding Creative Ways to Promote Your Photography on a Budget
- Free and Low-Cost Resources for Photographers