
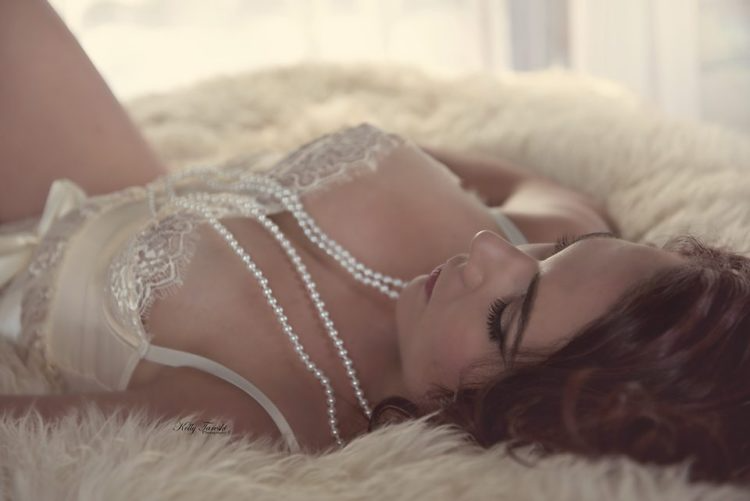
How to Capture Soft, Natural Light Indoors
At Kelly Tareski Photography, we believe that mastering soft, natural light is essential for creating stunning indoor photographs.
Natural light can transform ordinary scenes into extraordinary images, adding depth and warmth to your subjects.
In this guide, we’ll share our expertise on capturing the perfect soft, natural light indoors, from selecting the ideal room to adjusting your camera settings.
Whether you’re a beginner or a seasoned pro looking to enhance your photography education, these techniques will help you elevate your indoor photography skills.
What Makes Soft, Natural Light Special?
The Essence of Soft Light
Soft natural light creates gradual transitions between highlights and shadows. Similar softness can also be created with artificial light when the source is large enough relative to the subject or appropriately diffused. For indoor portraits, the useful choice depends on the direction, size, distance, contrast, and color of the light rather than whether it is natural or artificial.
Time of Day Changes Window Light
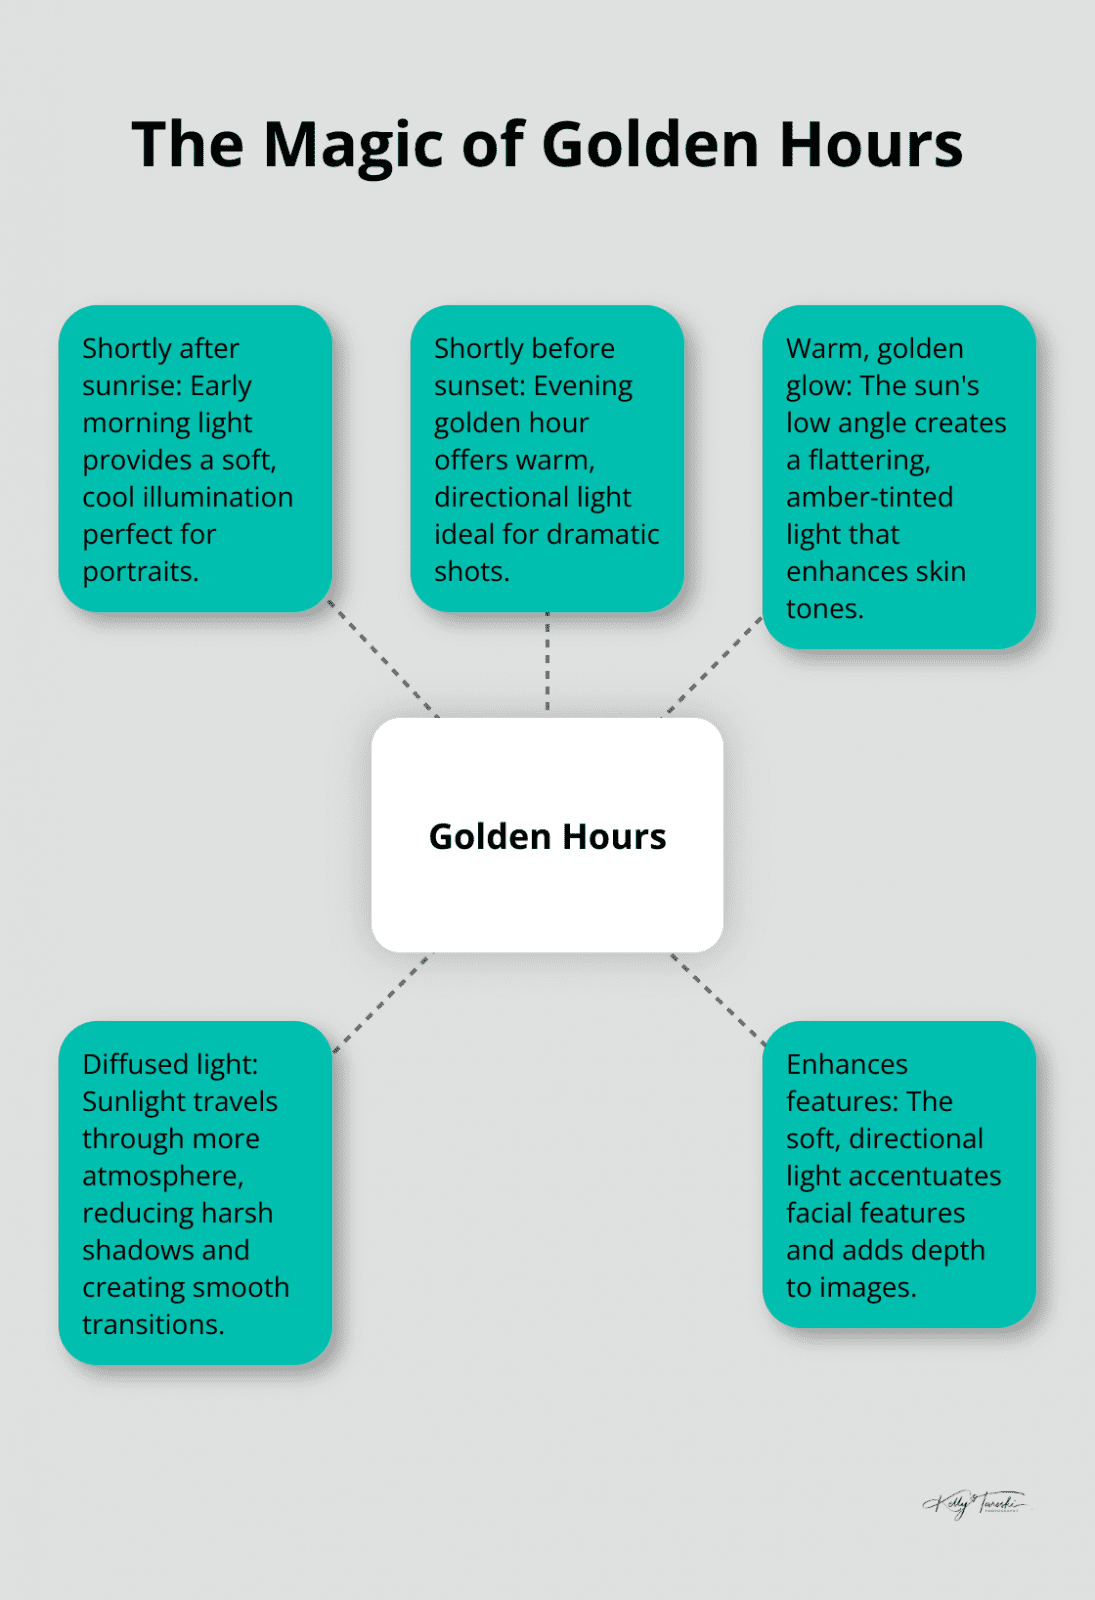
Indoor window light changes as the sun moves, and the useful time depends on which direction the windows face, nearby buildings or trees, cloud cover, season, and the look you want. Lower-angle morning or evening light can create warm directional effects, but midday, overcast, and indirect window light can also work well.
Overcast Days: A Photographer’s Ally
Contrary to popular belief, cloudy days can enhance your photography by providing soft, diffused light and reducing harsh shadows. This creates a soft, even illumination that’s ideal for capturing detailed shots without the worry of harsh shadows or blown-out highlights. Try to take advantage of these days for indoor shoots that require consistent lighting throughout the session.
Window Light Techniques
Windows are a primary source for indoor natural-light photography. A window’s direction, size, glazing, curtains, nearby structures, and reflected surfaces all affect the result. Instead of assuming one window orientation or a fixed 45-degree subject angle is best, move the subject and camera while watching how the light changes across the face and background.
Time of Day Considerations
When working with window light, be mindful of the time of day. Morning light tends to be cooler and more diffused, while afternoon light can be warmer and more directional. Experiment with different times to find the look that best suits your subject and style. (This experimentation will help you develop a keen eye for the subtle changes in natural light throughout the day.)
Natural light is dynamic and ever-changing. As photographers, we must observe, adapt, and capture these fleeting moments of beauty. With practice and patience, you’ll develop an intuitive understanding of how to work with soft, natural light to create stunning indoor photographs. Now, let’s explore how to prepare your indoor space to make the most of this beautiful light.
How to Set Up Your Indoor Space for Natural Light Photography
Selecting the Room
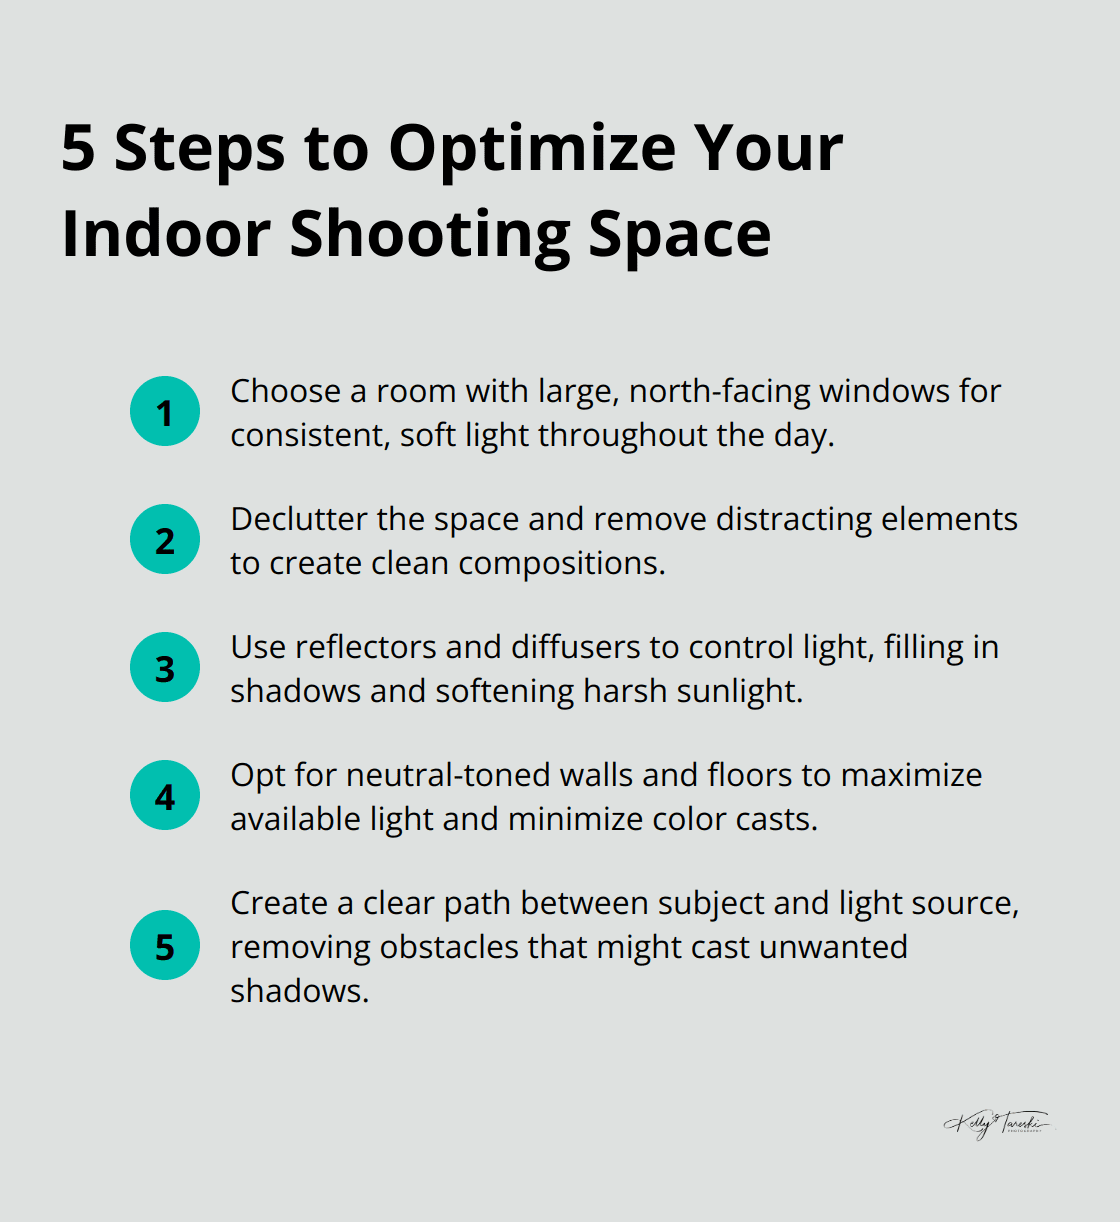
Large windows can provide more light and more room to reposition the subject, but smaller windows can also create useful directional light. Window orientation affects when direct or indirect light enters the space, and direct sunlight is not automatically a problem. Use curtains, diffusion, shade, reflectors, subject placement, or exposure choices when the contrast is stronger than you want.
The size of the room affects your flexibility in positioning subjects and equipment. Larger spaces offer more options, but even compact areas can yield beautiful results with the right techniques.
Decluttering for Clean Compositions
A cluttered background distracts from your subject and can ruin an otherwise perfect shot. Take time to tidy up the space before your shoot. Remove unnecessary furniture, decorations, and personal items. Leave elements that add character or context to your images, but ensure they complement rather than compete with your subject.
Pay attention to reflective surfaces like mirrors or glass picture frames. These can create unwanted reflections or light spots in your images. Remove them or adjust their angle to avoid interference with your shot.
Harnessing Light with Reflectors and Diffusers
Reflectors and diffusers are invaluable tools for controlling natural light indoors. A simple white foam board can serve as an effective reflector, bouncing light back onto your subject to fill in shadows. Position it opposite your main light source to achieve balanced illumination.
To diffuse harsh light, use a sheer white curtain or a large piece of translucent fabric. Hang it over the window to soften intense sunlight and create more even, flattering light across your subject.
Professional photographers often use collapsible reflectors and diffusers for their versatility and portability. These tools come in various sizes and colors, allowing you to fine-tune the quality and temperature of light in your shots.
Optimizing Your Shooting Space
Consider the floor and wall colors in your chosen room. Neutral tones (like white, beige, or light gray) reflect light well and minimize color casts. If possible, use a room with light-colored walls to maximize the available natural light.
Try to create a clear path between your subject and the light source. Remove any obstacles that might cast unwanted shadows or block the light. This might involve rearranging furniture or adjusting window treatments.
(Pro tip: Keep a small toolkit handy with items like tape, clamps, and hooks. These can be useful for quick adjustments to backdrops or light-modifying tools during your shoot.)
Now that you’ve optimized your indoor space for natural light photography, it’s time to focus on the technical aspects of capturing these beautiful, soft-lit images. Let’s explore the camera settings and techniques that will help you make the most of your carefully prepared environment.
Mastering Camera Settings for Indoor Natural Light
Balance ISO, Aperture, and Shutter Speed
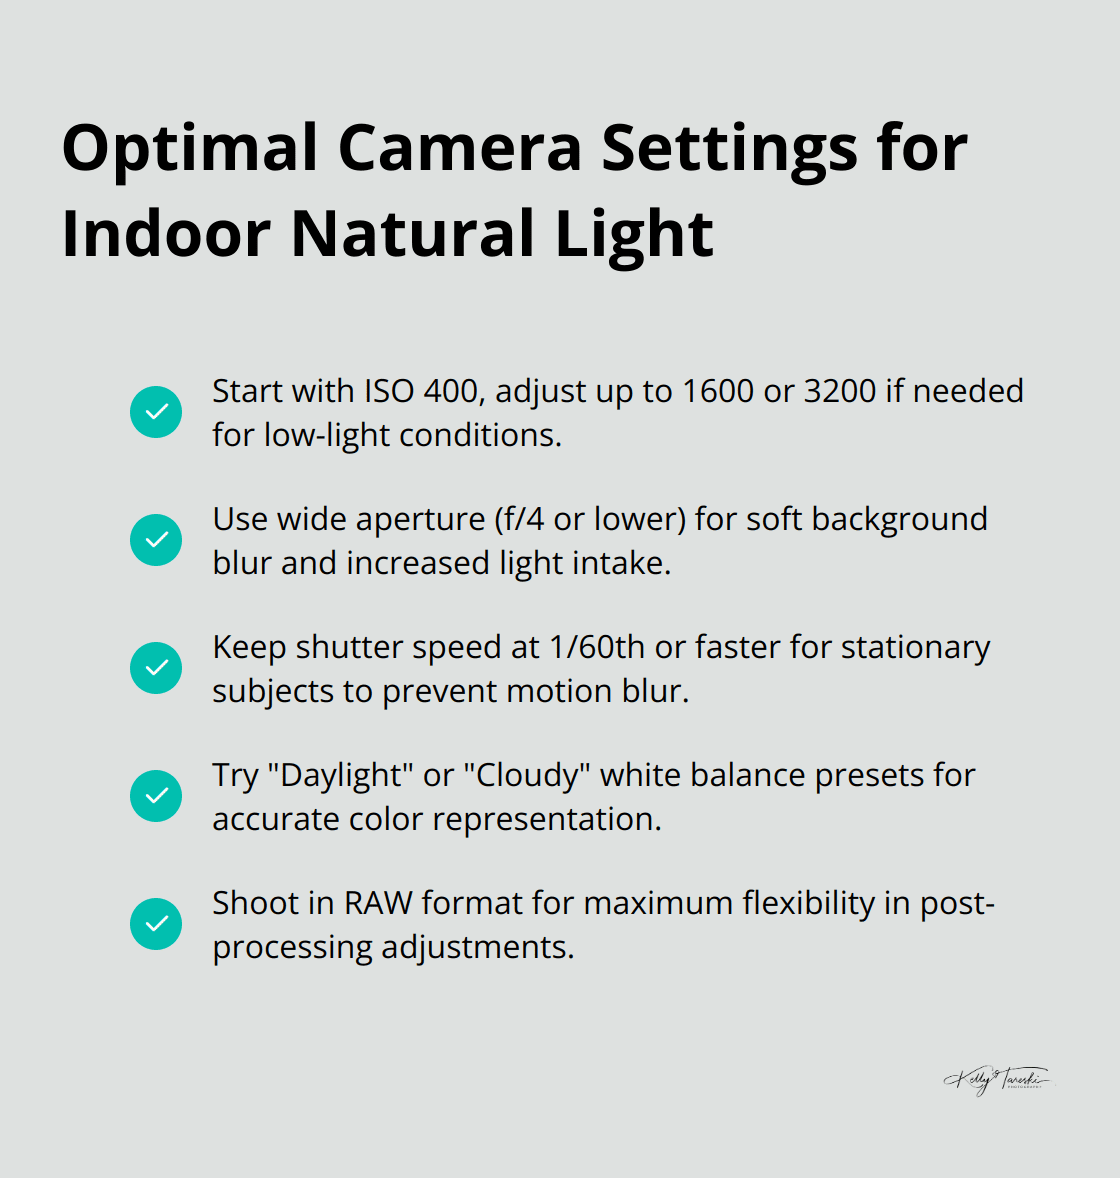
Indoor exposure depends on the available light, camera, lens, subject movement, stabilization, and the amount of noise or depth of field you are willing to accept. Increase ISO when you need more sensitivity, choose aperture for the depth of field you want, and set shutter speed fast enough for the subject and camera movement. There is no single ISO, aperture, or minimum shutter speed that applies to every indoor portrait.
White Balance Wizardry
Natural light varies in color temperature throughout the day. While auto white balance often performs well, manual adjustments can elevate your images. The “Daylight” or “Cloudy” presets work well for most indoor natural light situations. Shooting in RAW format allows for fine-tuning white balance in post-processing.
Subject Positioning
The subject’s position relative to the window changes shadow shape, catchlights, contrast, and background brightness. Move the subject closer to or farther from the window and rotate them gradually rather than relying on one fixed angle. Direct window sun, side light, front light, and backlight can all be used intentionally when exposure and contrast are controlled.
Experiment with different angles. Moving just a few inches can dramatically change the light on your subject’s face. Ask your subject to turn slightly or tilt their chin to catch the light just right.
Final Thoughts
Soft indoor natural light comes from observing the actual window direction, source size, diffusion, contrast, and reflected light in the room. Golden-hour and overcast conditions are useful options, but they are not the only times that work, and no single window orientation guarantees the best result.
Balance ISO, aperture, shutter speed, white balance, subject position, and background for the photograph in front of you. The most useful settings are the ones that preserve the motion, depth of field, exposure, and color you intend.
At Kelly Tareski Photography, we strive to create timeless, elegant images using natural light. Our photography education focuses on capturing genuine moments and emotions in every shoot. We invite you to explore our services and enhance your skills in working with soft, natural light for breathtaking indoor photographs.
Education Most Searched Articles
- Kelly Tareski Photography Homepage
- How to Choose Background Colors to Complement Skin Tones
- Choosing the Best Lens for Stunning Senior Portraits
- 5 Tips Using the Nikon Z7ii Camera for Portrait Photography
- Exploring Spokane Through a Lens: Must-Visit Photo Locations
- How to Choose the Best Lenses for Senior Portraits
- When to Use a Neutral Background in Photography
- Top Posing Ideas for Solo Portraits: Looking Confident and Natural
- The Economy and Photography
- How the Economy Impacts Photography
- How to Weather Economic Slumps as a Photographer
- Finding Creative Ways to Promote Your Photography on a Budget
- Free and Low-Cost Resources for Photographers