

Let’s Roll!
How to Perfect Your Makeup for Senior Portraits. At Kelly Tareski Photography, we know that senior portraits are a milestone moment. Your makeup can make a big difference in how you look and feel during your photoshoot.
We’ve put together some senior portraits makeup ideas to help you shine. From foundation to eye makeup, we’ll cover everything you need to know to look your best in front of the camera.
How to Choose the Perfect Foundation for Your Senior Portrait
Finding Your Perfect Match
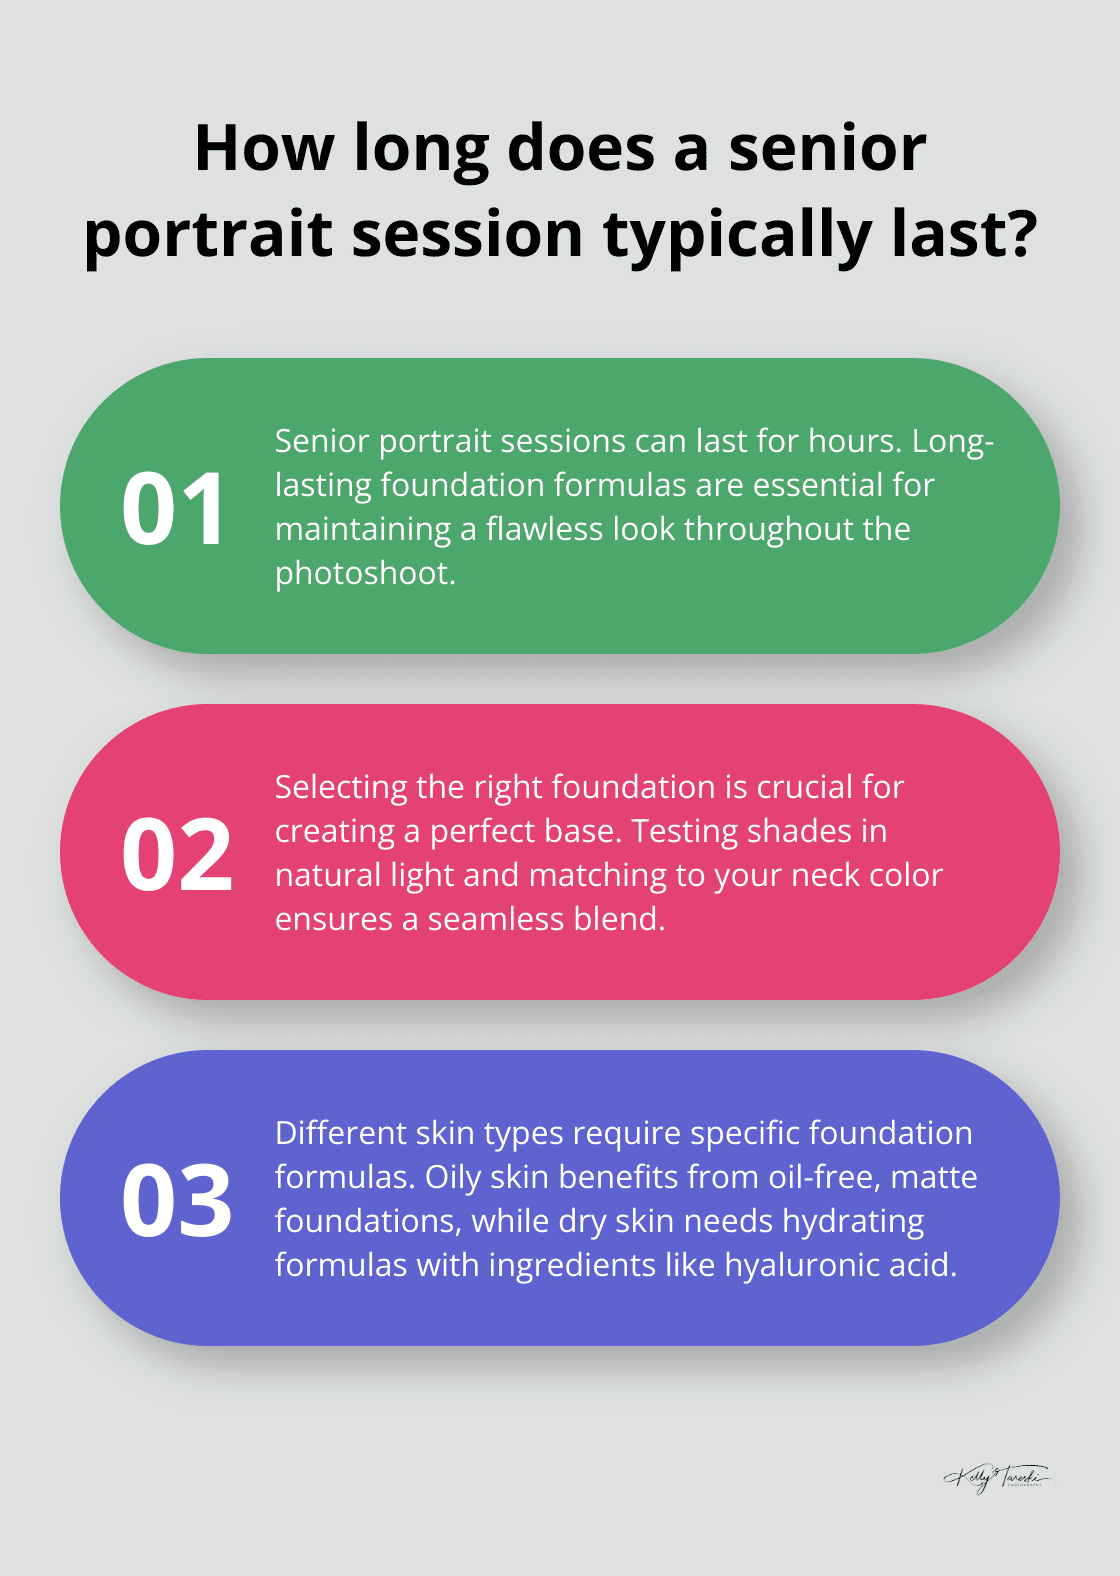
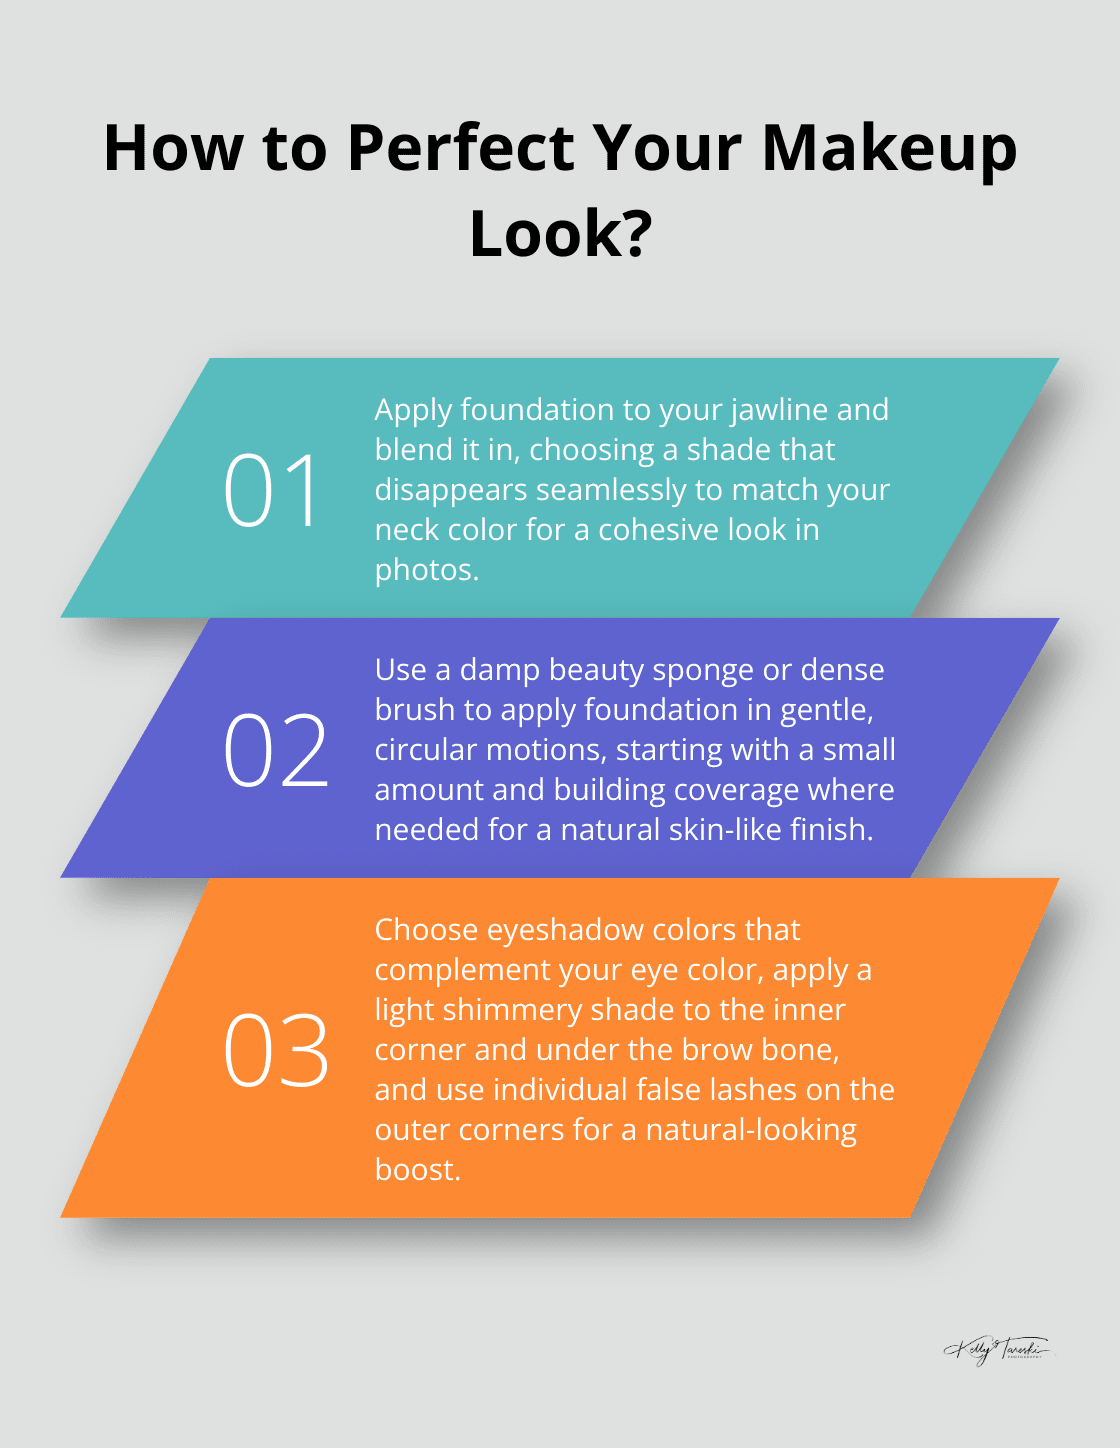
Selecting the right foundation is essential for your senior portrait. It forms the base of your entire look and can significantly impact how you appear in photos. To find your perfect match, visit a makeup counter or beauty store to test shades in natural light. Apply a small amount to your jawline and blend it in. If it disappears seamlessly, you’ve found your match. (Your face might be a different shade than your neck, so always match to your neck color for a cohesive look.)
Catering to Your Skin Type
Your skin type determines the ideal foundation formula. For oily skin, choose oil-free, matte foundations that control shine throughout your photoshoot. If you have dry skin, select hydrating formulas with ingredients like hyaluronic acid to keep your skin looking fresh and dewy. Combination skin types benefit from foundations labeled as “balanced” or by using different formulas on different areas of the face.
Long-Lasting Formulas for All-Day Perfection
Senior portrait sessions can last for hours, so you need a foundation that can withstand the test of time. Consider products like ILIA’s Super Serum Skin Tint SPF 40, which evens tone, softens fine lines, and dries to a natural, dewy finish. A good primer applied before your foundation can also significantly extend its wear time.
Application Techniques for a Natural Look
When applying your foundation, use a damp beauty sponge or a dense brush for the most natural-looking finish. Start with a small amount and build up coverage where needed. This technique ensures your skin looks like skin in photos, not a mask. (Pro tip: Use gentle, circular motions for seamless blending.)
Setting Your Foundation for Longevity
Set your foundation with a translucent powder, focusing on areas prone to shine like the T-zone. For tinted moisturizers or BB creams, you can use a beauty blender to apply the product and then use setting powder. This step is vital for maintaining a flawless look throughout your portrait session, especially if you’re shooting outdoors or under bright studio lights. Try using a large, fluffy brush for a light application that won’t disturb your foundation.
Now that you’ve mastered the art of foundation application, let’s move on to making your eyes pop in your senior portraits.
How to Make Your Eyes Pop in Senior Portraits
Your eyes are the focal point of your senior portraits. The right eye makeup can transform a good portrait into an unforgettable one. Let’s explore some techniques to enhance your eyes for your senior photo session.
Choose the Perfect Eyeshadow
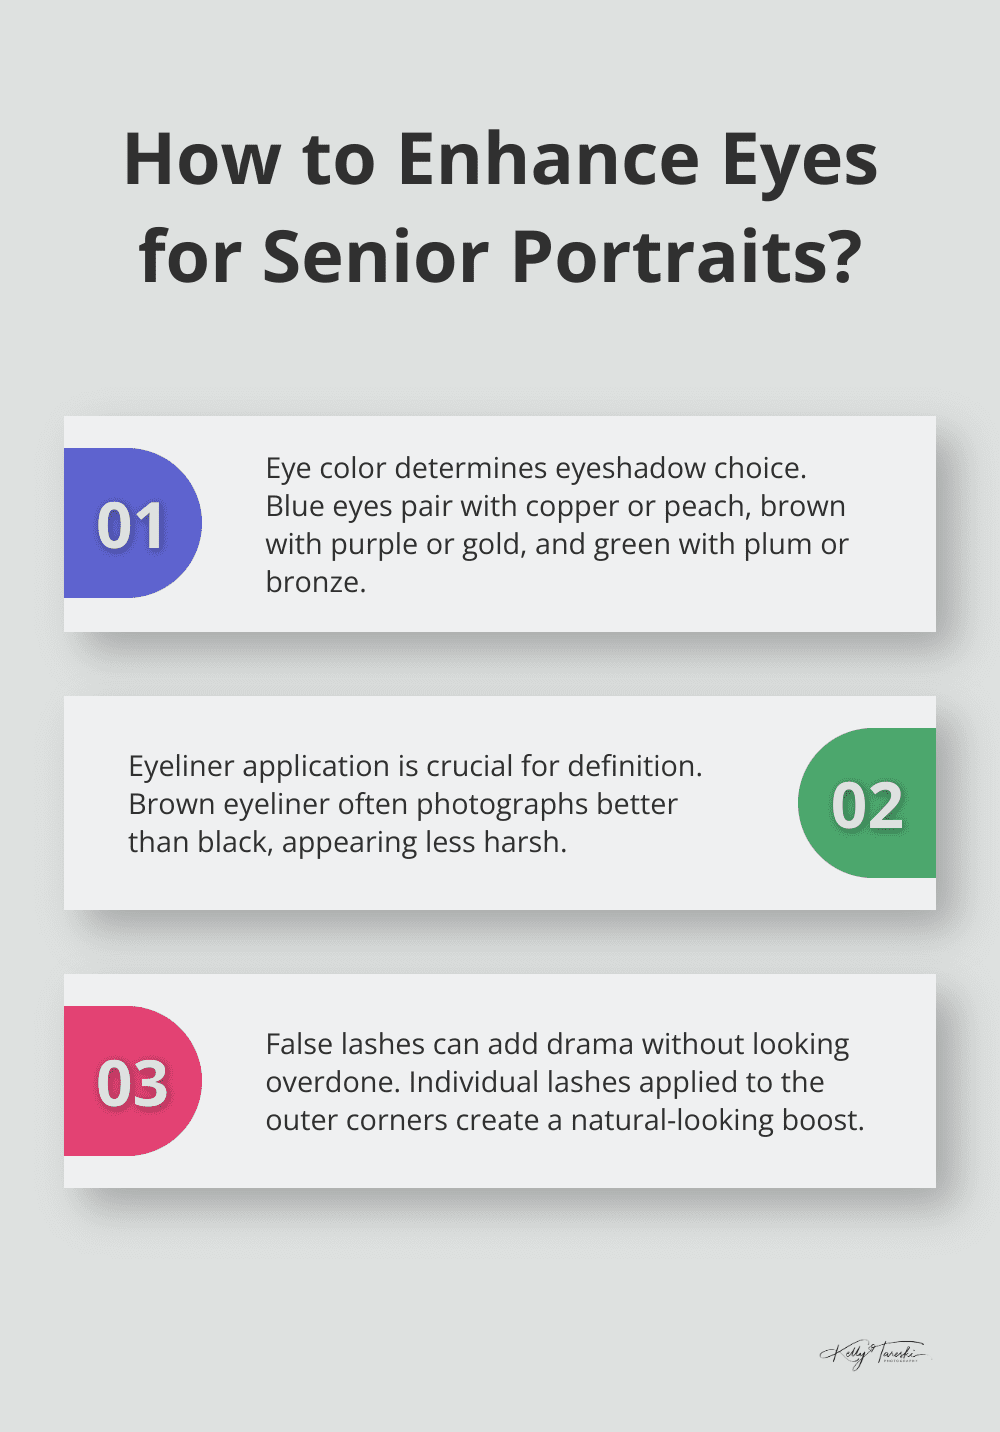
Choose colors that complement your eye color and skin tone. Blue eyes shine with warm copper or peach tones. Brown eyes pop with purple or gold hues. Green eyes stand out with plum or bronze shades. Neutral palettes work well for all eye colors and offer a timeless look.
Apply a light, shimmery shade to the inner corner of your eyes and under the brow bone to brighten your gaze. Use a medium tone on the lid and a darker shade in the crease for depth. Blend thoroughly to avoid harsh lines that can look severe in photos. (Pro tip: Use a clean, fluffy brush for seamless blending.)
Master Eyeliner Application
Eyeliner can dramatically define your eyes, but it’s easy to overdo. For a natural look, stick to a thin line along your upper lash line, slightly thickening it towards the outer corner. Brown eyeliner often photographs better than black, appearing less harsh.
If you’re comfortable with a wing, keep it subtle. A small flick at the outer corner can lift your eyes and create a youthful appearance. Gel eyeliners tend to stay put better than pencils, reducing the risk of smudging during your photo session.
Enhance Your Lashes
Long, full lashes frame your eyes beautifully in photos. Start with an eyelash curler to open up your eyes. Apply two coats of waterproof mascara to prevent smudging or running if you tear up during your emotional senior shoot.
For added drama without looking overdone, consider individual false lashes. Apply a few to the outer corners of your eyes for a natural-looking boost. Avoid heavy foundation or overly dramatic eye makeup, which can look unnatural in photos. (Tip: Practice applying individual lashes before your session to perfect your technique.)
Perfect Your Brows
Well-groomed eyebrows frame your face and enhance your overall look. Fill in sparse areas with a brow pencil or powder that matches your natural hair color. Use short, light strokes to mimic natural hair growth. Set your brows with a clear gel to keep them in place throughout your photo session.
Brighten and Highlight
To make your eyes truly pop, apply a light-colored or shimmery eyeshadow to the inner corners of your eyes. This technique brightens your gaze and makes your subject pop. You can also add a touch of highlighter just below your brow bone for an extra lift.
Now that you’ve mastered the art of eye makeup for your senior portraits, let’s move on to perfecting your lips and cheeks for a complete, photo-ready look.
Perfecting Lips and Cheeks for Stunning Senior Portraits
Choosing the Perfect Lip Color
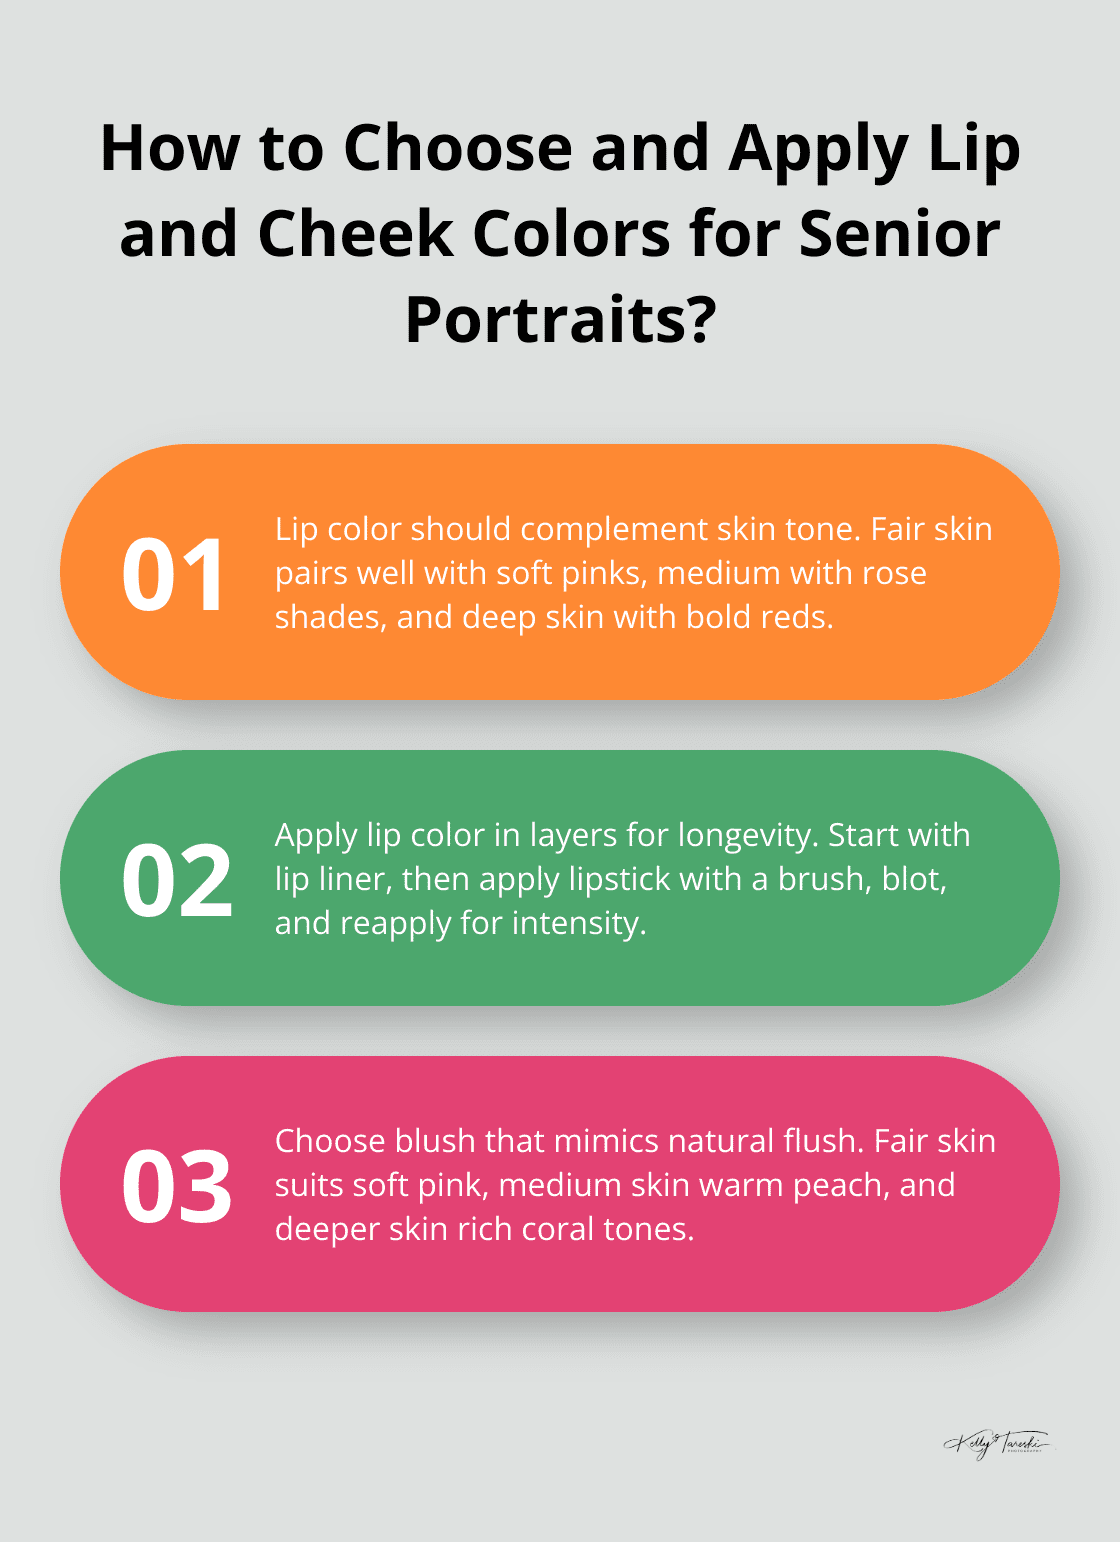
The right lip color enhances your senior portraits. Select a shade that complements your skin tone and overall look. For a natural appearance, pick a color slightly darker than your natural lip color. Fair skin looks great with soft pinks or light corals. Medium skin tones shine with rose or mauve shades. Deep skin tones can rock bold reds or rich berries.
Test colors on the inside of your wrist to find your perfect match. The shade that blends seamlessly is likely your best option. (Pro tip: Colors can appear different in photos, so take test shots with various shades before your portrait session.)
Ensuring Long-Lasting Lip Color
To prevent faded or smudged lipstick during your photo session, follow these steps:
- Exfoliate your lips with a gentle scrub to remove dry, flaky skin.
- Apply a thin layer of lip balm and let it absorb for a few minutes.
- Blot off excess balm with a tissue.
- Use a lip liner that matches your lipstick to outline and fill in your lips.
- Apply your chosen lipstick with a brush for precision.
- Blot with a tissue, then apply a second layer for intensity.
For extra staying power, gently swipe a very thin dusting of translucent powder over the applied lip. This sets the color without dulling the finish.
Achieving a Natural, Photo-Ready Glow
Blush adds a healthy, youthful glow to your senior portraits. Apply it subtly to enhance your natural beauty without looking overdone.
Choose a blush color that mimics your natural flush. Apply blush to your cheeks, then use the pigment that’s left on the brush to sweep over the top of your nose for a flushed look. Use a fluffy brush and build the color gradually. (It’s easier to add more than to remove excess.)
Fair skin looks great with soft pink or peach tones. Medium skin tones shine with warm peach or soft berry shades. Deeper skin tones can pull off rich corals or deep rose hues beautifully.
The camera can wash out color, so you might need to apply your blush slightly more intensely than for everyday wear. However, avoid going overboard – you want to look like you’re glowing from within.
Harmonizing Lips and Cheeks
Create a cohesive look by coordinating your lip and cheek colors. They don’t need to match exactly, but they should complement each other. For example, if you choose a bold lip color, opt for a softer blush shade. If you prefer a neutral lip, you can be more adventurous with your blush color.
Touch-Up Tips for Your Portrait Session
Bring your lip color and blush with you to your portrait session for quick touch-ups. A small compact mirror can be helpful for on-the-spot checks. If you tend to get shiny, bring blotting papers to absorb excess oil without disturbing your makeup.
That’s a Wrap!
Perfecting your makeup for senior portraits combines technique, preparation, and personal style. We explored essential senior portraits makeup ideas, from choosing the right foundation to making your eyes pop. Practice different techniques and products before your session to find what works best for you. (Take photos in various lighting conditions to see how your makeup translates on camera.)
A skilled makeup artist can tailor your look to complement your features and ensure it photographs beautifully. At Kelly Tareski Photography, we offer professional hair and makeup services to enhance your portrait experience. Our team understands how to create looks that translate beautifully on camera, ensuring you look and feel your best during your session.
Your senior portraits celebrate your unique journey and personality. With the right makeup approach, you’ll create timeless images that you’ll treasure for years to come. Your authentic self makes your senior portraits special, so focus on feeling confident and comfortable in your own skin. How to Perfect Your Makeup for Senior Portraits.
Related Articles For Boudoir Photography
Kelly Tareski Photography Home
Kelly Tareski Photography Boudoir Gallery
Boudoir Portrait Photography Spokane
Empowering Women Through Photography in Spokane
Hair and Makeup for Portrait Photography Spokane – Kelly Tareski Photography
Choosing Professional Portrait Photography Spokane
Indoor Photography Studios Spokane – Kelly Tareski Photography
Boudoir Photography in Spokane by Kelly Tareski Photography
Preparing for your Spokane WA Boudoir Session
Boudoir Photography in Spokane WA Myths
Boudoir Photography for Single Women
Maternity Boudoir Photography Spokane WA
Spokane Boudoir Empowering Women
Boudoir Photography for Single Women in Spokane WA
Sexy Boyfriend Pictures Spokane
More About Spokane Boudoir Photography
Spokane Photography – Showcasing a region
The Difference between Glamour and Boudoir Photography- Spokane
How to Become an Award-Winning Boudoir Photographer
Embrace Your Inner Diva – Spokane Boudoir
The Enchanting Garden Venues at Kelly Tareski Photography
“Be Your Own Kind of Beautiful”: A Boudoir Session with Rachel
Amazing “Be Your Own Kind of Beautiful” Boudoir Session with Mia
5 Tips for Nailing Your Boudoir Photography Shoot
Perfect Boudoir Photo Shoot – Tips for Self-Confidence and Comfort
Why I Love Boudoir Photography Sessions
Premier Boudoir Photography for Washington State
Body Image and Self-Care Through Boudoir Photography Sessions
A Portfolio Box For Your Portraits - Elegance Defined
What is a Boudoir Portrait
What are Sexy Pictures? - Boudoir Photography
20 Styles of Boudoir Photography
The Traditional Boudoir Photography Style
The Classic Boudoir Photography Style
The Modern Boudoir Photography Style
The Dramatic Boudoir Photography Style
The Luminous Boudoir Photography Style
The Glamour Boudoir Photography Style
The Black and White Boudoir Photography Style
The Elegant Boudoir Photography Style
The Playful Boudoir Photography Style
The Vogue Boudoir Photography Style
The Outdoor Boudoir Photography style
The Pin-Up Boudoir Photography Style
The Empowering Boudoir Photography Style
The Bridal Boudoir Photography Style
The Vintage Boudoir Photography Style
The Fine Art Boudoir Photography Style
The Maternity Boudoir Photography Style
The Monochromatic Boudoir Photography Style
The Themed Boudoir Photography Style
The Couples Boudoir Photography Style
Traditional Boudoir Photography in Spokane Washington
Classic Boudoir Photography in Spokane Washington
Modern Boudoir Photography in Spokane Washington
Dramatic Boudoir Photography in Spokane Washington
Luminous Boudoir Photography in Spokane Washington
Glamour Boudoir Photography in Spokane Washington
Black and White Boudoir Photography in Spokane Washington
Elegant Boudoir Photography in Spokane Washington
Playful Boudoir Photography in Spokane Washington
Vogue Boudoir Photography in Spokane Washington
Outdoor Boudoir Photography in Spokane Washington
Pin-Up Boudoir Photography in Spokane Washington
Empowering Boudoir Photography in Spokane Washington
Bridal Boudoir Photography in Spokane Washington
Vintage Boudoir Photography in Spokane Washington
Fine Art Boudoir Photography in Spokane Washington
Maternity Boudoir Photography in Spokane Washington
Monochromatic Boudoir Photography in Spokane Washington
Themed Boudoir Photography in Spokane Washington
Couples Boudoir Photography in Spokane Washington
Mastering the Art of Sexy Professional Photography
Choosing Elegant Boudoir Outfits: A Style Guide
The Benefits of Booking a Boudoir Photoshoot: Empowering Yourself
Lace in Elegant Boudoir: Creating Timeless Allure
Getting Ready for Your First Boudoir Shoot: What You Need to Know
The Magic of Snowy Photoshoots: How to Shoot in Winter
Behind the Scenes of a Boudoir Photography Session
The Importance of a Relaxed Atmosphere in Photoshoots
Related Articles To Branding and Headshots
Kelly Tareski Photography Home
Branding and Headshot Photography Spokane WA
Blog Articles For Branding and Headshots
Kelly Tareski Photography and Bull Hill Guest Ranch
A Decade of Collaboration – Bull Hill and Kelly Tareski Photography
Personal Branding Session with Joy
Preparation Tips for a Successful Headshot Session
What Makes Professional Photos Important for Marketing?
How Professional Photos Can Help Increase Your Reach
How Professional Photos Grow Your Brand Awareness
All About Headshots
Professional Headshots in the Fall at KTP
Why Professional Headshots are Crucial - Spokane Washington
Professional Headshots for Actors in Spokane Washington
Professional Headshots for Realtors in Spokane Washington
Professional Headshots for Models in Spokane Washington
Professional Headshots for Corporate Executives in Spokane
Professional Headshots for Politicians in Spokane Washington
Professional Headshots and Branding for Musicians in Spokane
Professional Headshots for Authors and Writers in Spokane
Professional Headshots for Public Speakers in Spokane
Professional Headshots for Financial Advisors in Spokane
Professional Headshots for Coaches and Consultants in Spokane
Professional Headshots for Attorneys and Lawyers in Spokane
Professional Headshots for Doctors in Spokane
Professional Headshots for Dentists in Spokane
Professional Headshots for CEOs in Spokane Washington
Professional Headshots for Business Owners in Spokane
Why Actors Need Professional Headshots
Why Models Need Professional Headshots
Why Corporate Executives Need Professional Headshots
Why Real Estate Agents Need Professional Headshots
Why Politicians Need Professional Headshots
Why Public Speakers Need Professional Headshots
Why Musicians Need Professional Headshots
Why Authors and Writers Need Professional Headshots
Why Financial Advisors Need Professional Headshots
Why Coaches and Consultants Need Professional Headshots
Why Attorneys and Lawyers Need Professional Headshots
Why Doctors Need Professional Headshots
Why Dentists Need Professional Headshots
Why CEOs Need Professional Headshots
Why Business Owners Need Professional Headshots
Modeling Photographer Spokane Washington
Personal Branding for Professional Services
What Is Professional Branding and Why Does It Matter?
Defining Professional Branding in Today's Market
Top Professional Photo Branding Tips for Career Growth
The Benefits of Lifestyle Photography: Capturing Real Moments
What to Expect from a Professional Headshot Session
Top Posing Ideas for Solo Portraits: Looking Confident and Natural
Bringing Personality into Business Headshots
Why Booking a Professional Photographer is Worth It
When to Use a Neutral Background in Photography
Adding Personality to Your Business Headshots
The Power of Expression in Headshot Photography
Expressing Individuality in Corporate Headshots
Related Articles to Education
Preparing For Your Family Photos – Spokane
Spokane Photography – Showcasing a Region
Spokane Photographers – How To Choose
More about Children’s Photography In Spokane
What is a Professional Photographer?
The Importance of Senior Portrait Photography Spokane
Legacy Portrait Photography in Spokane
Prepare with Pinterest Spokane Boudoir
Choosing Professional Portrait Photography Spokane
The Importance of Children’s Photography in Spokane
How to Choose A Photographer In Spokane
Indoor Photography Studios Spokane – Kelly Tareski Photography
How to choose the right photographer
Benefits of Accreditation for Photographers
Why Hiring An Accredited Photographer Matters
My Journey to Accreditation – The Portrait Masters
Elevating Spokane Modeling Photography
Ultimate Survival Guide for a Family Photo Shoot
Top Ten Questions to Ask a Professional Photographer
Your Guide To Choosing A Professional Photographer
A Journey through 10 Diverse Photography Genres
Hair and Makeup for Portrait Photography Spokane – Kelly Tareski Photography
A Comprehensive Guide to Capturing Stunning Portraits
The Four Seasons of Portrait Photography
The Difference Between Graduation Photos and Senior Pictures
Black and White VS Color Photography
The History Of Spokane Photographers
Top Ten Life Events That Call for a Professional Photographer
The Evolution of Photography
A Labor of Love-Building The Warehouse Door Garden Gate
Five Tips for Nailing Your Boudoir Photography Shoot
Lifestyle Photography Sessions Explained
The Ultimate Guide to Capturing the Perfect Family Portrait
Step into the Dramatic Grey Studio
More Education Posts
Whimsical White Studio – How I Create Amazing Photos
My Magical Retro-Themed Cabin Studio
Get Creative! Five Unique Ways to Personalize Your Family Photos
Five Birthday Milestones That Call For Professional Photography
Five Tips for Gorgeous Outdoor Photos
Tips to Look Your Best in Professional Photos
The Importance of a Photography Consultation
Five Reasons You Need Professional Prints For Your Photos
A Photography Reveal Session Explained
5 Hair and Makeup Tips for the Perfect Photography Session
6 Senior Photo Shoot Mistakes to Avoid in 2023
The Importance of Editing for Professional Photography
A Glimpse Into The Past at Kelly Tareski Photography - 2019
Being a Photographer in Washington State - Spokane
Why Quality Equipment is Essential in Photography
Natural Light and Studio Lighting for Photography
Enhancing Photography With Natural Light
Five Tips for Using Studio Lighting in Photography
Understanding the Cost of Professional Photography
Amazing Metal Prints for Your Home
Canvas Prints - Affordable and Beautiful
Bring Vintage Into Your Life With The Retro Viewer
Photographers In North Spokane Washington
Photographer Near Me - Spokane Washington
Photographers Near the Spokane Valley
Professional Photographers Near Cheney Washington
Professional Photographers Near Medical Lake Washington
Professional Photographers Near Reardan Washington
Professional Photographers Near Davenport Washington
Professional Photographers Near Deer Park Washington
Professional Photographers Near Liberty Lake Washington
Professional Photographers Near Airway Heights Washington
Professional Photographers Near Millwood Washington
Professional Photographers Near Chewelah Washington
Professional Photographers Near Colville Washington
Professional Photographers Near Newport Washington
Professional Photographers Near Kettle Falls Washington
Professional Photographers Near Mead Washington
Professional Photographers Near Springdale Washington
Professional Photographers Near Spangle Washington
Professional Photographers Near Valleyford Washington
Professional Photographers Near Rockford Washington
Professional Photographers Near Fairfield Washington
Professional Photographers Near Rosalia Washington
Professional Photographers Near Colfax Washington
Professional Photographers Near Loon Lake Washington
Professional Photographers Near Harrington Washington
Professional Photographers Near Tekoa Washington
Professional Photographers Near Chattaroy Washington
Professional Photographers Near Colbert Washington
Professional Photographers Near Northport Washington
Professional Photographers Near Metaline Falls Washington
Professional Photographers Near Post Falls Idaho
Professional Photographers Near Coeur d'Alene Idaho
Professional Photographers Near Rathdrum Idaho
Professional Photographers Near Blanchard Idaho
Mastering the Art of Sexy Professional Photography
10 Tips for Shooting Better Portrait Photography
5 Tips Using the Nikon Z7ii Camera for Portrait Photography
Seven Tips For Natural Light Photography
Mastering Natural Light: Techniques for Stunning Outdoor Portraits
How to Prepare for Your First Professional Photoshoot
Capturing Emotion: The Art of Candid Photography
The Ultimate Guide to Choosing the Perfect Photography Studio
Top 10 Photography Tips for Beginners
How to Pose Like a Pro: Tips for Flattering Portraits
Understanding Camera Settings: A Beginner's Guide to Manual Mode
The Role of Props in Photography: Enhancing Your Images
10 Creative Ideas for Unique Family Portraits
How to Price Senior Portrait Sessions
The Benefits of Hiring a Professional Photographer for Your Event
Why Is Professional Branding Crucial for Success?
Exploring Different Photography Styles: Which One Suits You?
The Magic of Golden Hour: Why Timing Matters in Photography
How to Create a Photography Portfolio That Stands Out
The Evolution of Photography: From Film to Digital
Understanding Composition: The Rule of Thirds and Beyond
The Impact of Backgrounds: Choosing the Right Photo Setting
How to Choose the Right Outfits for Your Photoshoot
Mastering Elegant Boudoir Photography Techniques
How to Capture Stunning Landscape Photos: Tips and Techniques
The Power of Black and White Photography: When Less is More
The Art of Storytelling Through Photography
How to Photograph Children: Capturing Genuine Smiles and Moments
Human Branding: Connecting Professionally
Advancing Your Skills: Professional Photography Education
Elegant Boudoir: Empowering Through Photography
How to Create Timeless Photos and Portraits
Art Photography Printing: Bringing Images to Life
Capturing Timeless Portraits Tips and Techniques
Post-Production Photography: Enhancing Your Images
The Importance of Lighting in Photography: Natural vs. Artificial
The Role of Makeup in Photography: Preparing for Your Close-Up
The Importance of Printing Your Photos: From Digital to Tangible
High School Senior Photos: Your Comprehensive Guide
What to Wear: Men's Engagement Photo Outfits
How to Master Creative Black and White Portrait Photography
Capturing Memories: Senior Photos with Guitar
Breaking the Rules: Creative Photography Techniques to Try
Enhancing Your Home Dacor with Custom Photography Prints
Creative Couples Photography: Capturing Connection and Chemistry
Stunning Nighttime Portraits: Capturing the Beauty of the Dark
Exploring Minimalism in Photography: Less is More
Embracing Imperfections: Capturing Real Moments in Photography
Prepping for a Fitness Photoshoot: How to Look Your Best
Turning Your Photography Hobby into a Business
Capturing the Connection: Tips for Couple's Lifestyle Photography
How to Capture Soft, Natural Light Indoors
Going Minimal: How Less Can Be More in Photography
Highlighting Unique Details: Close-Up Portrait Ideas
The Art of Arranging Family Photos for Display
How to Achieve a Dreamy Look with Backlit Photography
Building Confidence: How to Feel Comfortable on Camera
10 Tips for Photographing Action and Motion in Portraits
Capturing the Perfect Reaction: Tips for Engagement Photography
Related Articles about Family and Children
Kelly Tareski Photography Home
Family and Children Portfolio
Legacy Portrait Photography in Spokane
The Importance of Children’s Photography in Spokane
What are family portraits?
More about Children's Photography in Spokane
Family Portrait Photography Spokane
Spokane Family Photos - Creating Legacy Art
Senior Pix - A Different Take
Family Photography Spokane - Making Memories
Spokane Photographers – How To Choose
Photography Studios in Spokane WA Outdoor Venues
Spokane Photographers – So Many Choices
Spokane Photography – Showcasing a region
Preparing For Your Family Photos -Spokane
Ultimate Survival Guide for a Family Photo Shoot
Crafting Timeless Memories For Families In Spokane
The Enchanting Garden Venues at Kelly Tareski Photography
Immortalize Your Love Story with Kelly Tareski Photography
The Ultimate Engagement Photo Experience In Spokane
Couples Photography VS Engagement Photos
Capture Every Precious Moment – Children’s Photos
In the Frame of Love – Family Photos With Chris & Dani and Sons
The Ultimate Guide to Capturing the Perfect Family Portrait
Capture the Special Bond of a Mommy and Me Photo Session
Let Fatherhood Shine with a Daddy and Me Photo Session
How to Dress for a Family Photography Session
Get Creative with Themed Photography Sessions
The Art of Open-Field Photography
The Perfect Fall Family Photo Look and Feel
The Best Season for Family Photos at Kelly Tareski Photography
Why Should You Get Professional Family Photos
10 Styles of Family Photography
The Black and White Family Photography Style
The Legacy Family Photography Style
The Documentary Family Photography Style
The Outdoor Family Photography Style
The Studio Family Photography Style
The Fine Art Family Photography Style
The Lifestyle Family Photography Style
The Real Art Family Photography Style
The Generational Family Photography Style
The Full Color Family Photography Style
Black and White Family Photography in Spokane Washington
Legacy Family Photography in Spokane Washington
Documentary Family Photography in Spokane Washington
Studio Family Photography in Spokane Washington
Outdoor Family Photography in Spokane Washington
Fine Art Family Photography in Spokane Washington
Lifestyle Family Photography in Spokane Washington
Real Art Family Photography in Spokane Washington
Full Color Family Photography in Spokane Washington
Generational Family Photography in Spokane Washington
Christmas Mini Sessions: Festive Family Memories
Seasonal Photoshoots: Capturing the Beauty of Every Season
Fall Family Photo Sessions: Capturing Autumn's Beauty
Planning Your Perfect Family Photo Session
How to Prepare for Fall Family Photo Sessions
How to Capture Timeless Classic Portrait Photos
What to Wear for Stunning Engagement Photos
Creative Fall Family Photo Ideas for Lasting Memories
Choosing Your Wardrobe For Your Engagement Photo Session
How to Capture Creative Newborn Family Photos
Stunning Hairstyles for Your Engagement Photoshoot
How to Capture Creative Christmas Photos
Capturing Fun Family Moments: Tips for Perfect Photos
Creative Family Photo Ideas to Capture Lasting Memories
Creating Timeless Family Heirlooms: The Value of Professional Portraits
5 Secrets to Photographing Kids and Capturing Genuine Smiles
Creating an Heirloom: Generational Family Photos
Moments of Joy: Why Candid Photos Matter in Family Sessions
Tips for New Parents: Capturing Your Baby’s First Year
How to Photograph Siblings and Capture Their Unique Bond
Planning the Perfect Holiday Photoshoot: Ideas and Tips
How to Tell a Story Through Your Family Photos
Creating Cozy Autumn Photos: Tips for Seasonal Shoots
Capturing Close Bonds: Family Portrait Ideas That Go Beyond Posing
How to Photograph Grandparents and Capture Generational Bonds
Tips for Flattering Portraits at Every Age
Why Small Moments Matter in Family Photography
10 Timeless Props for Classic Family Photos
What to Bring to Your Outdoor Family Photoshoot
From Poses to Candid Shots: Building a Balanced Family Album
10 Tips for Photographing Large Families and Groups
Capturing Love: Themed Couple Portrait Ideas
How to Capture Genuine Laughter in Portraits
Photography as a Keepsake: Preserving Your Legacy
Capturing the Colors of Spring in Family Portraits
Tips for Capturing Movement in Lifestyle Photography
Winter Wonderland: The Beauty of Snowy Family Portraits
Related Articles for Maternity
Kelly Tareski Photography Home
Maternity and Newborn Photography Spokane WA
Maternity Boudoir Photography Spokane WA
Maternity Boudoir Spokane WA
Maternity Photography Spokane
Spokane Family Photos – Creating Legacy Art
Empowering Women Through Photography in Spokane
Spokane Maternity Photos
Spokane Photography – Showcasing a region
Capture the Beauty of Motherhood
When Should I Take Maternity Photos?
From Bump to Baby: Documenting Your Pregnancy Journey
Top 10 Tips for a Memorable Maternity Photoshoot
Embracing the Glow: Capturing the Beauty of Pregnancy
The Best Time for Maternity Photos: A Complete Guide
Creative Maternity Photo Ideas to Cherish Forever
Capture Precious Moments: Creative Newborn Photo Ideas
How to Capture Creative Pregnancy Photos
How to Capture Creative Maternity Photos
How to Capture Creative Pregnancy Announcement Photos
Incorporating Family into Maternity Photography Sessions
Wardrobe Essentials for Stunning Maternity Photos
How to Capture Creative Winter Maternity Photos
5 Creative Maternity Shoot Ideas That Are Truly Unique
Related Articles For Senior Portraits
Kelly Tareski Photography Home
Senior Portraits Portfolio
The Importance of Senior Portrait Photography Spokane
Senior Portraits Spokane 2023 Graduates
Choosing Professional Portrait Photography Spokane
Portrait Photography in Spokane
Indoor Photography Studios Spokane – Kelly Tareski Photography
Senior Portraits In Spokane – Kelly Tareski Photography
Senior Portraits Spokane WA A Rite Of Passage
Senior Portraits Spokane WA Kelly Tareski Photography
Hair and Makeup for Portrait Photography Spokane – Kelly Tareski Photography
Spokane Senior Portrait Photography
Senior Photos Spokane
Spokane Senior Pictures at Kelly Tareski Photography
Preparing for Senior Pictures Spokane
Congratulations 2023 Senior Graduates In Spokane
Spokane Photography – Showcasing a region
Senior Pictures for the Spokane Valley
Posts By Spokane Schools.
Senior Pictures for Medical Lake WA
Senior Pictures for Cheney WA
Senior Pictures for Deer Park WA
Senior Pictures for Gozaga Prep
Senior Pictures for Davenport WA
Senior Pictures For U-High
Senior Pictures for Mead High School
Senior Pictures for Central Valley High School
Senior Pictures for Mt. Spokane High School
Senior Pictures for Colville WA
Senior Pictures for Ferris High School
Senior Pictures for West Valley High School
Senior Pictures for Shadle Park High School
Senior Pictures for Freeman High School
Senior Pictures for North Central High School
Senior Pictures East Valley High School
Senior Pictures for Lewis & Clark High School
Senior Pictures for Rogers High School
Senior Pictures for St. Georges
Senior Pictures for Northwest Christian
Senior Pictures for Lakeside High School
Senior Pictures For Ridgeline High School
Senior Posts For Education
The Difference Between Graduation Photos and Senior Pictures
Senior Photo Shoot With Beautiful Sophia
EWU Graduation Photography – Capturing Madison’s Milestone
The Enchanting Garden Venues at Kelly Tareski Photography
Senior Photo Session with Gage from Lakeside
Stunning Senior Portrait Session with Mia her Mom and Grandma
How to Decide When to Schedule Your High School Senior Photos
Five Tips for Capturing Your Ambitions in Your Senior Photos
Six Ideas to Make Your Senior Pictures Stand Out
Looking Back - The Last 3 Years of Senior Portraits In Spokane
Why I Love My Garden Space for Portrait Photography
Fall – The Magical Season for Senior Portraits
Senior Portrait and Photography Styles
10 Senior Portrait and Photography Styles
The Traditional Senior Portrait and Photography Style
The Candid Senior Portrait and Photography Style
The Outdoor Senior Portrait and Photography Style
The Posed Senior Portrait and Photography Style
The Headshot Senior Portrait and Photography Style
The Street and City Senior Portrait and Photography Style
The Fine Art Senior Portrait and Photography Style
The Lifestyle Senior Portrait and Photography Style
The Studio Senior Portrait and Photography Style
The Special Interest Senior Portrait and Photography Style
Traditional Senior Portrait Photography Style Spokane Washington
Outdoor Senior Portrait Photography Style Spokane Washington
Candid Senior Portrait Photography Style Spokane Washington
Posed Senior Portrait Photography Style Spokane Washington
Headshot Senior Portrait Photography Style Spokane Washington
City and Street Senior Portrait Photography Style Spokane
Fine Art Senior Portrait Photography Style Spokane Washington
Lifestyle Senior Portrait Photography Style Spokane Washington
Studio Senior Portrait Photography Style Spokane Washington
Special Interest Senior Portrait Photography Spokane Washington
The KTP Guide to Preparing for Your Senior Photography Session
Top 10 Stylish Outfits for Senior Guys
Are Senior Portraits Still a Thing?
When Should Senior Photos Be Taken?
Are Senior Pictures or Portraits Worth It?
When Should You Take Senior Pictures?
Are Senior Portraits Worth It?
Senior Portraits 2025: Trends and Inspiration
How to Create Stunning Senior Portrait Photography
How to Capture Stunning Senior Portraits for Men
How to Capture the Best Senior Portraits
Creative Props for Stunning Senior Portrait Sessions
Creative Senior Portrait Ideas for Memorable Photos
Unique Senior Portrait Ideas: Stand Out from the Crowd
Capture Timeless Memories with Studio Senior Portraits
How to Perfect Your Makeup for Senior Portraits
Capturing Stunning Senior Portraits in Natural Settings
Capture Timeless Memories with Senior Picture Portraits
Creative Graduation Photo Ideas to Celebrate Your Achievement
How to Create Fun Senior Photos That Stand Out
Capture Memories: Senior Graduation Photo Ideas
How to Capture Professional Graduation Photos
How to Capture Good Senior Photos: Tips and Tricks
Capturing Timeless Memories: Outdoor Senior Photos
How to Capture Stunning Senior Photos: Creative Ideas
How to Print and Display Your Senior Photos
Capturing Winter Magic: Senior Photo Session Ideas
Stunning Senior Photos in Water: Capture the Moment
Creative Senior Photo Ideas to Capture Your Personality
How to Capture Stunning Formal Senior Photos
How to Capture Striking Senior Photos for Male Students
How to Capture Stunning Senior Photos with Dogs
How to Create Unique Senior Photos That Stand Out
How Have Senior Portraits Changed Since the 1980s and 1990s?
How to Capture Stunning Senior Cap and Gown Photos
Stunning Senior Photos with Trucks: Capture Your Style
Cool Senior Photo Ideas to Capture Your Personality
How to Style Your Senior Portrait Session for a Unique Look
How to Photograph Older Pets and Capture Their Unique Character
How to Capture Hilarious Senior Photos
Capturing Emotions in Senior Portraits: Going Beyond the Smile
Capturing Memories: Senior Class Photo Ideas and Tips
Creative Senior Photo Ideas for Your Photoshoot
Bringing Your Own Style to Graduation Photoshoots
Related Articles for Photography Venues and Studios for Rent
Kelly Tareski Photography Home
Photography Venues Spokane WA
Indoor Photography Studios Spokane – Kelly Tareski Photography
A Labor of Love-Building The Warehouse Door Garden Gate
The Enchanting Garden Venues at Kelly Tareski Photography
Photography Studios in Spokane WA Outdoor Venues
Building The Apiary Venue at Kelly Tareski Photography
The Chicken Coop Venue at Kelly Tareski Photography
The Greenhouse Studio and Venue at Kelly Tareski Photography
The Ultimate Guide to Finding the Perfect Photography Studio Rental
Top 5 Must-Haves in a Photography Studio Rental
How to Make the Most of an Outdoor Photography Venue Rental
How to Maximize Your Photoshoot Time in a Rental Studio
The Pros and Cons of Renting a Photography Studio
Exploring Spokane Through a Lens: Must-Visit Photo Locations
5 Ways to Customize Your Photography Studio Rental
Related Articles for My Fellow Photographers
Kelly Tareski Photography Home
Blog Posts Page
Why the Nikon Z-7ii is my Camera of Choice for Professional Photography
Why I Made the Switch to a Mirrorless Nikon Camera
Why I Choose Nikon Camera Lenses
Nikon vs Cannon - The Battle for Photography Supremacy
Godox IS My Choice of Lighting for Photography
My Backup Choice of Lighting - The Godox AD600BM
Shedding Light on Bounce Light - A Photographer's Guide
Golden Hour Portraits - Harnessing the Magic
Using a Bounce Light Reflector for Outdoor Photography
The Magic of Bokeh in Portrait Photography
The Economy and Photography
How the Economy Impacts Photography
How to Weather Economic Slumps as a Photographer
Finding Creative Ways to Promote Your Photography on a Budget
Free and Low-Cost Resources for Photographers
Benefits of Investing in Quality Camera Gear for Photographers
New Markets to Grow Your Photography Business
Understanding Market Change in Photography
How to Offer Competitive Pricing as a Photographer
How to Expand Your Photography Service Offerings
Improving Your Online Presence as a Photographer
Developing a Value Proposition as a Photographer
Diversifying your Photography Session Options
Setting Your Photography Pricing Structure
Evaluating Your Local Market for Photography
Maintaining an Online Presence for Photographers
Investing in Education as a Photographer
What is Black and White Photography
How to Price Senior Portrait Sessions
Editing Essentials: Post-Processing Tips for Photographers
Elegant Boudoir Ideas: Inspire Your Next Photoshoot
Precious Moments for Your Engagement Celebration
What are Senior Portraits
What Makes Boudoir Photography Elegant?
How to Capture Stunning Outdoor Senior Portraits
Photography in Education: Enhancing Learning Experiences
The Benefits of Themed Photoshoots: Adding Fun and Creativity
The Importance of Angles: How Perspective Changes Your Photos
How to Create Stunning Senior Portraits: Expert Tips
How to Photograph Couples: Capturing Love and Connection
The Role of Color in Photography: Creating Mood and Emotion
Striking Poses for Female Senior Portrait Sessions
Choosing the Perfect Dress for Stunning Senior Portraits
Elevating Your Elegant Boudoir Photography Skills
Capturing Timeless Senior Portraits: Tips and Tricks
Capturing Senior Football Portraits: Tips and Techniques
Creative Male Senior Portrait Ideas for Memorable Photos
Capturing Natural Senior Portraits: Barefoot Edition
How to Choose the Best Lenses for Senior Portraits
How to Capture Unique Senior Portraits
10 Things to Learn About Photography
How to Capture Hilarious Senior Portrait Idea
Creative Senior Portrait Ideas for Guys
Best Frames for Senior Portraits: Showcase Your Memories
How to Create Stunning Senior Portraits for Pinterest
How to Capture Timeless Classic Engagement Photos
Choosing the Best Lens for Stunning Senior Portraits
How to Apply Presets to Multiple Photos in Lightroom Classic
How to Capture Great Senior Portraits
How to Create Stunning Engagement Photos
Capturing Memorable Graduation Photos Tips and Ideas
A Comprehensive Guide to Mirrorless Cameras: Everything You Need to Know
How to Use Props in Photography: Enhancing Your Story
How to Capture Creative Engagement Photos
How to Capture Stunning Engagement Photos: Inspiration Guide
The Importance of Detail Photos: Capturing the Little Things
The Importance of Experimentation in Photography: Finding Your Style
How to Use Negative Space in Photography: Less is More
How to Photograph Events: Tips for Capturing the Atmosphere
The Role of Texture in Photography: Adding Depth to Your Images
How to Use Leading Lines in Photography: Guiding the Viewer's Eye
How Much Do Senior Photos Cost?
How to Capture Stunning Fall Senior Photos
How to Perfect Your Makeup for Engagement Photos
Creative Save the Date Photos: Unique Ideas for Couples
The Importance of Consistency in Your Photography Style
How to Photograph Reflections: Creating Mirror Images
How to Take Stunning Graduation Portrait Photos
Capturing Creative Graduation Photos: Ideas and Tips
Captivating Senior Photo Captions: Ideas and Inspiration
Capturing Memories: Sports Senior Photo Ideas
Capture Timeless Memories: Senior Photo Shoot Tips
Capturing Timeless Memories: Horse Senior Photo Ideas
How to Capture Unforgettable Family Christmas Photos
Why Are Some Senior Photos Bad?
How to Capture Stunning Senior Photos
Capturing Vintage Vibes: How to Achieve a Classic Look
How to Make the Most of Your Photography Session: Pre-Shoot Tips
Photography as Art: Turning Your Photos into Wall-Worthy Prints
The Essentials of Portrait Lighting: Achieving a Flawless Glow
Engagement to Wedding: Capturing Every Step With Photos
The Importance of Photography Timing: Capturing the Perfect Moment
Unique Photoshoot Ideas for Couples: Beyond Traditional Portraits
Using Foreground to Add Depth to Your Photos
Creating Dramatic Photos with Shadow Play: Tips and Techniques
Using Textures in Photography: Adding Depth and Interest
The Story Behind the Lens: A Day in the Life of a Photographer
From Soft to Strong: Mastering Portrait Lighting for Every Look
Photography Trends to Try in 2025: What's New and Fresh
The Art of Posing: Making Your Portraits Look Natural
Creating Unique Graduation Photos to Celebrate Your Achievement
Getting the Best Out of Overcast Days: Cloudy Day Photography Tips
Choosing the Best Lens for Portrait Photography
Expressing Yourself Through Fashion in Your Portrait Session
Essential Tips for Capturing Silhouettes at Sunset
From Fall Leaves to Spring Blooms: How Seasons Affect Your Photos
Setting the Scene: How Location Impacts Your Photography Style
10 Tips for Photographing in Public Spaces
Creating Romantic Photos Without Props: Using Only Natural Light
How to Edit Photos for a Consistent Photography Style
Behind the Lens: How Photographers Plan Their Sessions
How to Shoot in Low Light Without Flash
The Beauty of Raw, Unposed Moments in Photography
Capturing the Magic of Newborn Photography Safely
Tips for Photographing Outdoor Adventures with Pets
Shooting in Crowded Spaces: Tips for Busy Locations
Outdoor Lighting: How to Make the Most of Nature’s Light
How to Make Your Portraits Look Like Fine Art
Photographing the Young at Heart: Portrait Tips for Seniors