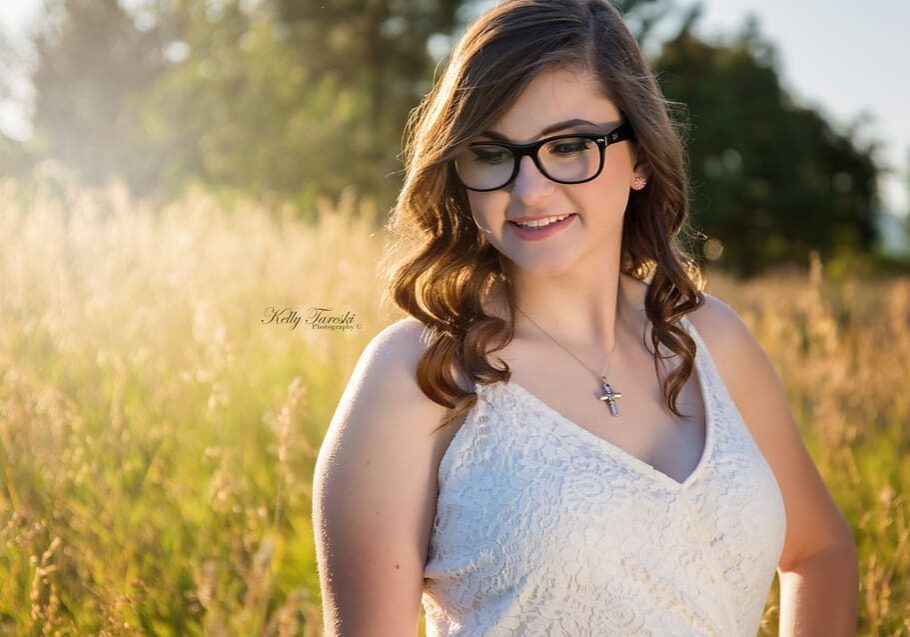
Seven Tips For Natural Light Photography
Let's Roll!
Natural light photography can transform your images, creating a soft, timeless look that no artificial lighting can truly replicate. It's one of the most versatile tools for photographers, offering opportunities to experiment with shadows, highlights, and natural ambiance. If you’re aiming to harness the magic of sunlight and make your photos sing, here are my top seven tips for natural light photography, shared from my garden and studio spaces at Kelly Tareski Photography. Let’s dive in!
1. Embrace the Golden Hour
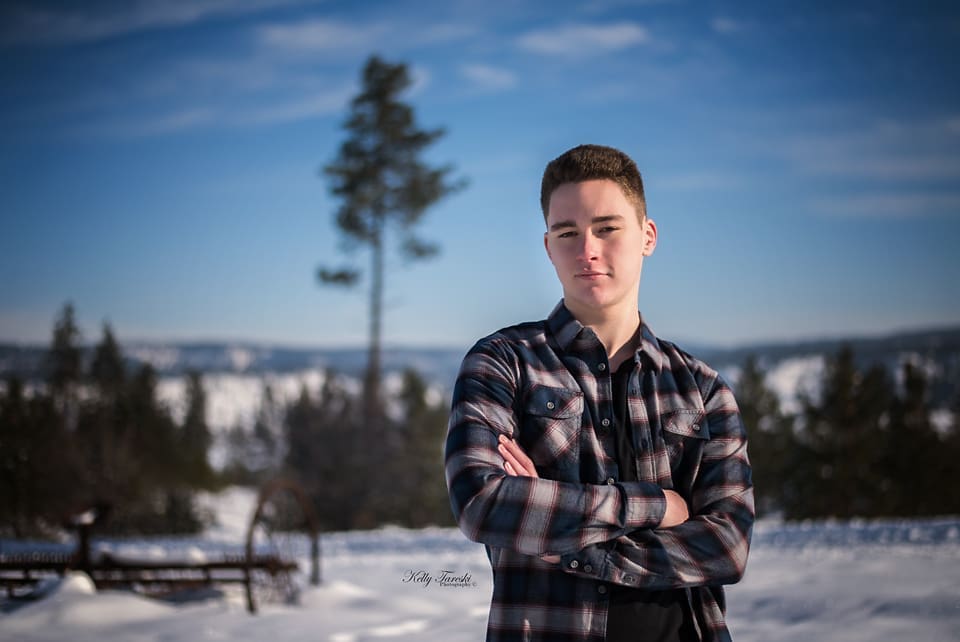
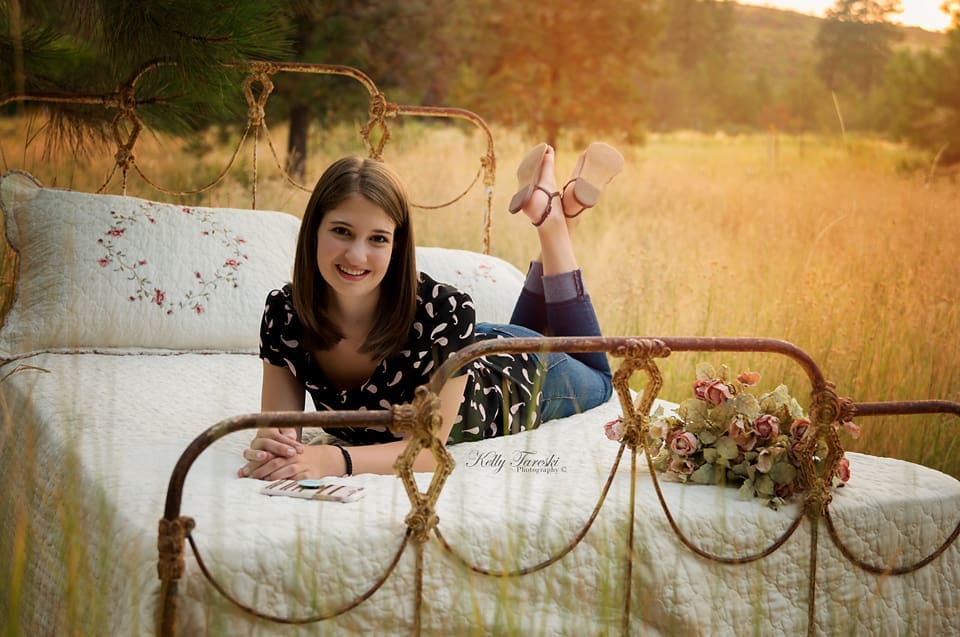
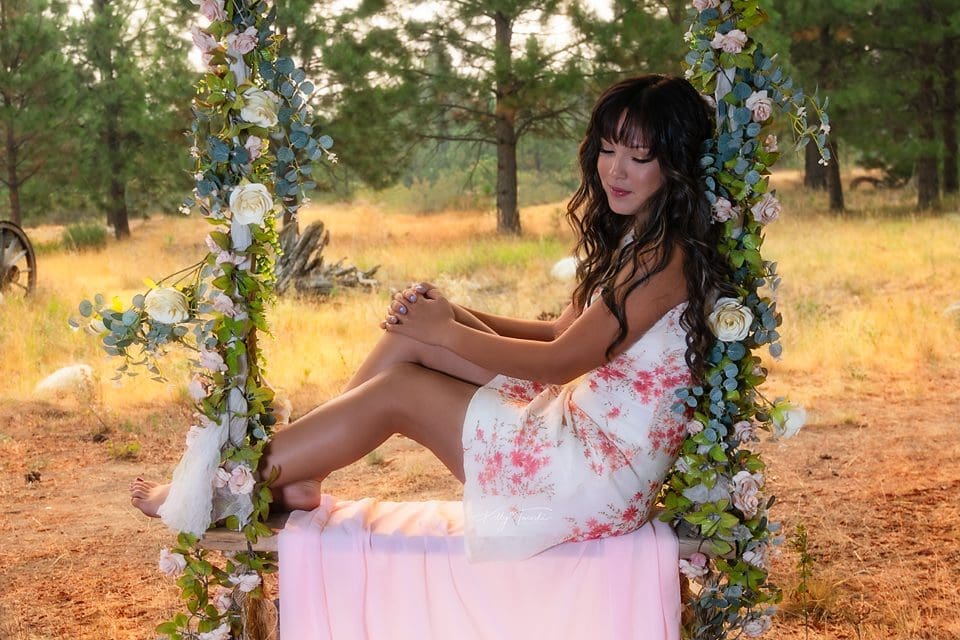
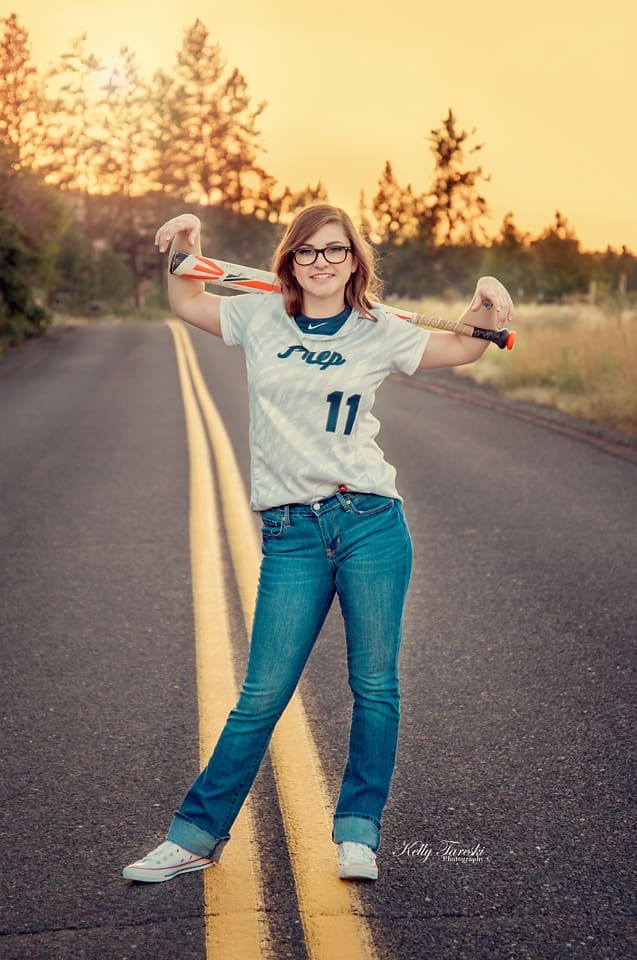
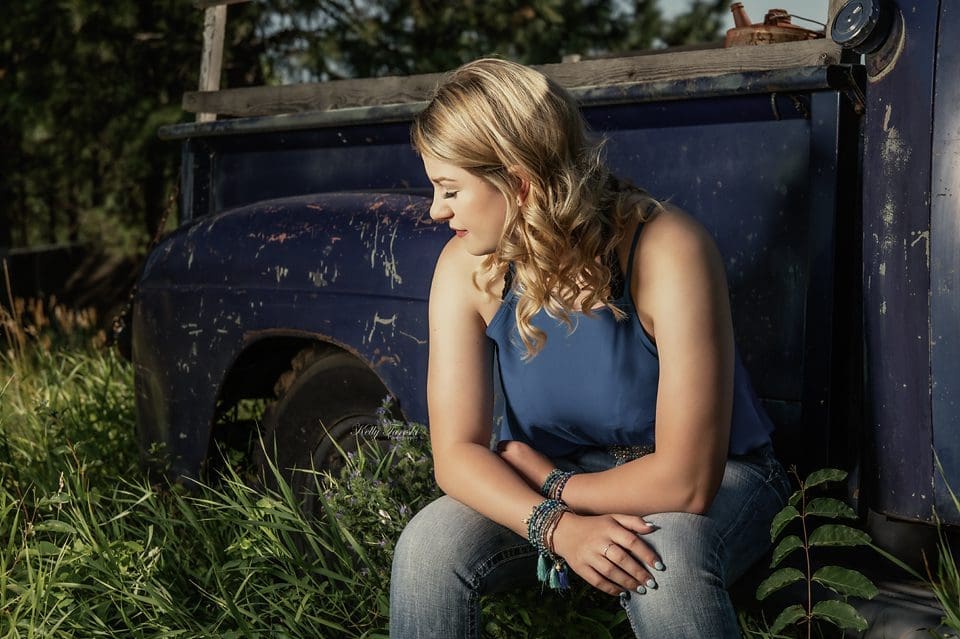
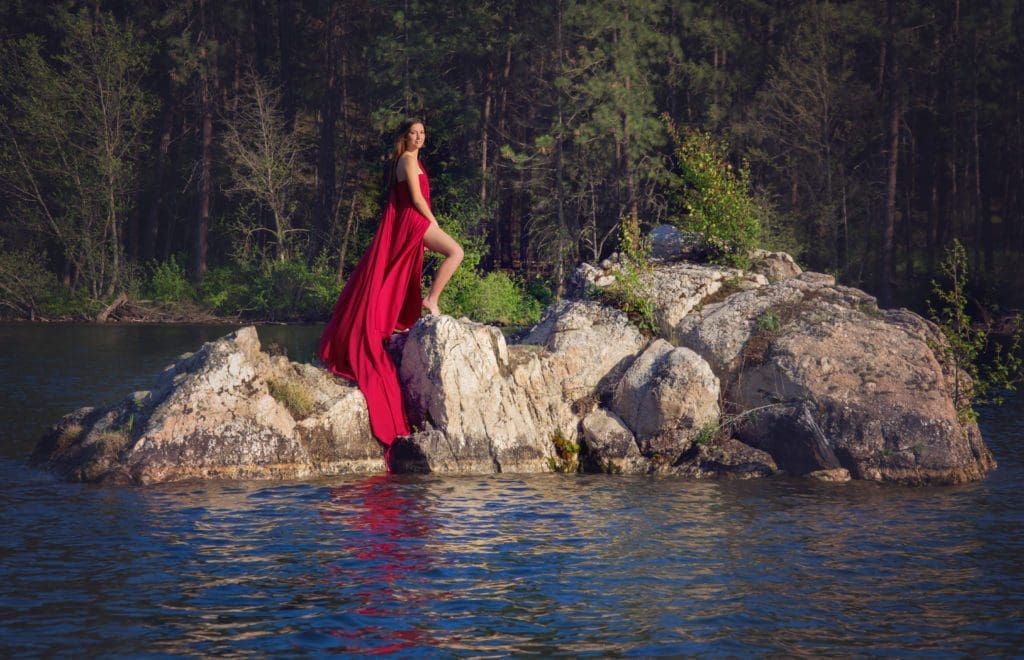
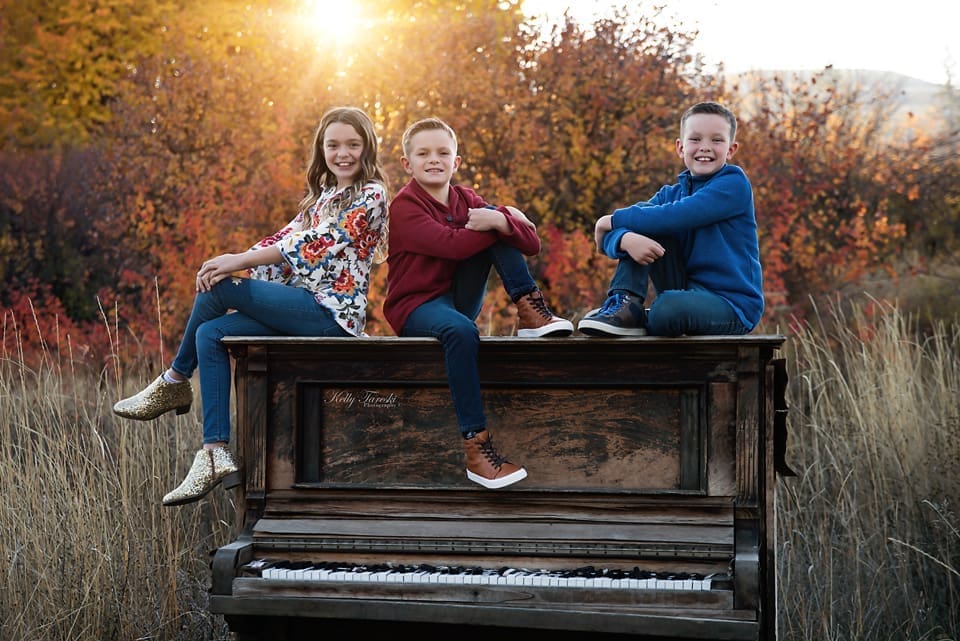
Ah, the Golden Hour—those precious moments right after sunrise and just before sunset. This time is loved by photographers for a reason. The sunlight during these times is soft, warm, and forgiving, making it perfect for capturing beautiful, natural tones in skin and landscapes alike. Plus, Golden Hour light is less harsh than midday sun, so you won’t have to battle with sharp shadows or overexposed highlights.
Here’s a little tip: show up a bit early or stick around a bit later than Golden Hour for unique lighting as the sun is just beginning to rise or set.
2. Work with Shadows
Shadows are a photographer’s best friend when used creatively. Don’t shy away from them—instead, experiment with them. Shadows can add drama, depth, and mystery to your images. Try positioning your subject near a window or a partially shaded area, and let the natural light cast interesting shadows across their face or surroundings. Shadows bring a beautiful contrast that can elevate a simple shot into something truly artistic.
3. Use Reflectors to Your Advantage
While natural light does a lot of the work for you, a reflector can be your secret weapon to bouncing light onto your subject. Whether you’re working with direct sunlight or shade, a reflector will allow you to fill in those darker areas and create a balanced exposure. White, silver, and gold reflectors each have a different effect on skin tones and backgrounds. Personally, I love using gold reflectors during outdoor sessions—it creates a warm glow that complements natural tones beautifully. And here’s a fun tip: if you’re caught without a reflector, a simple white poster board can work in a pinch!
4. Position Your Subject for the Best Light
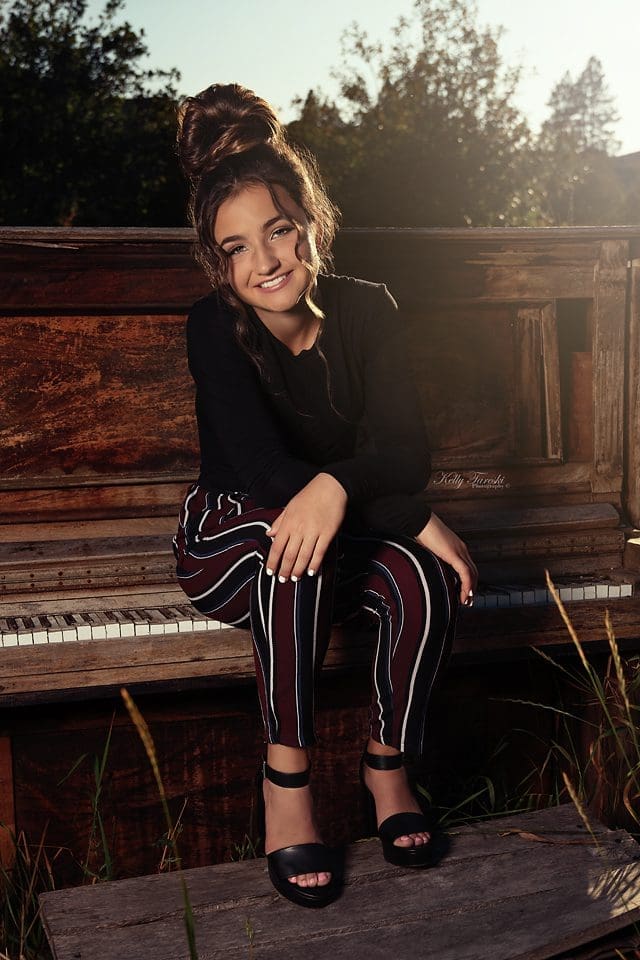
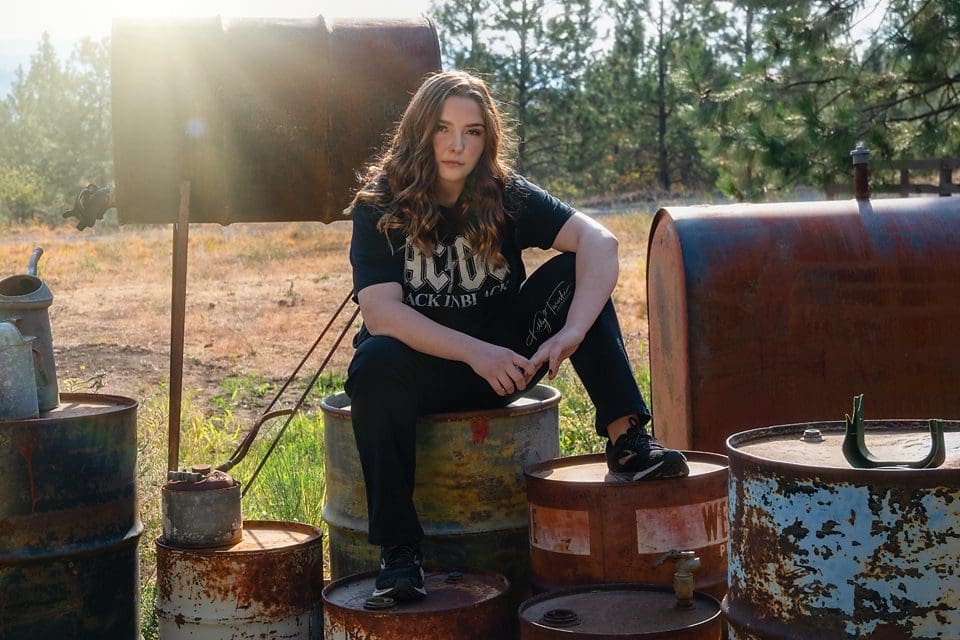
One of the first things to consider is the angle of the light source relative to your subject. Front light, side light, and backlight all yield different results. For example, positioning your subject with the light source directly behind them (backlighting) can create an ethereal glow around their silhouette, especially during the Golden Hour. Side lighting, on the other hand, can bring out textures and contours, which is fantastic for highlighting facial features or creating a sense of depth.
Experiment with different angles to see how the light interacts with your subject, and don’t be afraid to move around to find that perfect shot.
5. Seek Out Natural Diffusers
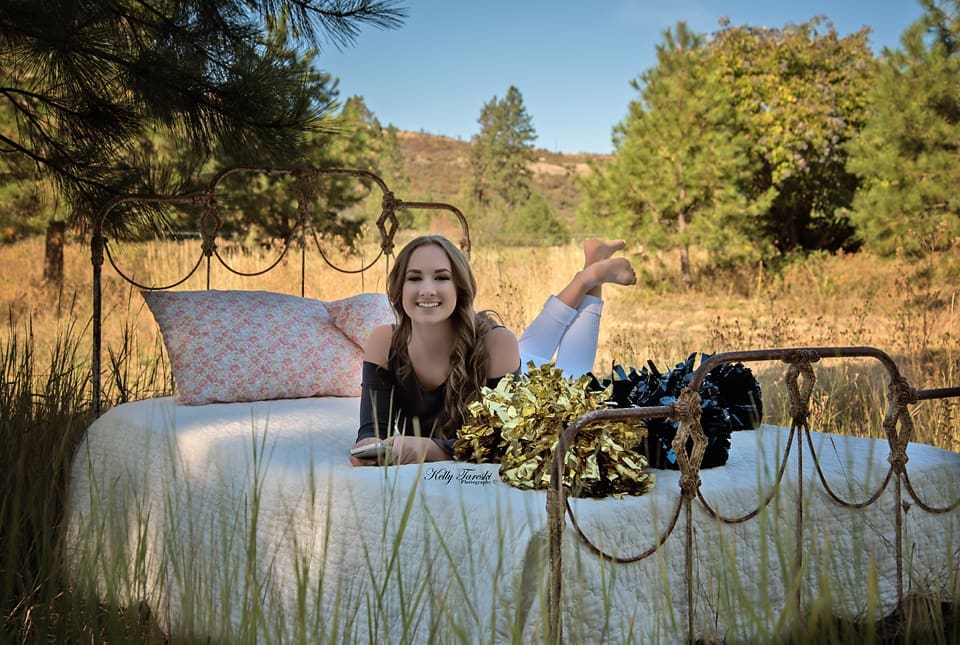
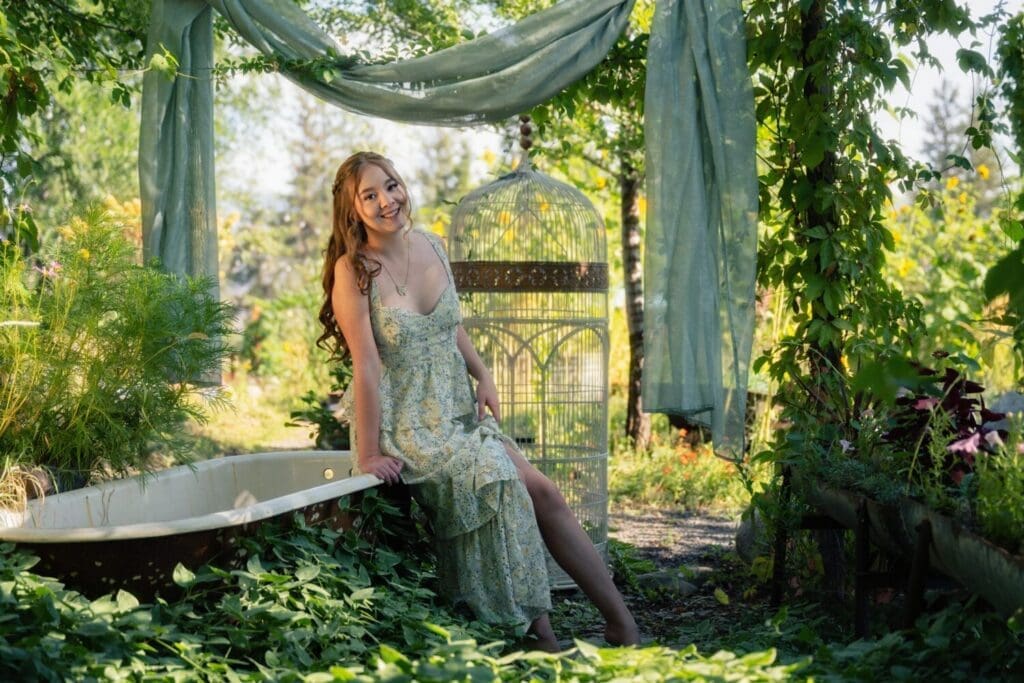
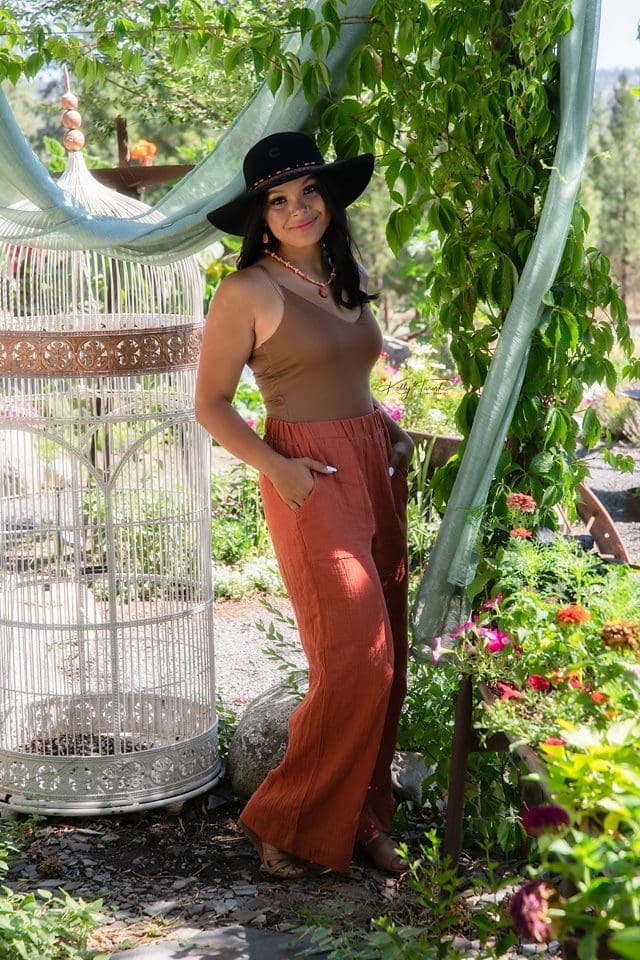
Direct sunlight can sometimes be a bit harsh, particularly during midday. But don’t worry—natural diffusers are all around us! Think about the light filtering through tree branches, casting soft shadows on your subject, or a cloudy sky that acts like a giant softbox. Buildings, walls, and even open car doors can also help block out harsh rays and create a softer, more flattering light on your subject.
At my garden studio, I love incorporating areas with natural diffusers, like lush tree cover or tall flowering bushes, that help soften the light beautifully.
6. Adjust Your Camera Settings for Natural Light
A few adjustments to your camera can make a world of difference in capturing natural light effectively. The best settings vary depending on the conditions, but here’s a good starting point:
- ISO: Keep this as low as possible to avoid grain. In bright daylight, an ISO of 100-200 is ideal, but in lower light, don’t be afraid to increase it as needed.
- Aperture: Wide apertures (low f-stops) are perfect for natural light photography, as they allow in more light and create that beautiful background blur. Try an f-stop of around 2.8 or lower for portraits.
- Shutter Speed: Balance your shutter speed based on movement and lighting conditions. In bright light, you can use a faster shutter speed to freeze action or avoid overexposure.
These are general guidelines, but remember, there’s no one-size-fits-all setting. Don’t be afraid to play around and find the best combination for each unique shot.
7. Embrace the Mood of Changing Light
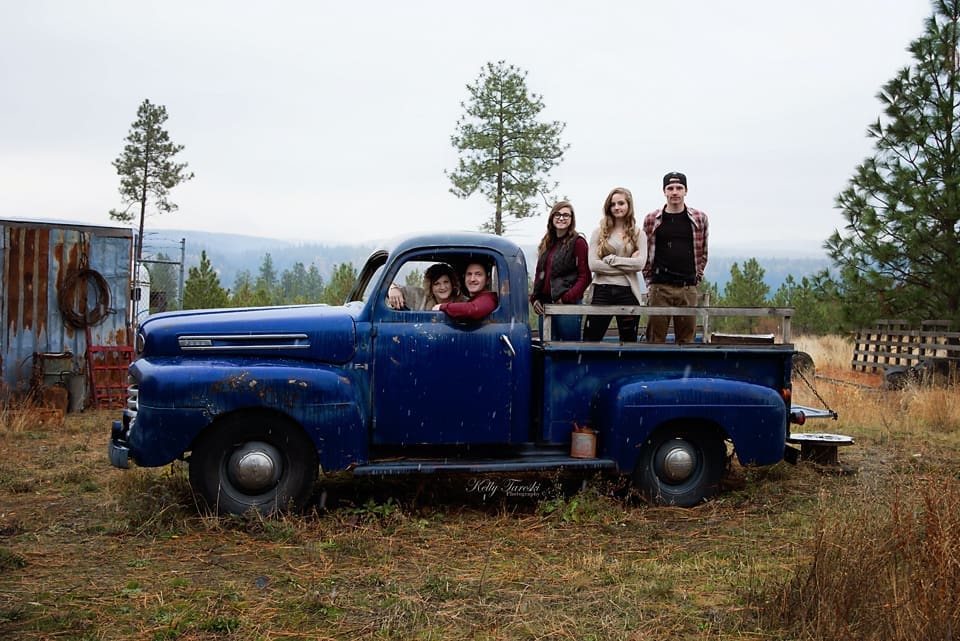
Natural light is wonderfully unpredictable, shifting and changing throughout the day. Instead of viewing it as a limitation, embrace it as a creative challenge! Each time of day offers a unique mood—from the crisp, clear tones of morning to the golden glow of dusk and even the deep shadows of twilight. You might even find that overcast days give you more freedom to shoot at different angles without harsh shadows or blinding highlights.
One of my favorite parts of working with natural light is this element of surprise—it keeps each session fresh and filled with creative possibilities. So go ahead, shoot during a cloudy afternoon or try capturing that moody blue hour after sunset.
That's a Wrap!
Natural light photography offers a timeless, authentic feel that’s hard to replicate with artificial lighting. By understanding the basics and experimenting with light’s nuances, you can elevate your photography and create images that feel vibrant and true-to-life. Remember, it’s all about playing with light, embracing the unexpected, and letting nature do some of the magic for you.
If you’re ready to explore the wonders of natural light photography or need guidance to bring your vision to life, don’t hesitate to reach out! Contact Kelly Tareski Photography today for a personalized consultation, and let’s capture those perfect moments together!
Related Articles to Education
-
Preparing For Your Family Photos – Spokane
-
Spokane Photography – Showcasing a Region
-
Spokane Photographers – How To Choose
-
More about Children’s Photography In Spokane
-
What is a Professional Photographer?
-
The Importance of Senior Portrait Photography Spokane
-
Legacy Portrait Photography in Spokane
-
Prepare with Pinterest Spokane Boudoir
-
Choosing Professional Portrait Photography Spokane
-
The Importance of Children’s Photography in Spokane
-
How to Choose A Photographer In Spokane
-
Indoor Photography Studios Spokane – Kelly Tareski Photography
-
How to choose the right photographer
-
Benefits of Accreditation for Photographers
-
Why Hiring An Accredited Photographer Matters
-
My Journey to Accreditation – The Portrait Masters
-
Elevating Spokane Modeling Photography
-
Ultimate Survival Guide for a Family Photo Shoot
-
Top Ten Questions to Ask a Professional Photographer
-
Your Guide To Choosing A Professional Photographer
-
A Journey through 10 Diverse Photography Genres
-
Hair and Makeup for Portrait Photography Spokane – Kelly Tareski Photography
-
A Comprehensive Guide to Capturing Stunning Portraits
-
The Four Seasons of Portrait Photography
-
The Difference Between Graduation Photos and Senior Pictures
-
Black and White VS Color Photography
-
The History Of Spokane Photographers
-
Top Ten Life Events That Call for a Professional Photographer
-
The Evolution of Photography
-
A Labor of Love-Building The Warehouse Door Garden Gate
-
Five Tips for Nailing Your Boudoir Photography Shoot
-
Lifestyle Photography Sessions Explained
-
The Ultimate Guide to Capturing the Perfect Family Portrait
-
Step into the Dramatic Grey Studio
More Education Posts
-
Whimsical White Studio – How I Create Amazing Photos
-
My Magical Retro-Themed Cabin Studio
-
Get Creative! Five Unique Ways to Personalize Your Family Photos
-
Five Birthday Milestones That Call For Professional Photography
-
Five Tips for Gorgeous Outdoor Photos
-
Tips to Look Your Best in Professional Photos
-
The Importance of a Photography Consultation
-
Five Reasons You Need Professional Prints For Your Photos
-
A Photography Reveal Session Explained
-
5 Hair and Makeup Tips for the Perfect Photography Session
-
6 Senior Photo Shoot Mistakes to Avoid in 2023
-
The Importance of Editing for Professional Photography
-
A Glimpse Into The Past at Kelly Tareski Photography - 2019
-
Being a Photographer in Washington State - Spokane
-
Why Quality Equipment is Essential in Photography
-
Natural Light and Studio Lighting for Photography
-
Enhancing Photography With Natural Light
-
Five Tips for Using Studio Lighting in Photography
-
Understanding the Cost of Professional Photography
-
Amazing Metal Prints for Your Home
-
Canvas Prints - Affordable and Beautiful
-
Bring Vintage Into Your Life With The Retro Viewer
-
Photographers In North Spokane Washington
-
Photographer Near Me - Spokane Washington
-
Photographers Near the Spokane Valley
-
Professional Photographers Near Cheney Washington
-
Professional Photographers Near Medical Lake Washington
-
Professional Photographers Near Reardan Washington
-
Professional Photographers Near Davenport Washington
-
Professional Photographers Near Deer Park Washington
-
Professional Photographers Near Liberty Lake Washington
-
Professional Photographers Near Airway Heights Washington
-
Professional Photographers Near Millwood Washington
-
Professional Photographers Near Chewelah Washington
-
Professional Photographers Near Colville Washington
-
Professional Photographers Near Newport Washington
-
Professional Photographers Near Kettle Falls Washington
-
Professional Photographers Near Mead Washington
-
Professional Photographers Near Springdale Washington
-
Professional Photographers Near Spangle Washington
-
Professional Photographers Near Valleyford Washington
-
Professional Photographers Near Rockford Washington
-
Professional Photographers Near Fairfield Washington
-
Professional Photographers Near Rosalia Washington
-
Professional Photographers Near Colfax Washington
-
Professional Photographers Near Loon Lake Washington
-
Professional Photographers Near Harrington Washington
-
Professional Photographers Near Tekoa Washington
-
Professional Photographers Near Chattaroy Washington
-
Professional Photographers Near Colbert Washington
-
Professional Photographers Near Northport Washington
-
Professional Photographers Near Metaline Falls Washington
-
Professional Photographers Near Post Falls Idaho
-
Professional Photographers Near Coeur d'Alene Idaho
-
Professional Photographers Near Rathdrum Idaho
-
Professional Photographers Near Blanchard Idaho
-
Mastering the Art of Sexy Professional Photography
-
10 Tips for Shooting Better Portrait Photography
-
5 Tips Using the Nikon Z7ii Camera for Portrait Photography
-
Seven Tips For Natural Light Photography
-
Mastering Natural Light: Techniques for Stunning Outdoor Portraits
-
How to Prepare for Your First Professional Photoshoot
-
Capturing Emotion: The Art of Candid Photography
-
The Ultimate Guide to Choosing the Perfect Photography Studio
-
Top 10 Photography Tips for Beginners
-
How to Pose Like a Pro: Tips for Flattering Portraits
-
Understanding Camera Settings: A Beginner's Guide to Manual Mode
-
The Role of Props in Photography: Enhancing Your Images
-
10 Creative Ideas for Unique Family Portraits
-
How to Price Senior Portrait Sessions
-
The Benefits of Hiring a Professional Photographer for Your Event
-
Why Is Professional Branding Crucial for Success?
-
Exploring Different Photography Styles: Which One Suits You?
-
The Magic of Golden Hour: Why Timing Matters in Photography
-
How to Create a Photography Portfolio That Stands Out
-
The Evolution of Photography: From Film to Digital
-
Understanding Composition: The Rule of Thirds and Beyond
-
The Impact of Backgrounds: Choosing the Right Photo Setting
-
How to Choose the Right Outfits for Your Photoshoot
-
Mastering Elegant Boudoir Photography Techniques
-
How to Capture Stunning Landscape Photos: Tips and Techniques
-
The Power of Black and White Photography: When Less is More
-
The Art of Storytelling Through Photography
-
How to Photograph Children: Capturing Genuine Smiles and Moments
-
Human Branding: Connecting Professionally
-
Advancing Your Skills: Professional Photography Education
-
Elegant Boudoir: Empowering Through Photography
-
How to Create Timeless Photos and Portraits
-
Art Photography Printing: Bringing Images to Life
-
Capturing Timeless Portraits Tips and Techniques
-
Post-Production Photography: Enhancing Your Images
-
The Importance of Lighting in Photography: Natural vs. Artificial
-
The Role of Makeup in Photography: Preparing for Your Close-Up
-
The Importance of Printing Your Photos: From Digital to Tangible
-
High School Senior Photos: Your Comprehensive Guide
-
What to Wear: Men's Engagement Photo Outfits
-
How to Master Creative Black and White Portrait Photography
-
Capturing Memories: Senior Photos with Guitar
-
Breaking the Rules: Creative Photography Techniques to Try
-
Enhancing Your Home Dacor with Custom Photography Prints
-
Creative Couples Photography: Capturing Connection and Chemistry
-
Stunning Nighttime Portraits: Capturing the Beauty of the Dark
-
Exploring Minimalism in Photography: Less is More
-
Embracing Imperfections: Capturing Real Moments in Photography
-
Prepping for a Fitness Photoshoot: How to Look Your Best
-
Turning Your Photography Hobby into a Business
-
Capturing the Connection: Tips for Couple's Lifestyle Photography
-
How to Capture Soft, Natural Light Indoors
-
Going Minimal: How Less Can Be More in Photography
-
Highlighting Unique Details: Close-Up Portrait Ideas
-
The Art of Arranging Family Photos for Display
-
How to Achieve a Dreamy Look with Backlit Photography
-
Building Confidence: How to Feel Comfortable on Camera
-
10 Tips for Photographing Action and Motion in Portraits
-
Capturing the Perfect Reaction: Tips for Engagement Photography
-
How to Capture Creative Self-Portrait Photography
-
How to Prepare for Senior Studio Pictures
-
The Secret to Relaxed and Natural-Looking Portraits
-
A Beginner's Guide to Understanding Camera Settings [2025]
-
The Ultimate Checklist for a Stress-Free Portrait Session [Guide]
-
Advanced Photography Skills to Take Your Photos to the Next Level
-
Mastering Natural Light for Breathtaking Portraits
-
Fun and Natural Photo Ideas for Couples Who Hate Posing
-
Guest Blog Posts – Write for Us
-
How to Choose a Photo Studio for Family Photos
-
How to Choose the Perfect Color Palette for Family Photos
-
What to Wear for Engagement Photos [Style Guide]

