Golden Hour Portraits - Harnessing the Magic
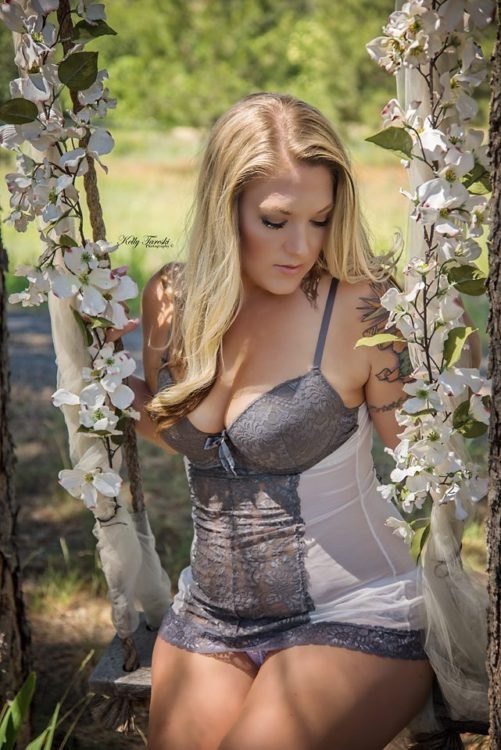
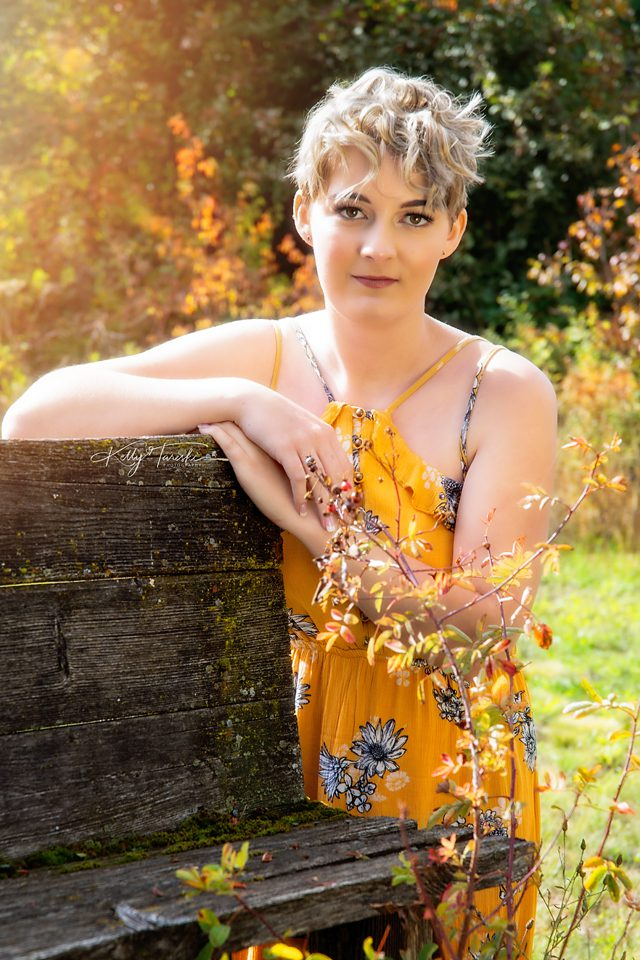
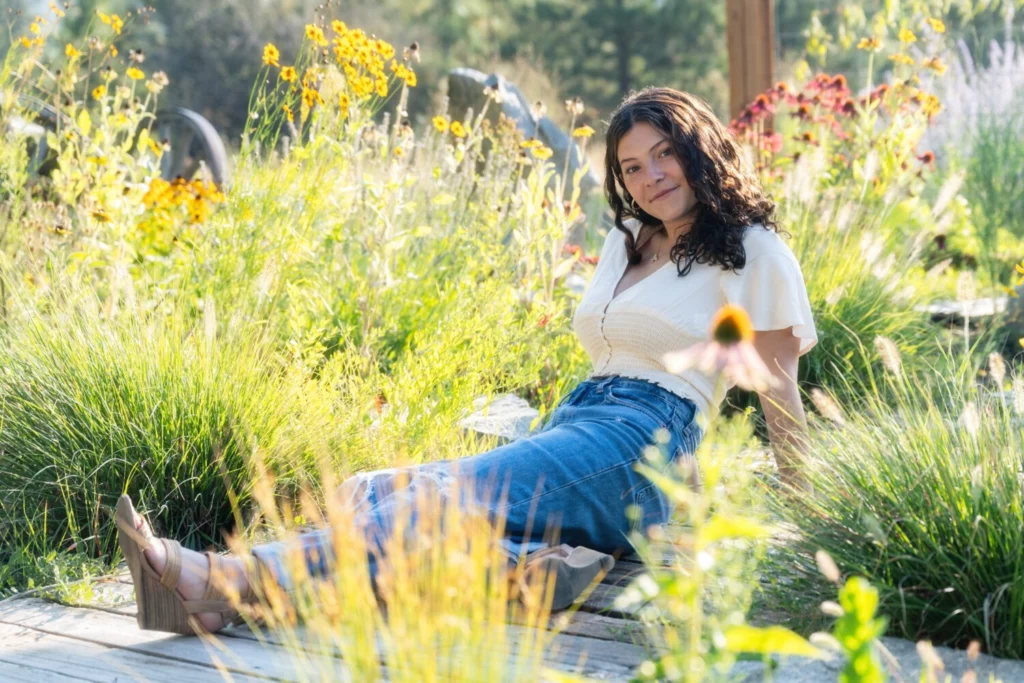
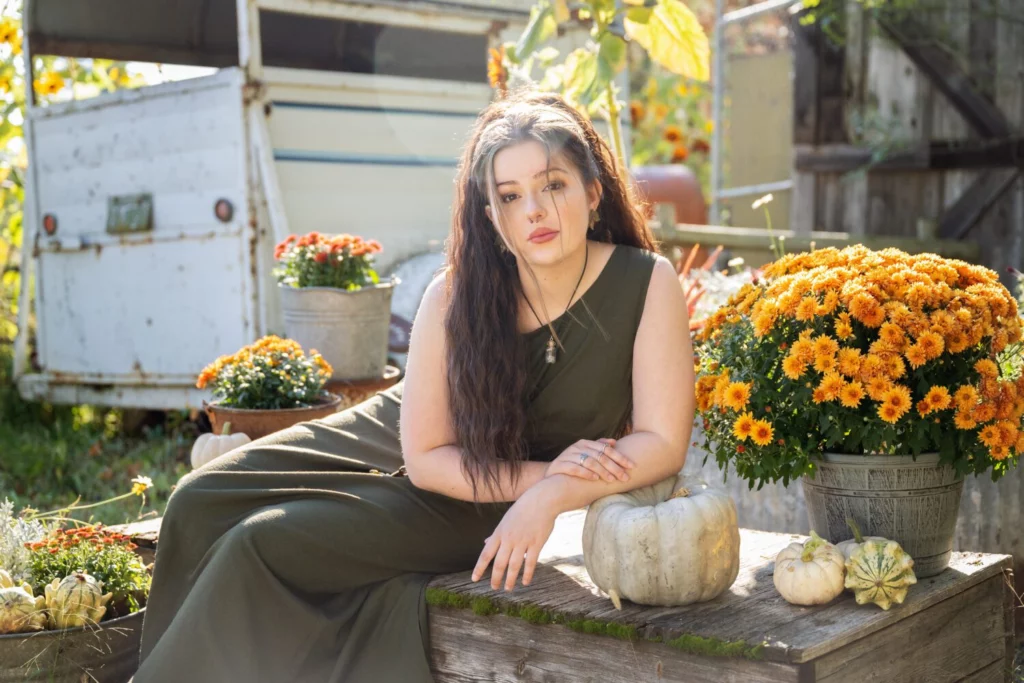
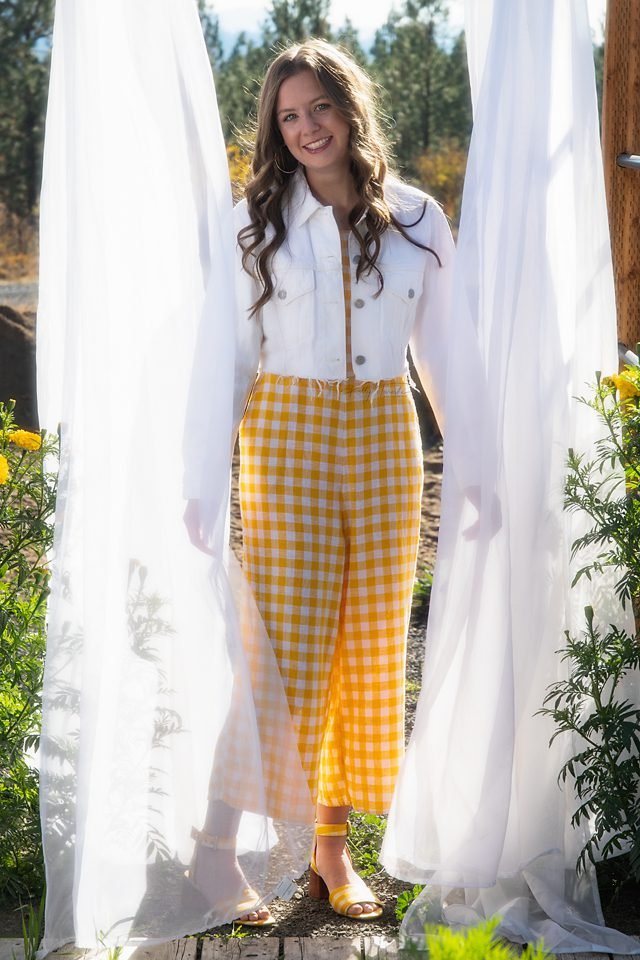
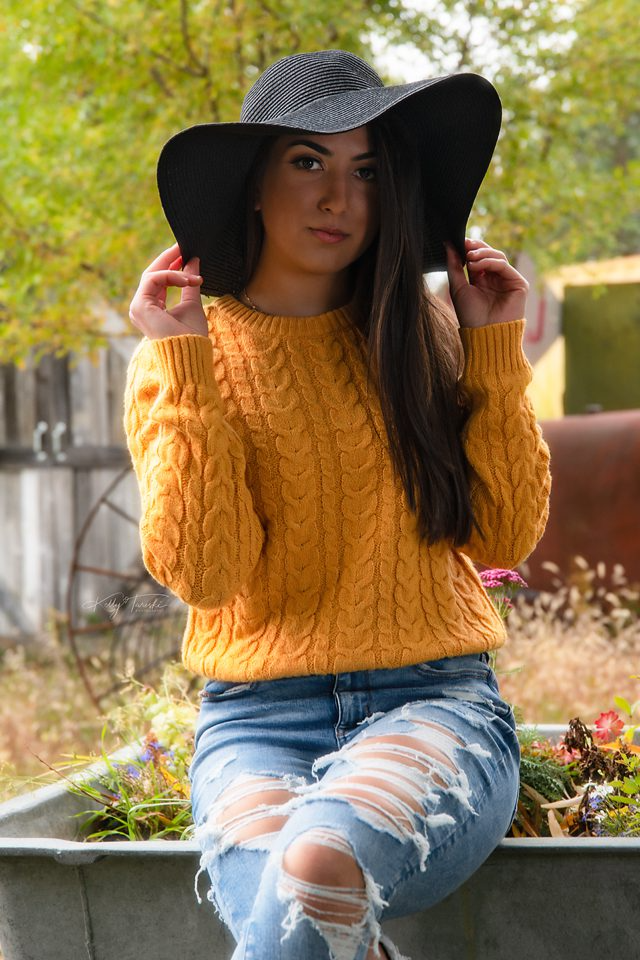
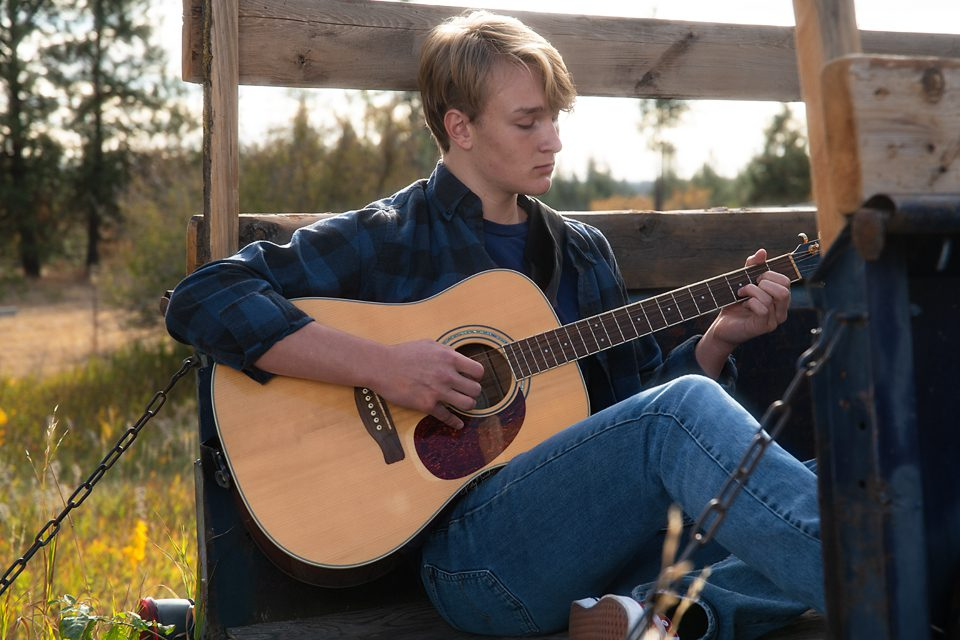
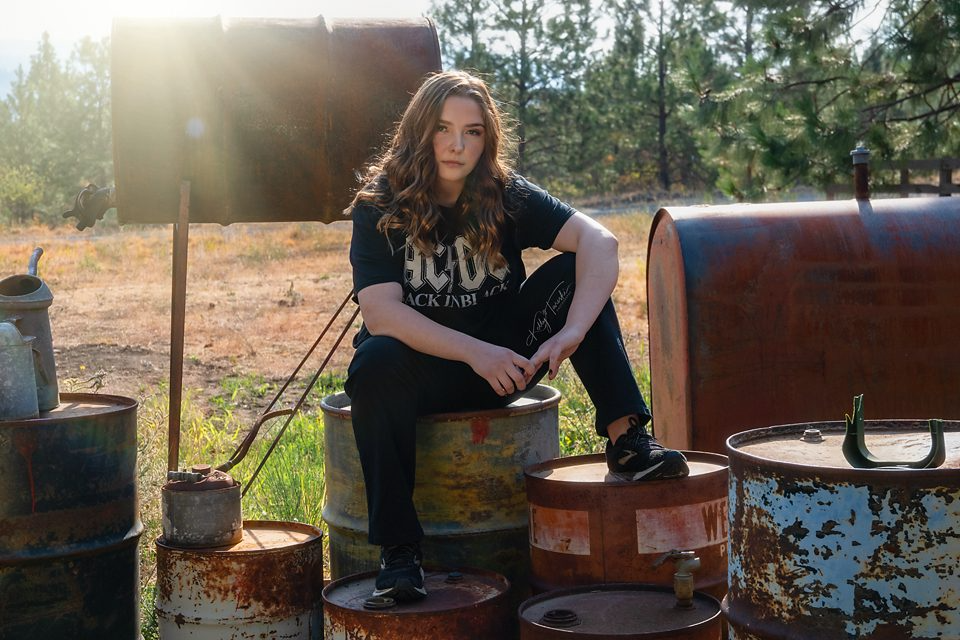
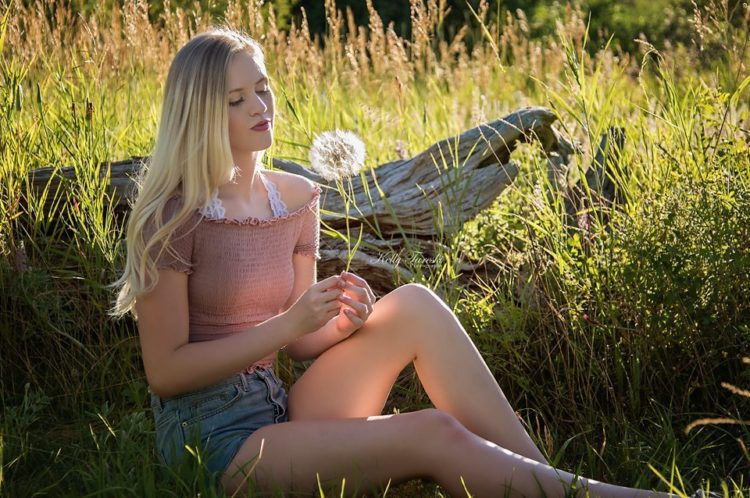
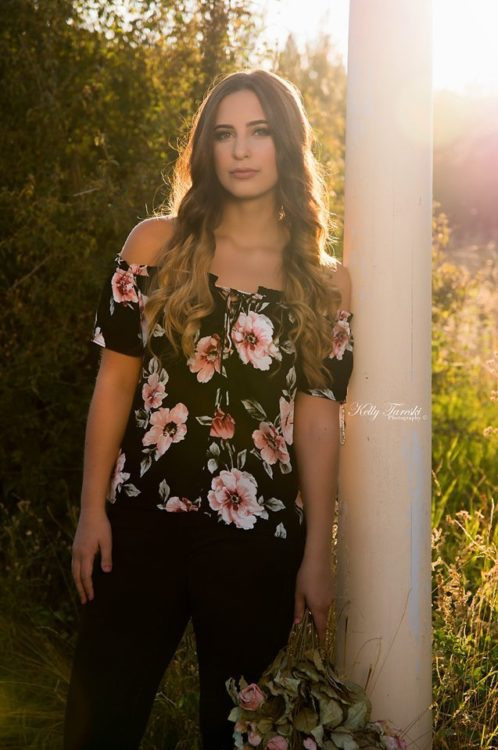
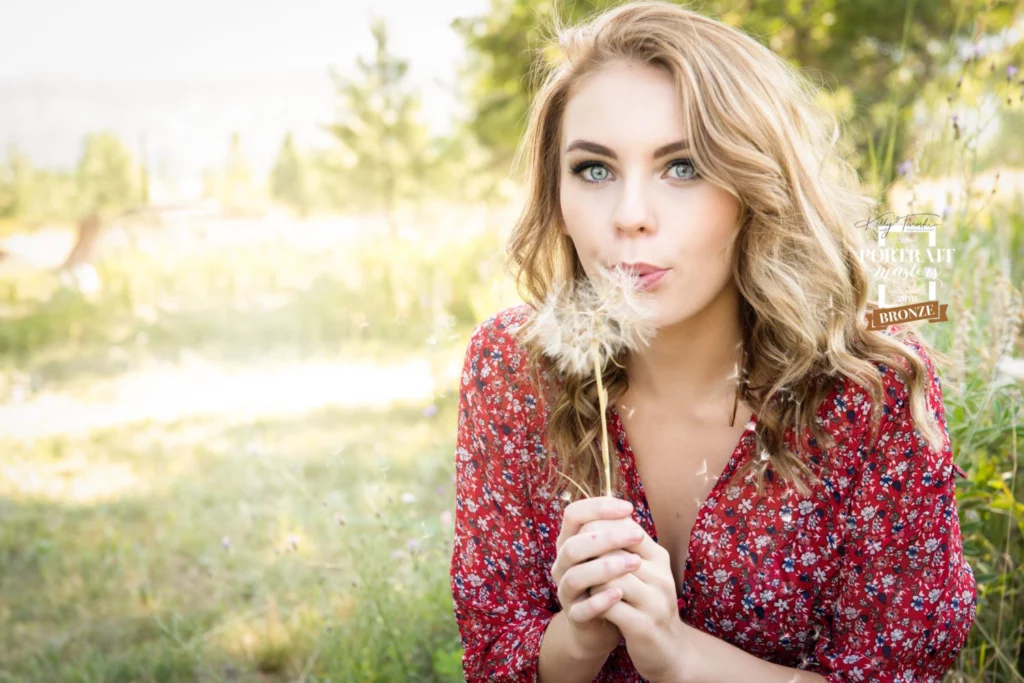
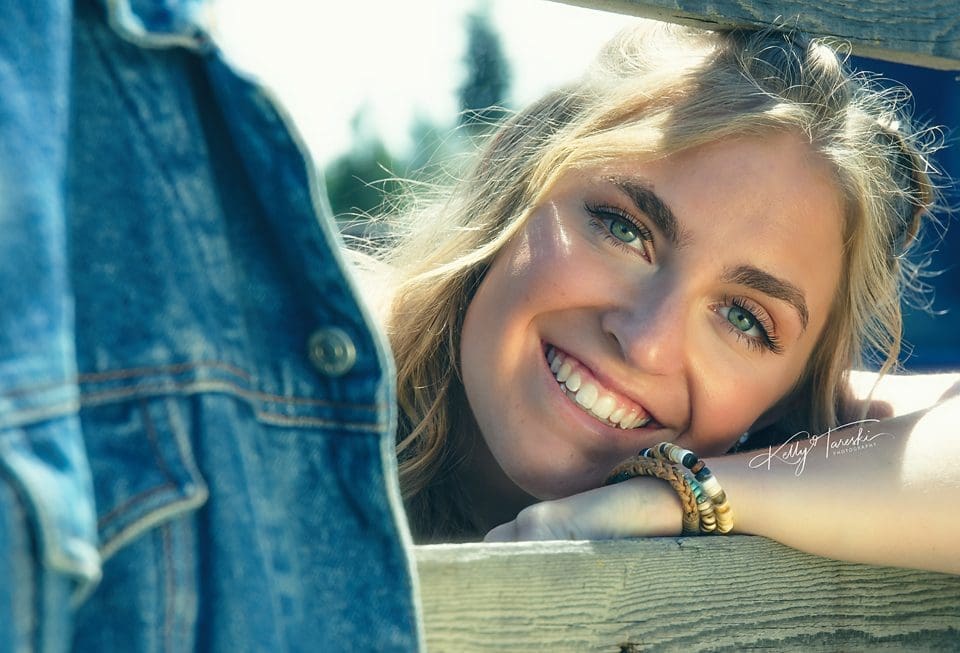
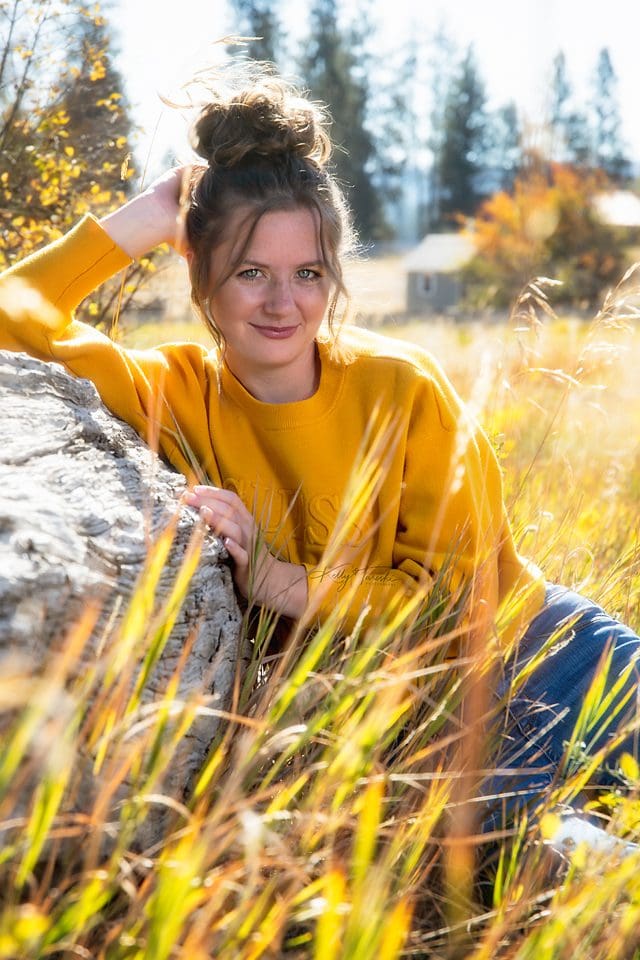
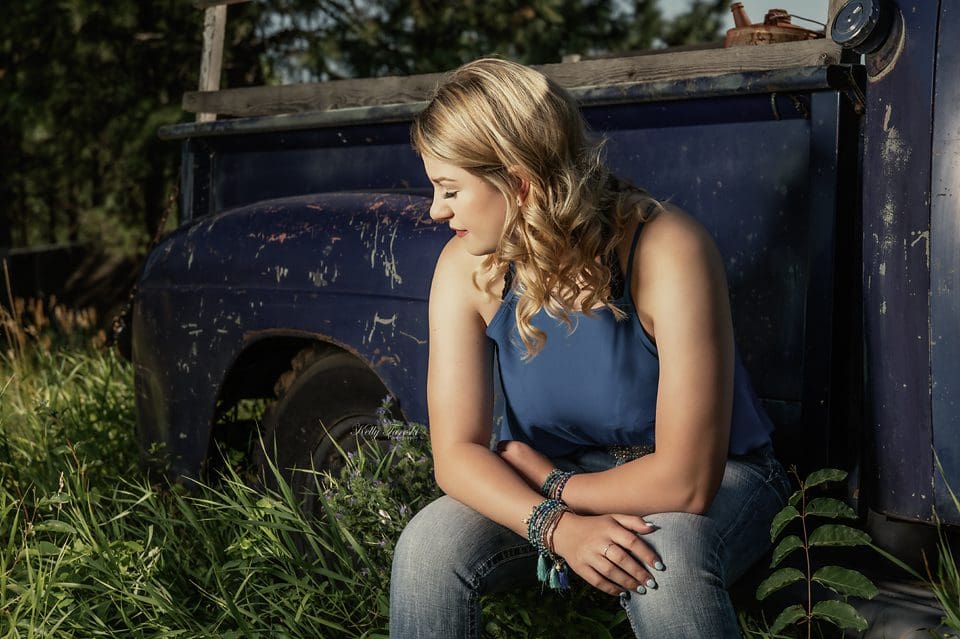
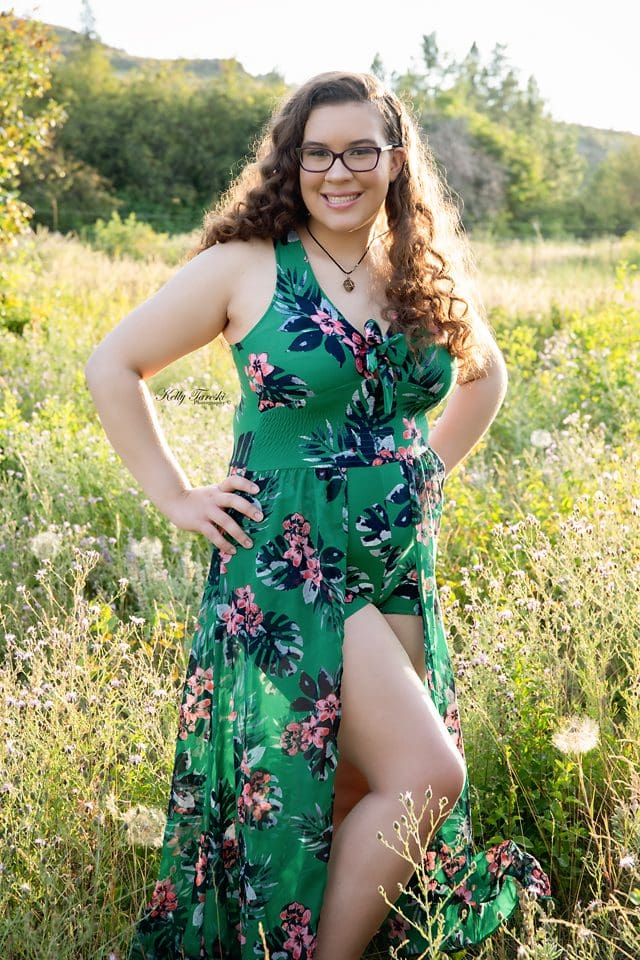
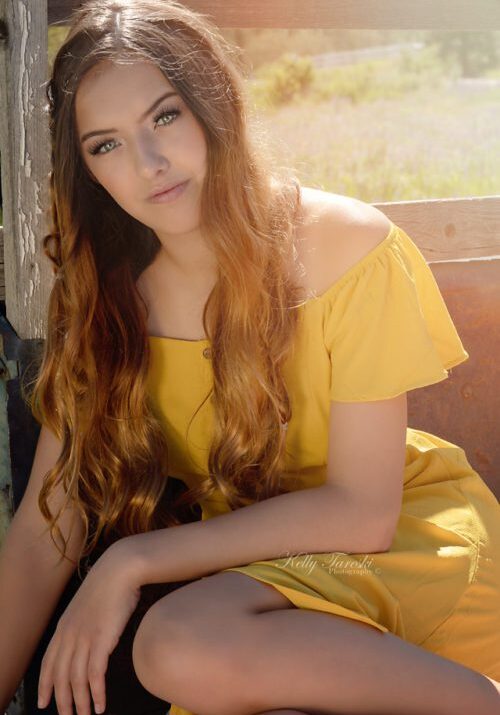
Hey there, photography enthusiasts! Kelly here, and today, I am thrilled to share with you about one of my favorite times to snap pictures – the Golden Hour. This period is when the sun dips low in the horizon before sunset or just after sunrise, and as a photographer, it's a dream come true. Have you ever wondered what could give your portrait that magical touch? Well, the secret lies in harnessing the Golden Hour. It’s the perfect time to create stunning portraits and breathtaking landscapes. In this blog, I'll be sharing some tips and tricks to help you harness the Golden Hour for amazing portraits.
Timing is Key
Timing is everything. The Golden Hour itself lasts between 20-45 minutes, depending on the time of year and location. You can easily find Golden Hour timings by searching for sunset and sunrise times in your city. Plan your shoot to ensure you have ample time to get everything you need. Remember, as the sun sets, the light changes very quickly. So do not be late!
Location, Location, Location!
Location and composition play a vital role in making the most of the Golden Hour. You'll want to scout out your location beforehand to ensure you have the perfect backdrop. The right setting can take your portraits to the next level. Look for open spaces, a view of the horizon, and an unobstructed line of sight to capture that warm, golden light.
Understand Light and Exposure
Understanding light and exposure will make all the difference in your golden hour portraits. The yellow or golden light of the Golden Hour means that there is less contrast and shadows in your photos, resulting in better-quality images. Open up your aperture to allow more light into your lens and offset the lower light at this time of day. Be mindful of your composition and the contrast between the background and your subject.
better-quality
Equipment Preparation
Be prepared. This is key to taking great photographs. During the Golden Hour, you don't want to fumble with your equipment trying to change lenses or camera settings. Be ready to capture that perfect moment. You may want to bring a tripod to increase stability and a reflector to bounce light onto your subject. A tripod helps when you need to shoot long exposures or during low-light situations. On the other hand, a reflector will enhance the light on your subject, giving them that dazzling glow.
Editing your Portraits
Post-processing can be just as crucial as the actual shoot itself. You'll want to take the time to edit your portraits to enhance the light and bring out the subtle detail or retouch any distracting elements. Adding a vignette might also give your photos that signature Golden Hour look. However, be careful not to overdo it. Your goal is to enhance your photos' natural look, not to make them look fake.
That's a Wrap!
The Golden Hour can add that magical element that elevates your portraits from average to breathtaking. I speak from experience as a photographer. This period may only last for a short time, but with proper planning, understanding light, composition, and editing your photos, you can make the most of the limited golden hour shooting time. Putting in the effort and time before, during, and after your shoot can make all the difference in your images’ quality. So go ahead, plan ahead, and harness the Golden Hour for your next portrait session. Happy Clicking!
Related Articles for My Fellow Photographers
-
Kelly Tareski Photography Home
-
Blog Posts Page
-
Why the Nikon Z-7ii is my Camera of Choice for Professional Photography
-
Why I Made the Switch to a Mirrorless Nikon Camera
-
Why I Choose Nikon Camera Lenses
-
Nikon vs Cannon - The Battle for Photography Supremacy
-
Godox IS My Choice of Lighting for Photography
-
My Backup Choice of Lighting - The Godox AD600BM
-
Shedding Light on Bounce Light - A Photographer's Guide
-
Golden Hour Portraits - Harnessing the Magic
-
Using a Bounce Light Reflector for Outdoor Photography
-
The Magic of Bokeh in Portrait Photography
-
The Economy and Photography
-
How the Economy Impacts Photography
-
How to Weather Economic Slumps as a Photographer
-
Finding Creative Ways to Promote Your Photography on a Budget
-
Free and Low-Cost Resources for Photographers
-
Benefits of Investing in Quality Camera Gear for Photographers
-
New Markets to Grow Your Photography Business
-
Understanding Market Change in Photography
-
How to Offer Competitive Pricing as a Photographer
-
How to Expand Your Photography Service Offerings
-
Improving Your Online Presence as a Photographer
-
Developing a Value Proposition as a Photographer
-
Diversifying your Photography Session Options
-
Setting Your Photography Pricing Structure
-
Evaluating Your Local Market for Photography
-
Maintaining an Online Presence for Photographers
-
Investing in Education as a Photographer
-
What is Black and White Photography
-
How to Price Senior Portrait Sessions
-
Editing Essentials: Post-Processing Tips for Photographers
-
Elegant Boudoir Ideas: Inspire Your Next Photoshoot
-
Precious Moments for Your Engagement Celebration
-
What are Senior Portraits
-
What Makes Boudoir Photography Elegant?
-
How to Capture Stunning Outdoor Senior Portraits
-
Photography in Education: Enhancing Learning Experiences
-
The Benefits of Themed Photoshoots: Adding Fun and Creativity
-
The Importance of Angles: How Perspective Changes Your Photos
-
How to Create Stunning Senior Portraits: Expert Tips
-
How to Photograph Couples: Capturing Love and Connection
-
The Role of Color in Photography: Creating Mood and Emotion
-
Striking Poses for Female Senior Portrait Sessions
-
Choosing the Perfect Dress for Stunning Senior Portraits
-
Elevating Your Elegant Boudoir Photography Skills
-
Capturing Timeless Senior Portraits: Tips and Tricks
-
Capturing Senior Football Portraits: Tips and Techniques
-
Creative Male Senior Portrait Ideas for Memorable Photos
-
Capturing Natural Senior Portraits: Barefoot Edition
-
How to Choose the Best Lenses for Senior Portraits
-
How to Capture Unique Senior Portraits
-
10 Things to Learn About Photography
-
How to Capture Hilarious Senior Portrait Idea
-
Creative Senior Portrait Ideas for Guys
-
Best Frames for Senior Portraits: Showcase Your Memories
-
How to Create Stunning Senior Portraits for Pinterest
-
How to Capture Timeless Classic Engagement Photos
-
Choosing the Best Lens for Stunning Senior Portraits
-
How to Apply Presets to Multiple Photos in Lightroom Classic
-
How to Capture Great Senior Portraits
-
How to Create Stunning Engagement Photos
-
Capturing Memorable Graduation Photos Tips and Ideas
-
A Comprehensive Guide to Mirrorless Cameras: Everything You Need to Know
-
How to Use Props in Photography: Enhancing Your Story
-
How to Capture Creative Engagement Photos
-
How to Capture Stunning Engagement Photos: Inspiration Guide
-
The Importance of Detail Photos: Capturing the Little Things
-
The Importance of Experimentation in Photography: Finding Your Style
-
How to Use Negative Space in Photography: Less is More
-
How to Photograph Events: Tips for Capturing the Atmosphere
-
The Role of Texture in Photography: Adding Depth to Your Images
-
How to Use Leading Lines in Photography: Guiding the Viewer's Eye
-
How Much Do Senior Photos Cost?
-
How to Capture Stunning Fall Senior Photos
-
How to Perfect Your Makeup for Engagement Photos
-
Creative Save the Date Photos: Unique Ideas for Couples
-
The Importance of Consistency in Your Photography Style
-
How to Photograph Reflections: Creating Mirror Images
-
How to Take Stunning Graduation Portrait Photos
-
Capturing Creative Graduation Photos: Ideas and Tips
-
Captivating Senior Photo Captions: Ideas and Inspiration
-
Capturing Memories: Sports Senior Photo Ideas
-
Capture Timeless Memories: Senior Photo Shoot Tips
-
Capturing Timeless Memories: Horse Senior Photo Ideas
-
How to Capture Unforgettable Family Christmas Photos
-
Why Are Some Senior Photos Bad?
-
How to Capture Stunning Senior Photos
-
Capturing Vintage Vibes: How to Achieve a Classic Look
-
How to Make the Most of Your Photography Session: Pre-Shoot Tips
-
Photography as Art: Turning Your Photos into Wall-Worthy Prints
-
The Essentials of Portrait Lighting: Achieving a Flawless Glow
-
Engagement to Wedding: Capturing Every Step With Photos
-
The Importance of Photography Timing: Capturing the Perfect Moment
-
Unique Photoshoot Ideas for Couples: Beyond Traditional Portraits
-
Using Foreground to Add Depth to Your Photos
-
Creating Dramatic Photos with Shadow Play: Tips and Techniques
-
Using Textures in Photography: Adding Depth and Interest
-
The Story Behind the Lens: A Day in the Life of a Photographer
-
From Soft to Strong: Mastering Portrait Lighting for Every Look
-
Photography Trends to Try in 2025: What's New and Fresh
-
The Art of Posing: Making Your Portraits Look Natural
-
Creating Unique Graduation Photos to Celebrate Your Achievement

