Using a Bounce Light Reflector for Outdoor Photography
Let's Roll!
Hey everyone, it’s Kelly from Kelly Tareski Photography! One of the things that I love about photography is that there is always something new to learn, no matter how long you’ve been doing it. Today, I wanted to share with you one of my favorite techniques for outdoor photography - using a bounce light reflector. If you’re not already familiar with this technique, don’t worry! I’ll go through how to use it effectively and get the best results.
What is a Bounce Light Reflector?
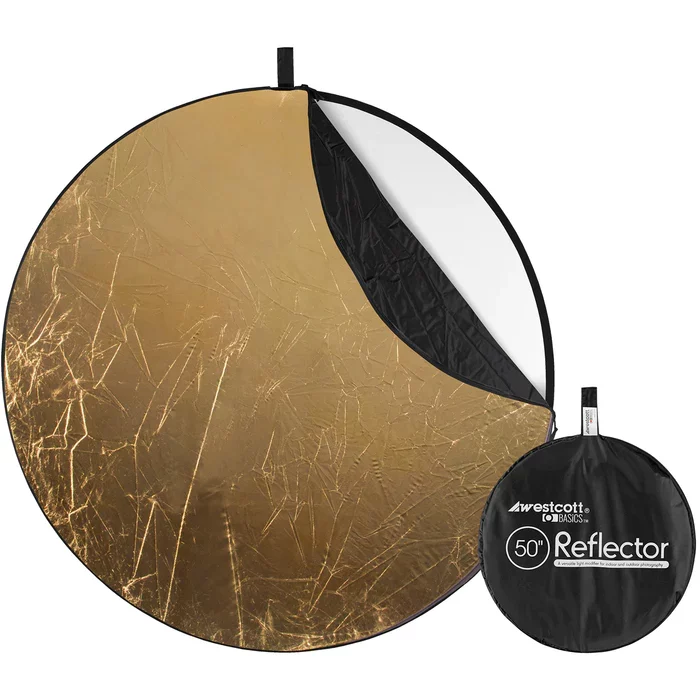
So, what is a bounce light reflector, and how does it work? Essentially, it’s a tool that photographers use to redirect light onto a specific area or subject. The reflector is usually a circular, collapsible disk, with one side being a reflective surface and the other side often being a diffuser. The reflective side is used to bounce light onto the subject, while the diffuser is used to soften harsh light.
Which Direction?
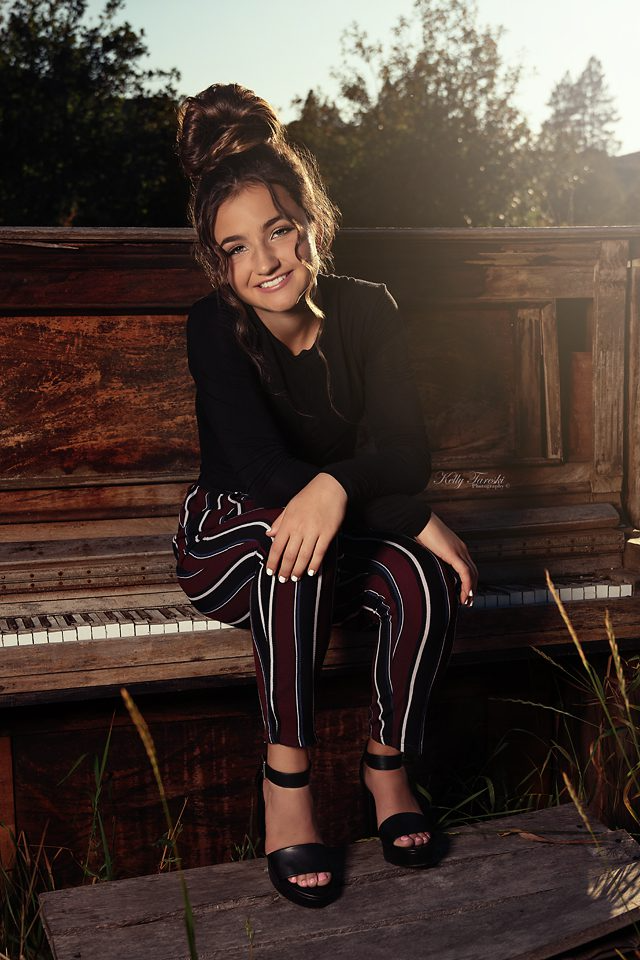
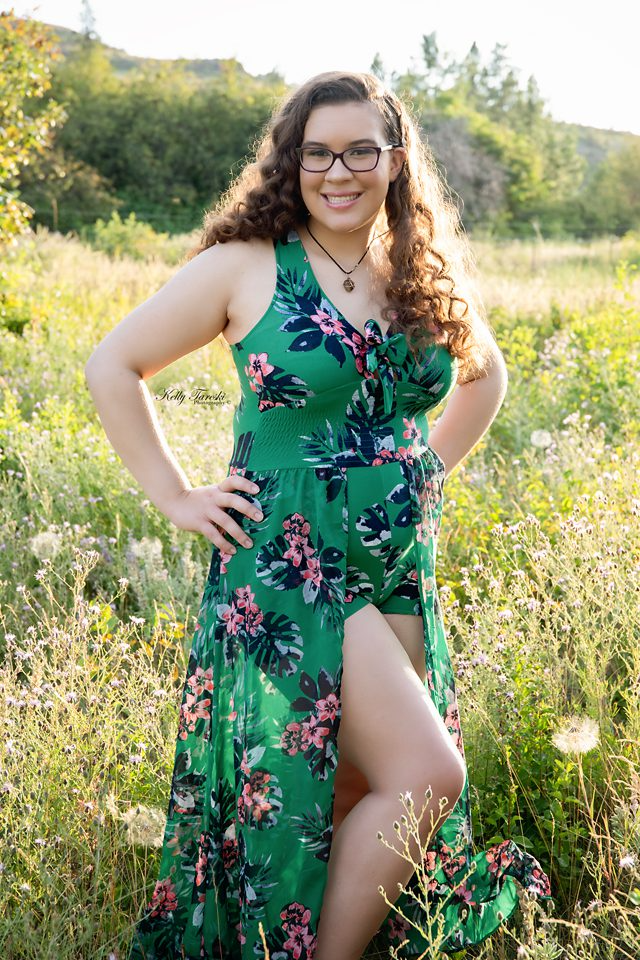
The first thing to consider when using a bounce light reflector is the direction and quality of the light you’re working with. Ideally, the light source should be behind you, lighting up the scene while you use the reflector to bounce light onto your subject. If the light is too harsh, the diffuser side can be used to soften it. Similarly, if the light is too dim, the reflective side can be used to add more light.
Positioning
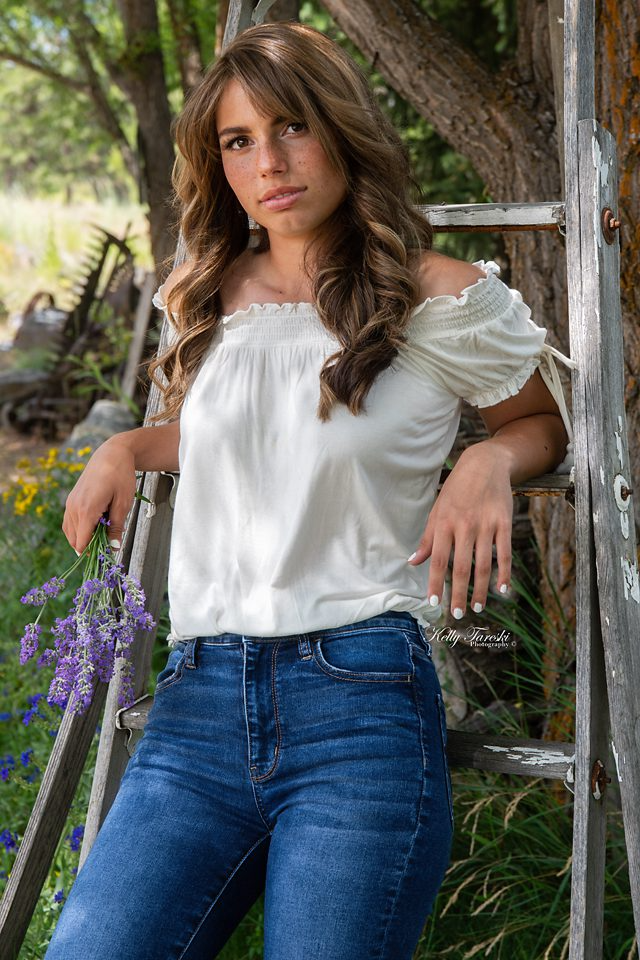
One of the most important things to remember when using a bounce light reflector is to position it correctly. You want to make sure that the reflected light hits your subject in a way that complements and enhances their features. Some people recommend angling the reflector at a 45-degree angle, while others suggest using it straight on. Ultimately, it comes down to what works best for your specific shot and subject.
The temperature of the Light
Another thing to keep in mind is the color temperature of the light you’re bouncing. Some reflectors come with different colored surfaces, such as gold or silver, which can create different effects on the light. Gold surfaces tend to create a warm, golden light, while silver surfaces create a cooler, more blue-toned light.
Practice, Practice, Practice
Finally, practice makes perfect! Don’t be discouraged if your first few attempts with a bounce light reflector don’t come out as expected. Experiment with different angles, distances, and surfaces until you find what works best for you and your subject.
That's a Wrap!
And there you have it, my top tips for how to effectively use a bounce light reflector for outdoor photography. Using a reflector can take some practice, but the results are definitely worth it. Just remember to consider the direction and quality of your light source, position your reflector correctly, and experiment with different surfaces and angles. Happy shooting!
Related Articles for My Fellow Photographers
-
Kelly Tareski Photography Home
-
Blog Posts Page
-
Why the Nikon Z-7ii is my Camera of Choice for Professional Photography
-
Why I Made the Switch to a Mirrorless Nikon Camera
-
Why I Choose Nikon Camera Lenses
-
Nikon vs Cannon - The Battle for Photography Supremacy
-
Godox IS My Choice of Lighting for Photography
-
My Backup Choice of Lighting - The Godox AD600BM
-
Shedding Light on Bounce Light - A Photographer's Guide
-
Golden Hour Portraits - Harnessing the Magic
-
Using a Bounce Light Reflector for Outdoor Photography
-
The Magic of Bokeh in Portrait Photography
-
The Economy and Photography
-
How the Economy Impacts Photography
-
How to Weather Economic Slumps as a Photographer
-
Finding Creative Ways to Promote Your Photography on a Budget
-
Free and Low-Cost Resources for Photographers
-
Benefits of Investing in Quality Camera Gear for Photographers
-
New Markets to Grow Your Photography Business
-
Understanding Market Change in Photography
-
How to Offer Competitive Pricing as a Photographer
-
How to Expand Your Photography Service Offerings
-
Improving Your Online Presence as a Photographer
-
Developing a Value Proposition as a Photographer
-
Diversifying your Photography Session Options
-
Setting Your Photography Pricing Structure
-
Evaluating Your Local Market for Photography
-
Maintaining an Online Presence for Photographers
-
Investing in Education as a Photographer
-
What is Black and White Photography
-
How to Price Senior Portrait Sessions
-
Editing Essentials: Post-Processing Tips for Photographers
-
Elegant Boudoir Ideas: Inspire Your Next Photoshoot
-
Precious Moments for Your Engagement Celebration
-
What are Senior Portraits
-
What Makes Boudoir Photography Elegant?
-
How to Capture Stunning Outdoor Senior Portraits
-
Photography in Education: Enhancing Learning Experiences
-
The Benefits of Themed Photoshoots: Adding Fun and Creativity
-
The Importance of Angles: How Perspective Changes Your Photos
-
How to Create Stunning Senior Portraits: Expert Tips
-
How to Photograph Couples: Capturing Love and Connection
-
The Role of Color in Photography: Creating Mood and Emotion
-
Striking Poses for Female Senior Portrait Sessions
-
Choosing the Perfect Dress for Stunning Senior Portraits
-
Elevating Your Elegant Boudoir Photography Skills
-
Capturing Timeless Senior Portraits: Tips and Tricks
-
Capturing Senior Football Portraits: Tips and Techniques
-
Creative Male Senior Portrait Ideas for Memorable Photos
-
Capturing Natural Senior Portraits: Barefoot Edition
-
How to Choose the Best Lenses for Senior Portraits
-
How to Capture Unique Senior Portraits
-
10 Things to Learn About Photography
-
How to Capture Hilarious Senior Portrait Idea
-
Creative Senior Portrait Ideas for Guys
-
Best Frames for Senior Portraits: Showcase Your Memories
-
How to Create Stunning Senior Portraits for Pinterest
-
How to Capture Timeless Classic Engagement Photos
-
Choosing the Best Lens for Stunning Senior Portraits
-
How to Apply Presets to Multiple Photos in Lightroom Classic
-
How to Capture Great Senior Portraits
-
How to Create Stunning Engagement Photos
-
Capturing Memorable Graduation Photos Tips and Ideas
-
A Comprehensive Guide to Mirrorless Cameras: Everything You Need to Know
-
How to Use Props in Photography: Enhancing Your Story
-
How to Capture Creative Engagement Photos
-
How to Capture Stunning Engagement Photos: Inspiration Guide
-
The Importance of Detail Photos: Capturing the Little Things
-
The Importance of Experimentation in Photography: Finding Your Style
-
How to Use Negative Space in Photography: Less is More
-
How to Photograph Events: Tips for Capturing the Atmosphere
-
The Role of Texture in Photography: Adding Depth to Your Images
-
How to Use Leading Lines in Photography: Guiding the Viewer's Eye
-
How Much Do Senior Photos Cost?
-
How to Capture Stunning Fall Senior Photos
-
How to Perfect Your Makeup for Engagement Photos
-
Creative Save the Date Photos: Unique Ideas for Couples
-
The Importance of Consistency in Your Photography Style
-
How to Photograph Reflections: Creating Mirror Images
-
How to Take Stunning Graduation Portrait Photos
-
Capturing Creative Graduation Photos: Ideas and Tips
-
Captivating Senior Photo Captions: Ideas and Inspiration
-
Capturing Memories: Sports Senior Photo Ideas
-
Capture Timeless Memories: Senior Photo Shoot Tips
-
Capturing Timeless Memories: Horse Senior Photo Ideas
-
How to Capture Unforgettable Family Christmas Photos
-
Why Are Some Senior Photos Bad?
-
How to Capture Stunning Senior Photos
-
Capturing Vintage Vibes: How to Achieve a Classic Look
-
How to Make the Most of Your Photography Session: Pre-Shoot Tips
-
Photography as Art: Turning Your Photos into Wall-Worthy Prints
-
The Essentials of Portrait Lighting: Achieving a Flawless Glow
-
Engagement to Wedding: Capturing Every Step With Photos
-
The Importance of Photography Timing: Capturing the Perfect Moment
-
Unique Photoshoot Ideas for Couples: Beyond Traditional Portraits
-
Using Foreground to Add Depth to Your Photos
-
Creating Dramatic Photos with Shadow Play: Tips and Techniques
-
Using Textures in Photography: Adding Depth and Interest
-
The Story Behind the Lens: A Day in the Life of a Photographer
-
From Soft to Strong: Mastering Portrait Lighting for Every Look
-
Photography Trends to Try in 2025: What's New and Fresh
-
The Art of Posing: Making Your Portraits Look Natural
-
Creating Unique Graduation Photos to Celebrate Your Achievement
-
Getting the Best Out of Overcast Days: Cloudy Day Photography Tips
-
Choosing the Best Lens for Portrait Photography
-
Expressing Yourself Through Fashion in Your Portrait Session
-
Essential Tips for Capturing Silhouettes at Sunset
-
From Fall Leaves to Spring Blooms: How Seasons Affect Your Photos
-
Setting the Scene: How Location Impacts Your Photography Style
-
10 Tips for Photographing in Public Spaces
-
Creating Romantic Photos Without Props: Using Only Natural Light
-
How to Edit Photos for a Consistent Photography Style
-
Behind the Lens: How Photographers Plan Their Sessions
-
How to Shoot in Low Light Without Flash
-
The Beauty of Raw, Unposed Moments in Photography
-
Capturing the Magic of Newborn Photography Safely
-
Tips for Photographing Outdoor Adventures with Pets
-
Shooting in Crowded Spaces: Tips for Busy Locations
-
Outdoor Lighting: How to Make the Most of Nature’s Light
-
How to Make Your Portraits Look Like Fine Art
-
Photographing the Young at Heart: Portrait Tips for Seniors
-
Using Light and Shadow for a More Dramatic Portrait
-
How to Choose Background Colors to Complement Skin Tones
-
Creating an Emotional Connection Through Photography
-
How to Shoot Beautiful Portraits in Harsh Sunlight
-
Essential Tips for Candid Event Photography
-
Collaborating with Your Photographer to Create Stunning Images
-
How to Stay Present and Enjoy Your Portrait Session
-
Merging Photography with Other Art Forms for Unique Portraits
-
Bringing Your Vision to Life with Artistic Photography
-
The Rule of Thirds and Other Composition Techniques Explained
-
Guest Blog Posts – Write for Us

