

Seven Tips For Natural Light Photography
What Is Natural Light Photography?
Natural light photography uses sunlight and light from the sky as the primary illumination for the photograph. That light can be direct, diffused by clouds or curtains, reflected from nearby surfaces, or shaped by shade, windows, buildings, trees, and the environment around the subject.
Natural light is not automatically softer or better than artificial light. The useful skill is learning to read its direction, contrast, color, intensity, and background, then positioning the subject and camera to create the look you want.
For a broader portrait-focused overview of working with available light, see Mastering Natural Light for Breathtaking Portraits.
1. Read the Direction of the Light Before Choosing the Pose
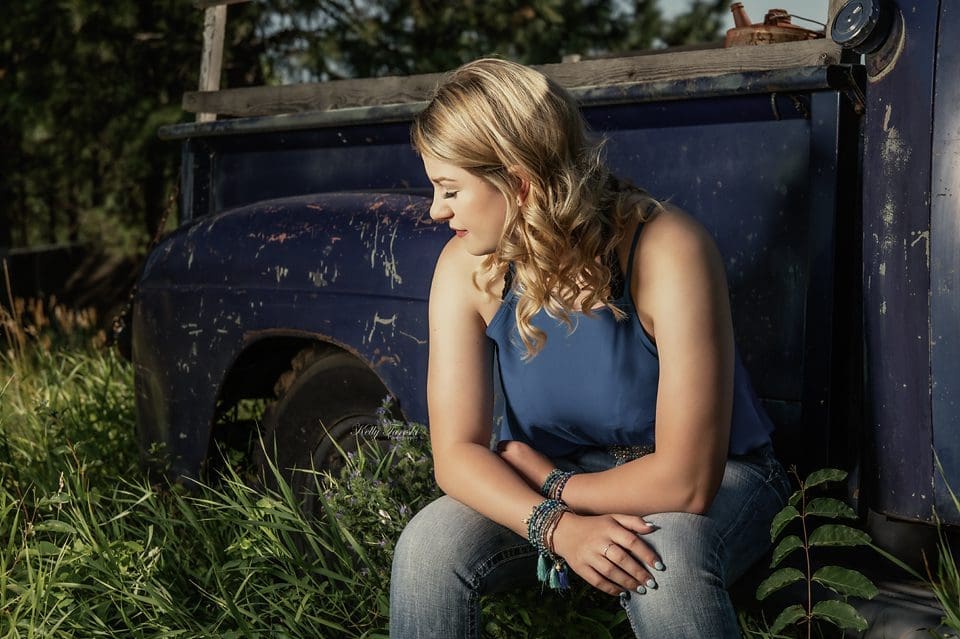
Before I place a subject, I look at where the brightest light is coming from and how it falls across the face. Front light, side light, backlight, and reflected light can all work, but they create different shadow patterns and different moods.
Move around the subject before changing camera settings. Sometimes a few feet of movement or a small turn changes the quality of the portrait more than changing exposure.
2. Use Golden Hour as an Option, Not a Rule
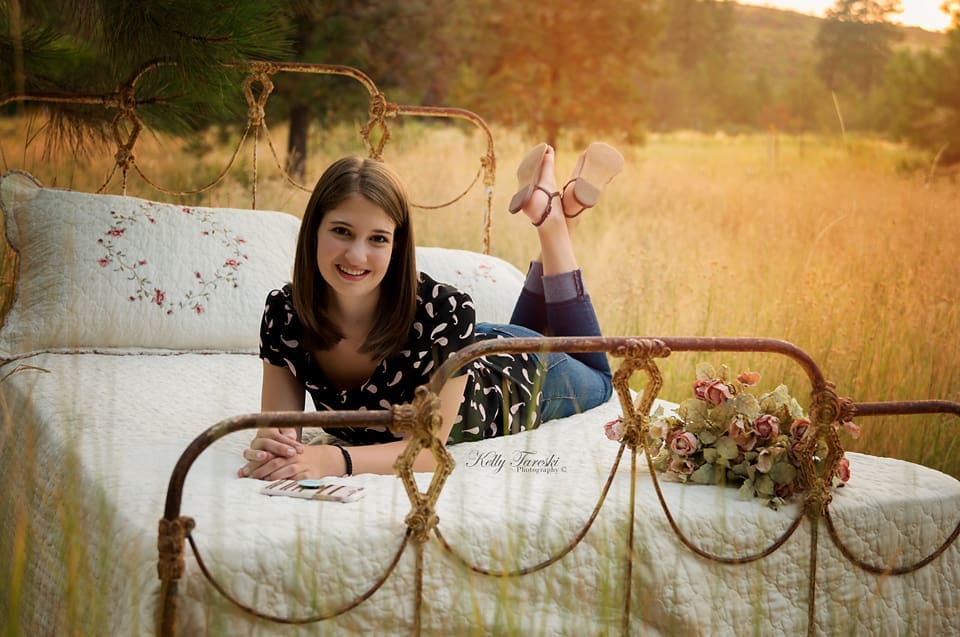
Golden hour, around sunrise or sunset, can produce lower-angle light, warmer color, and longer shadows. The exact look and timing vary with season, weather, latitude, terrain, and surrounding buildings or trees.
You do not need golden hour to make strong natural-light photographs. Midday, overcast skies, open shade, window light, and reflected light can all be useful when you understand what the light is doing.
3. Use Shade Carefully
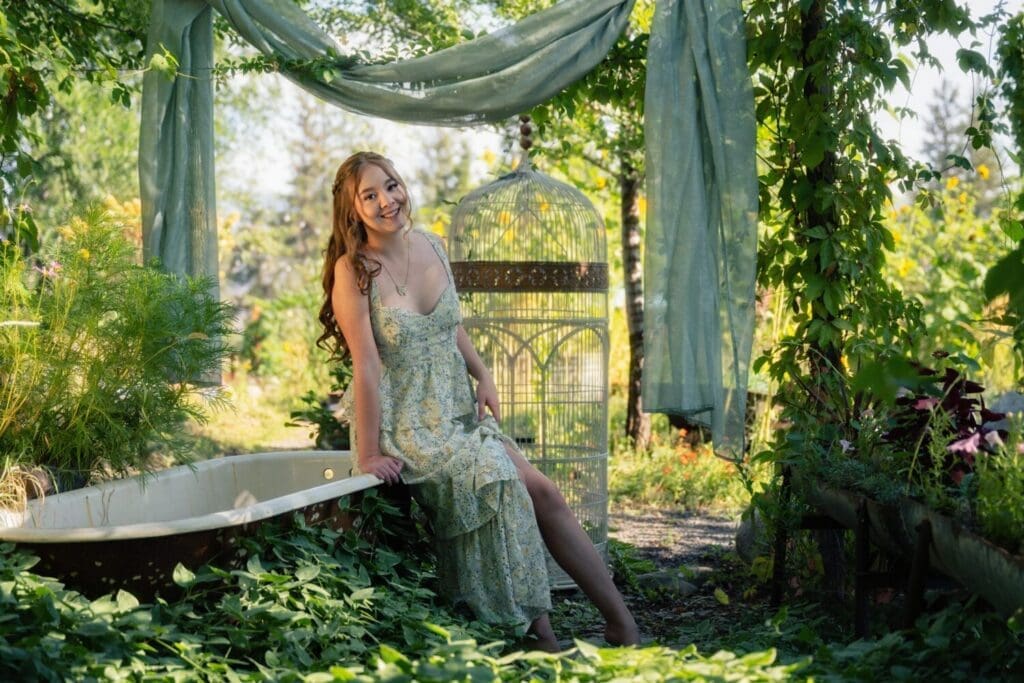
Shade can reduce the intensity and contrast of direct sunlight, but not all shade is even. Tree cover can create dappled patches of bright sun and dark shadow across a face. Deep shade can also produce flat or cool-looking light if the subject is far from a brighter opening.
When I use shade, I look for the direction of the open sky and position the subject so the face receives clean, consistent light. A porch edge, building, tree line, or other structure can create useful shade while still giving the light a clear direction.
4. Position the Subject for the Look You Want
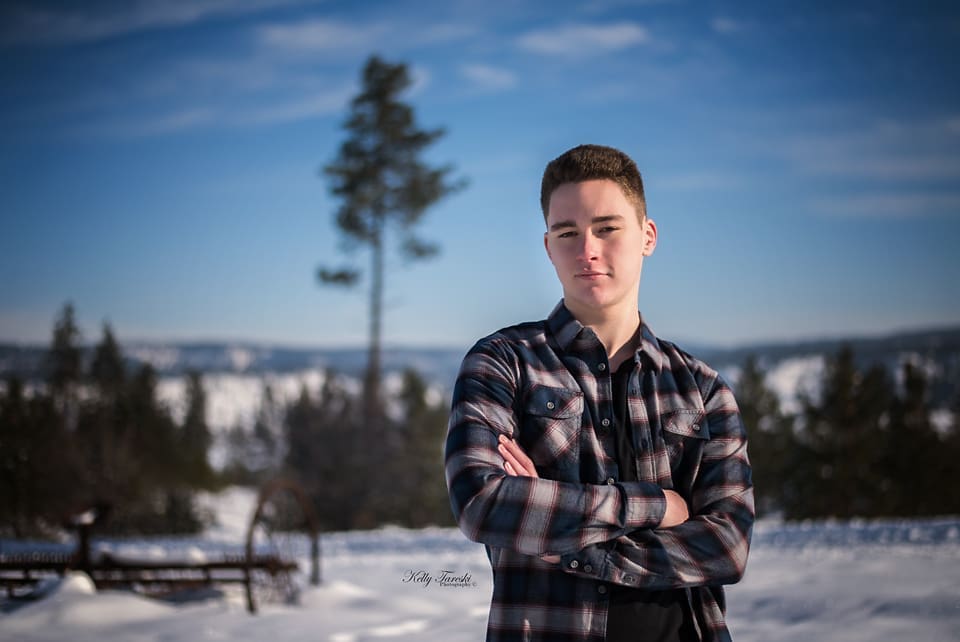
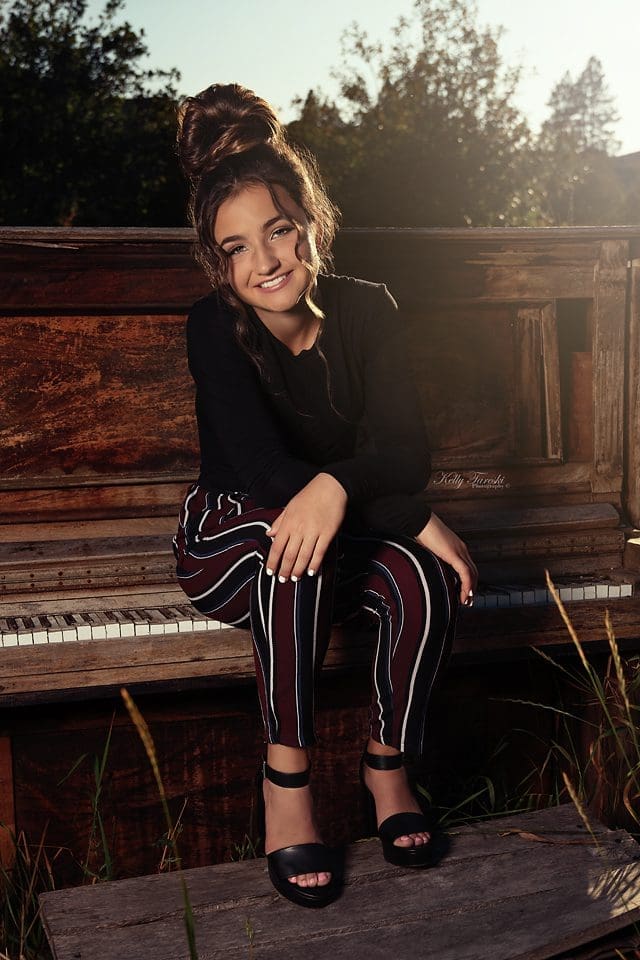
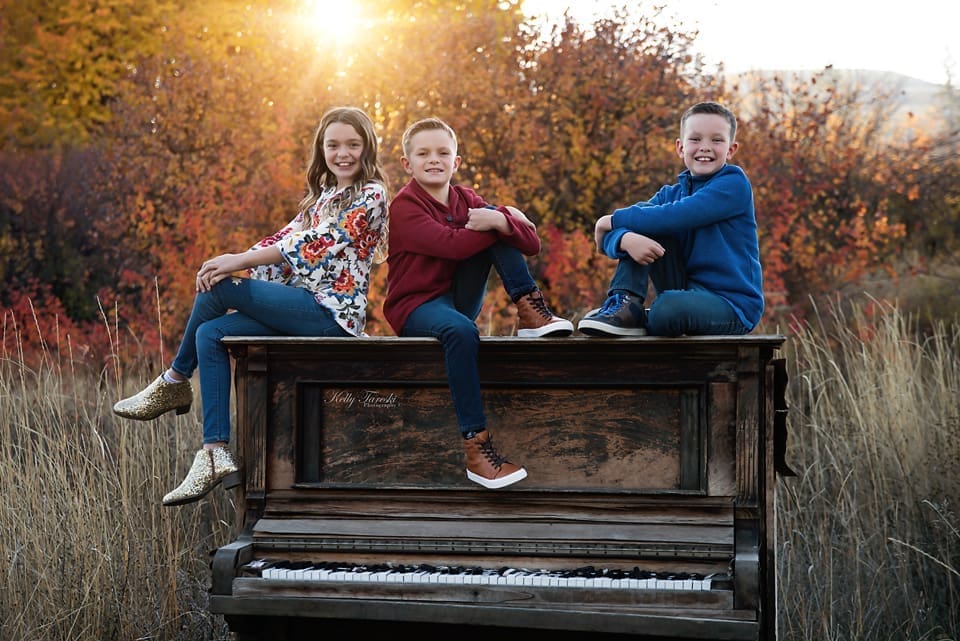
With front lighting, the face may be evenly illuminated but the portrait can lose some shape. Side lighting can create stronger dimension. Backlighting can separate the subject from the background, but it may require careful exposure or added reflected light so the face is not unintentionally too dark.
There is no universally best direction. I choose the position based on the subject, background, time of day, expression, wardrobe, and the mood I want the photograph to have.
5. Use Reflectors and Nearby Surfaces as Optional Tools
A reflector can redirect existing light toward the subject, but it is not required for natural-light photography. White surfaces usually produce a softer reflected fill. Silver surfaces can create a stronger, more specular reflection. Gold surfaces add a warm color cast, which may or may not fit the scene.
Walls, pavement, snow, sand, light-colored buildings, and other nearby surfaces can also reflect light. Pay attention to their color because reflected light can introduce an unwanted color cast on skin or clothing.
For a dedicated discussion of reflectors, see my guide to using a reflector outdoors.
6. Choose Camera Settings for the Subject, Not a Formula
Natural light changes, so camera settings should respond to the subject and the light rather than follow one fixed recipe.
- Shutter speed: Choose it based on subject movement, camera movement, focal length, stabilization, and how much motion you want to freeze or show.
- Aperture: Choose it for the depth of field and background rendering you need.
- ISO: Set it high enough to support the shutter speed and aperture the photograph requires.
If you want a deeper explanation of how those settings work together, see my beginner's guide to Manual mode.
7. Watch Color, Background, and Contrast as the Light Changes
Natural light can change quickly as clouds move, the sun drops, or the subject moves between open sky and reflected light. Exposure is only part of the change. White balance, background brightness, shadow depth, and the color of reflected light can shift too.
Check the whole frame, not just the face. A bright patch in the background, mixed light from different sources, or a color cast from a nearby wall can change the photograph even when the subject is well exposed.
What Is the Best Time of Day for Natural Light Photography?
There is no single best time. The best time depends on the look you want and the location you are using. Lower-angle morning or evening light can be useful for warmth and longer shadows. Overcast conditions can reduce contrast. Midday sun can create strong shape and shadow when used deliberately.
For outdoor-specific lighting choices, see my outdoor lighting guide.
Is Overcast Light Always Better for Portraits?
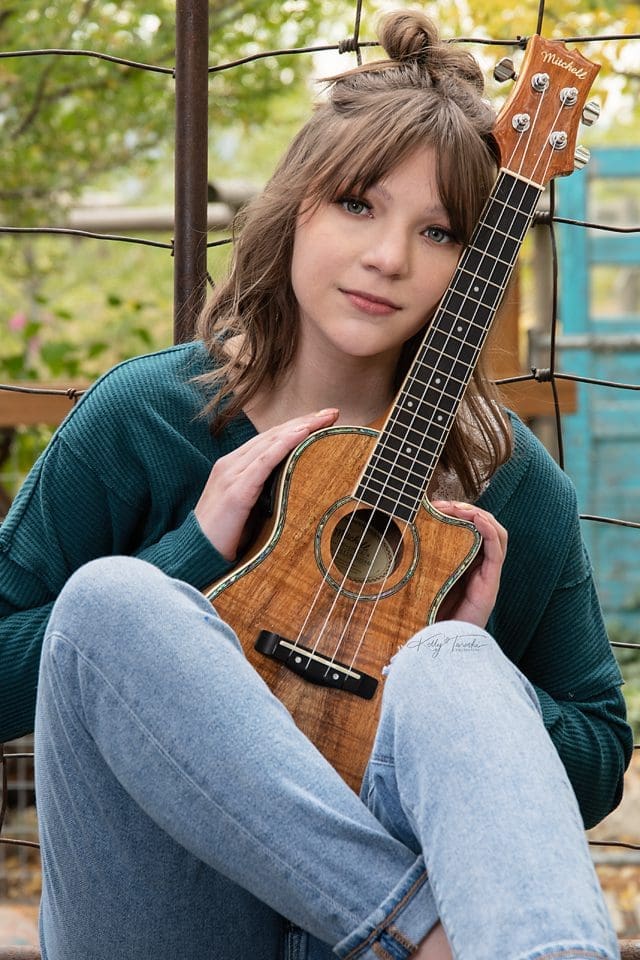
No. Cloud cover can soften direct sunlight and reduce contrast, but a completely overcast sky can also create flatter light. Look for direction from an opening in the clouds, the edge of a structure, or a brighter part of the sky so the face still has shape.
Can You Use Natural Light Indoors?
Yes. Windows, doors, skylights, and other openings can provide natural light indoors. Distance from the opening, window size, curtains, wall colors, and the direction the window faces all influence the result.
For that specific situation, see How to Capture Soft, Natural Light Indoors.
Do You Need a Reflector for Natural Light Photography?
No. A reflector is useful when you want to redirect existing light, but subject position, open shade, nearby surfaces, and camera angle can often solve the lighting problem without additional equipment.
Bottom Line
Natural light photography becomes much easier when you stop waiting for perfect light and start reading the light that is already present. Direction, contrast, color, background, subject movement, and exposure all work together.
Use golden hour, shade, reflectors, backlight, overcast skies, or window light when they support the photograph you want. The goal is not to make every scene look the same. It is to understand how the available light will change the portrait before you press the shutter.
For broader portrait technique, see my portrait photography tips.

Education Most Searched Articles
- Kelly Tareski Photography Homepage
- How to Choose Background Colors to Complement Skin Tones
- Choosing the Best Lens for Stunning Senior Portraits
- 5 Tips Using the Nikon Z7ii Camera for Portrait Photography
- Exploring Spokane Through a Lens: Must-Visit Photo Locations
- How to Choose the Best Lenses for Senior Portraits
- When to Use a Neutral Background in Photography
- Top Posing Ideas for Solo Portraits: Looking Confident and Natural
- The Economy and Photography
- How the Economy Impacts Photography
- How to Weather Economic Slumps as a Photographer
- Finding Creative Ways to Promote Your Photography on a Budget
- Free and Low-Cost Resources for Photographers