

How to Shoot in Low Light Without Flash
How to Shoot in Low Light Without Flash. At Kelly Tareski Photography, we know that mastering low light photography can be a game-changer for your skills.
Capturing stunning images without relying on flash opens up a world of creative possibilities.
In this photography education guide, we’ll share our top techniques for shooting in challenging lighting conditions.
Get ready to elevate your low light photography and create captivating images in any environment.
What Are Low Light Conditions?
Defining Low Light Scenarios
Low light photography presents unique challenges and opportunities for capturing stunning images. The raw file can make all the difference when it comes to low light photography, particularly in areas such as exposure, white balance, and noise reduction. These conditions occur when there’s insufficient illumination for standard camera settings to produce well-exposed images. This can happen during twilight hours, indoors with minimal artificial lighting, or in dimly lit venues like concerts or restaurants.
Challenges of Shooting Without Flash
Shooting without flash in low light environments demands a deep understanding of your camera’s capabilities. One major hurdle is increased image noise, which can degrade photo quality. Another common issue is motion blur, caused by slower shutter speeds necessary to capture more light. This requires careful handholding techniques or the use of stabilization equipment. The rule of thumb suggests using a shutter speed no slower than the reciprocal of your focal length (e.g., 1/50s for a 50mm lens) to minimize camera shake.
Essential Gear for Low Light Photography
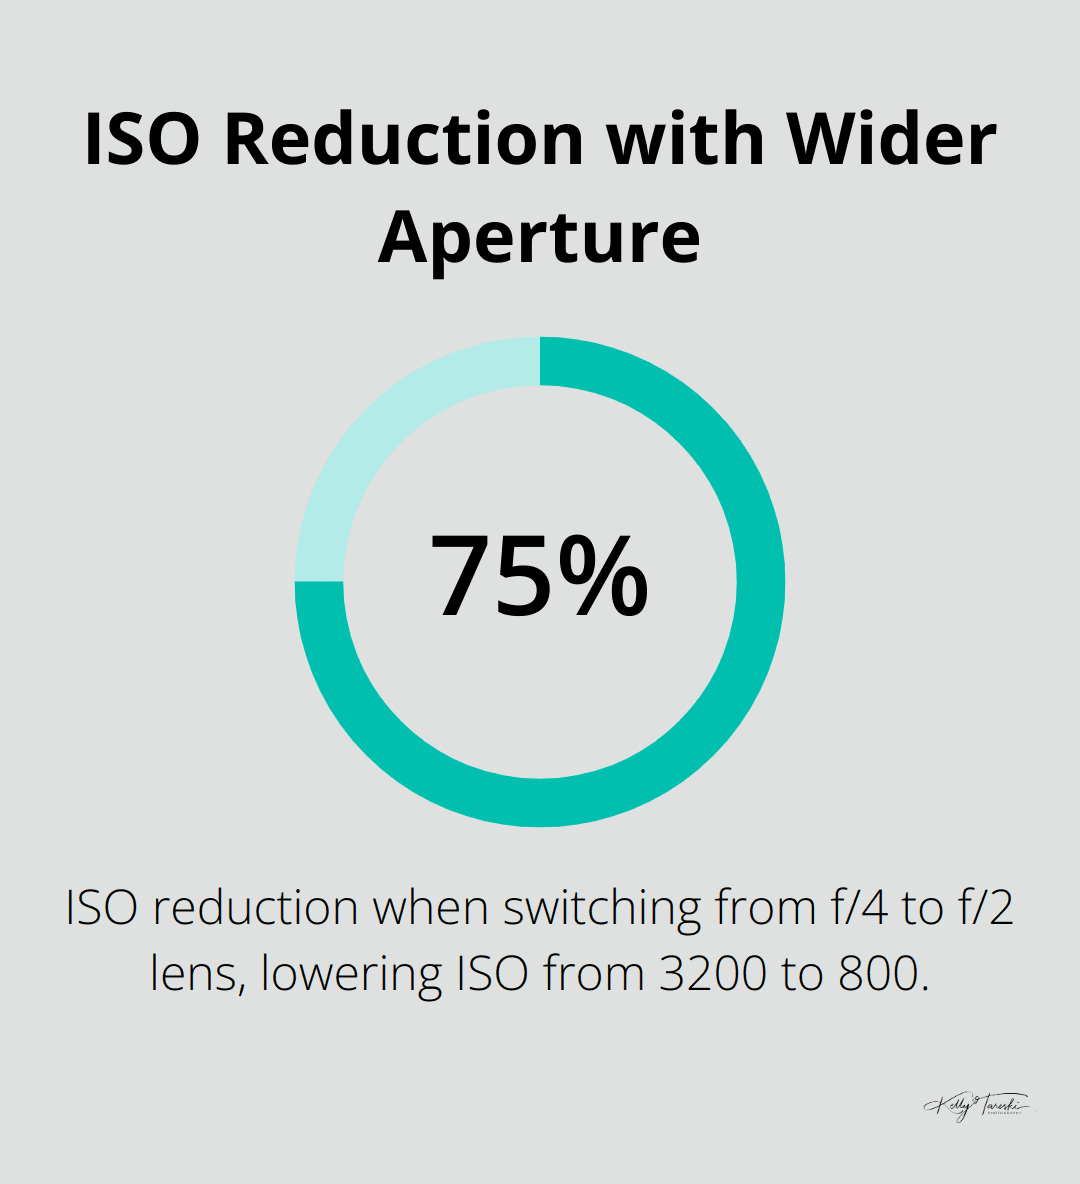
The right equipment is crucial for successful low light photography. Fast lenses with wide maximum apertures (f/2.8 or wider) allow more light to reach the sensor. For instance, switching from an f/4 to an f/2 lens gives you two additional stops of light, potentially reducing your ISO from 3200 to 800.
Modern cameras offer impressive high ISO performance, with some models producing usable images at ISO 12800 and beyond. However, it’s essential to find the sweet spot between noise and exposure for your specific camera.
The Power of Image Stabilization
Image stabilization can be a game-changer. The slower the shutter speed, the more effective stabilizers are at compensating motion compared to handheld shooting without stabilization. This is because there’s more information available for the stabilization system to work with at slower speeds.
As we move forward, we’ll explore the specific camera settings that can help you maximize your low light photography potential. Understanding these settings is key to capturing stunning images in challenging lighting conditions.
Mastering Camera Settings for Low Light
ISO: Finding the Sweet Spot
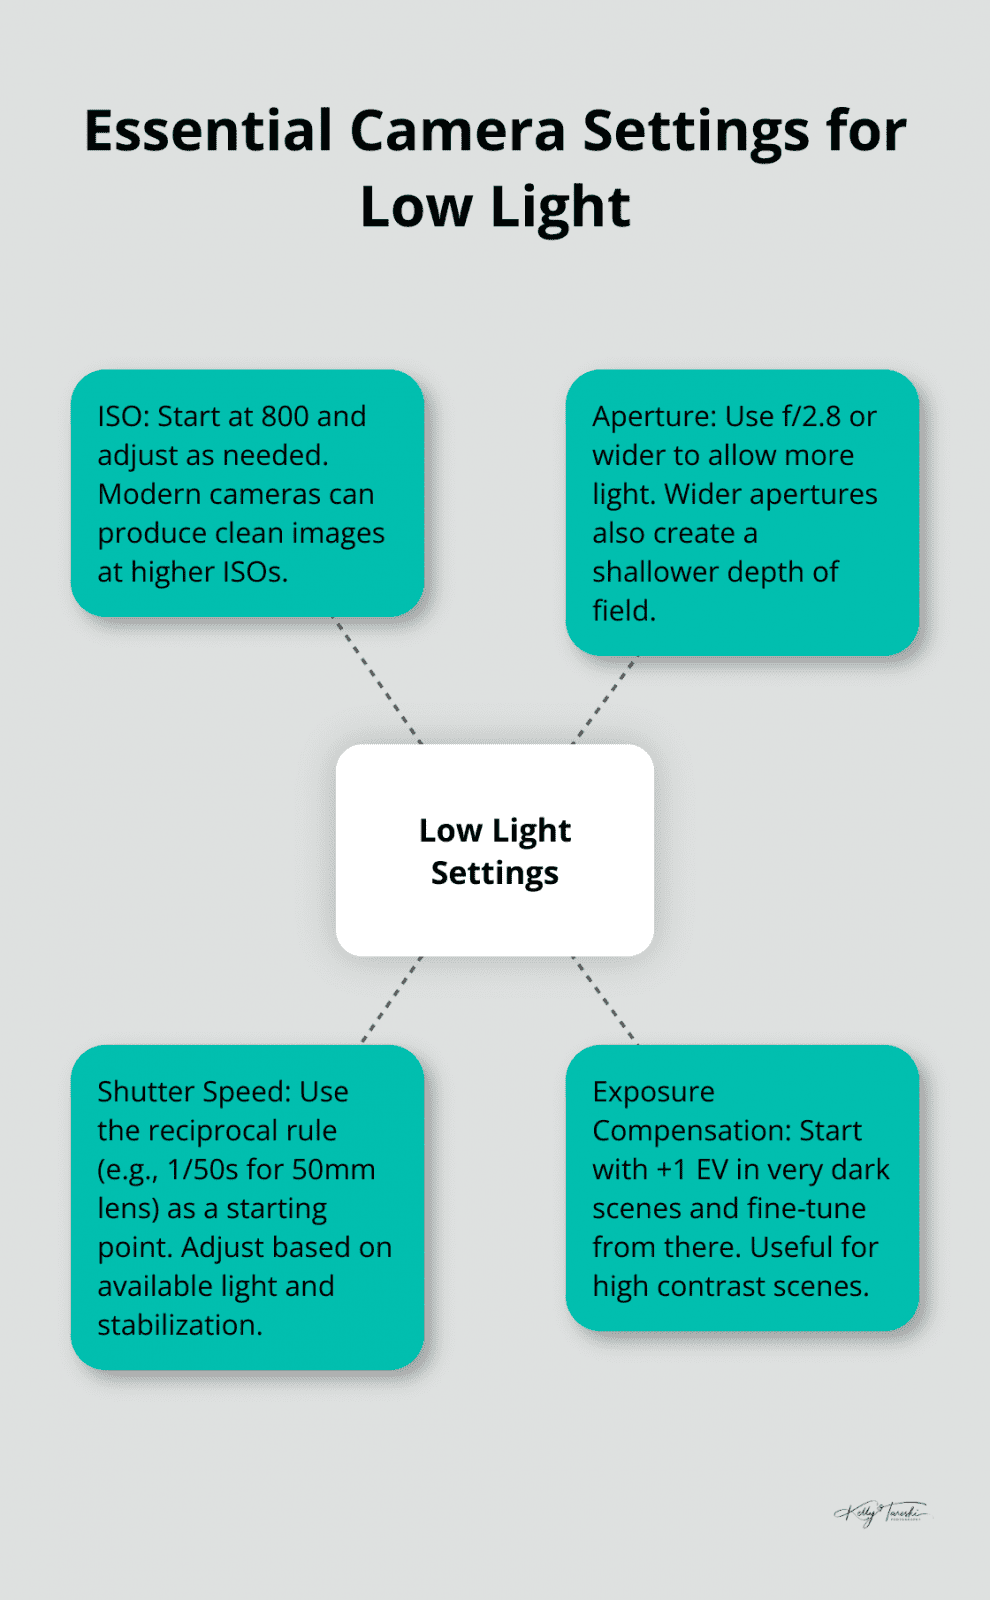
ISO sensitivity determines your camera’s ability to capture light. In low light, you need to increase your ISO, but caution is necessary. Higher ISO introduces noise, which can degrade image quality. Start at ISO 800 and adjust as needed. Modern cameras like the Sony A7S III can produce clean images at ISO 12800, but always test your camera’s limits beforehand.
Aperture: Let the Light In
A wider aperture (low f-number) allows more light to reach your sensor. For low light, try f/2.8 or wider. The Nikon 50mm f/1.8G is an excellent budget-friendly lens for low light situations. Wider apertures also create a shallower depth of field, which can be both a creative tool and a challenge for focusing.
Shutter Speed: Balancing Light and Motion
Slower shutter speeds let in more light but increase the risk of motion blur. Use a shutter speed no slower than the reciprocal of your focal length (e.g., 1/50s for a 50mm lens). With steady hands or image stabilization, you can push this further. The Olympus OM-D E-M1 Mark III offers a tripod high-res mode that can produce 80MP Raw files by using its image stabilization to shift the sensor 8 times.
Exposure Compensation: Fine-Tuning Your Shot
Exposure compensation helps in tricky lighting. If your image is consistently too dark or bright, adjust your exposure compensation. Start with +1 EV in very dark scenes and fine-tune from there. This technique is particularly useful in scenes with high contrast, like cityscapes at night.
Practice Makes Perfect
Experiment in various low light situations to understand how your camera performs. With time, you’ll develop an intuition for the perfect settings in any lighting condition. This knowledge will allow you to capture those magical low light moments with confidence. As you continue to refine your skills, you’ll find that the right gear can make a significant difference in your low light photography journey.
Gear Essentials for Low Light Mastery
Fast Lenses: Your Low Light Allies
Low light photography requires specific equipment to achieve outstanding results. Fast lenses with wide maximum apertures (f/1.8 or f/1.4) allow significantly more light to reach your camera’s sensor. An f/1.8 lens strikes a good balance between light-gathering capability, size, and cost. The Canon EF 50mm f/1.8 STM, often called the “nifty fifty,” is an affordable option that performs exceptionally well in low light. For professional-grade results, the Sigma 35mm f/1.4 DG HSM Art lens offers outstanding low light performance and sharpness.
Image Stabilization: Steady Shots in the Dark
Modern image stabilization technology can transform your low light photography. Powerful 5-axis VR image stabilization keeps your photos sharp and your videos steady-up to five stops in up to five directions (yaw, pitch, roll, X and Y). This allows you to shoot at slower shutter speeds without introducing camera shake, effectively increasing your low light capabilities.
Alternative Light Sources: Beyond the Flash
While we focus on shooting without flash, alternative light sources can enhance your low light photos. LED light panels (like the Aputure AL-MX) offer portable, adjustable lighting that can add a subtle glow to your subjects. For more dramatic effects, try using glow sticks or fairy lights to create unique bokeh patterns in the background.
Long Exposure Techniques: Paint with Light
Long exposure techniques open up a world of creative possibilities in low light. A sturdy tripod is essential – the Manfrotto MT055CXPRO4 provides stability and versatility. With your camera secured, try exposures ranging from several seconds to minutes. Light painting, where you use handheld lights to “draw” in your frame during a long exposure, can produce striking results. The Pixelstick allows you to create complex light paintings with precision.

Choosing the Right Camera
The right camera body can make a significant difference in low light performance. Modern full-frame cameras excel in low light conditions, producing clean images at high ISO settings. However, crop sensor cameras have also made significant strides in recent years. Try different camera models to find one that suits your specific needs and budget.
Final Thoughts
Low light photography without flash unlocks a realm of creative possibilities. You can capture stunning images in challenging lighting conditions through camera setting adjustments, proper gear utilization, and alternative light source exploration. ISO, aperture, and shutter speed adjustments help you find the perfect balance for each unique situation.
Fast lenses, image stabilization, and long exposure techniques enhance your low light photography arsenal. You will develop an intuitive understanding of how to capture magical low light moments as you gain experience. Practice in various low light environments will improve your skills and push your camera’s limits.
We at Kelly Tareski Photography specialize in creating timeless and elegant images across various lighting conditions. Our photography education services and personalized sessions cater to senior portraits, family photography, boudoir, maternity, branding, engagement, and commercial shots. We offer on-location or studio sessions on our picturesque five-acre property in Spokane, Washington (perfect for diverse photoshoots). How to Shoot in Low Light Without Flash.
Education Most Searched Articles
- Kelly Tareski Photography Homepage
- How to Choose Background Colors to Complement Skin Tones
- Choosing the Best Lens for Stunning Senior Portraits
- 5 Tips Using the Nikon Z7ii Camera for Portrait Photography
- Exploring Spokane Through a Lens: Must-Visit Photo Locations
- How to Choose the Best Lenses for Senior Portraits
- When to Use a Neutral Background in Photography
- Top Posing Ideas for Solo Portraits: Looking Confident and Natural
- The Economy and Photography
- How the Economy Impacts Photography
- How to Weather Economic Slumps as a Photographer
- Finding Creative Ways to Promote Your Photography on a Budget
- Free and Low-Cost Resources for Photographers